Tomy 40th Anniversary Blade Liger Review: Conflicted Celebration

I'm a bit Blade Liger obsessed. I don't know what it is about the robot cat with golden swords, but it just does it for me. I like the big ol' teeth, the cool shield, the agility, and the overall vibes. It's been my favorite Zoid since I first watched Chaotic Century. So I was stoked when Tomy announced they'd be making a new motorized Blade Liger for Zoids' 40th anniversary.
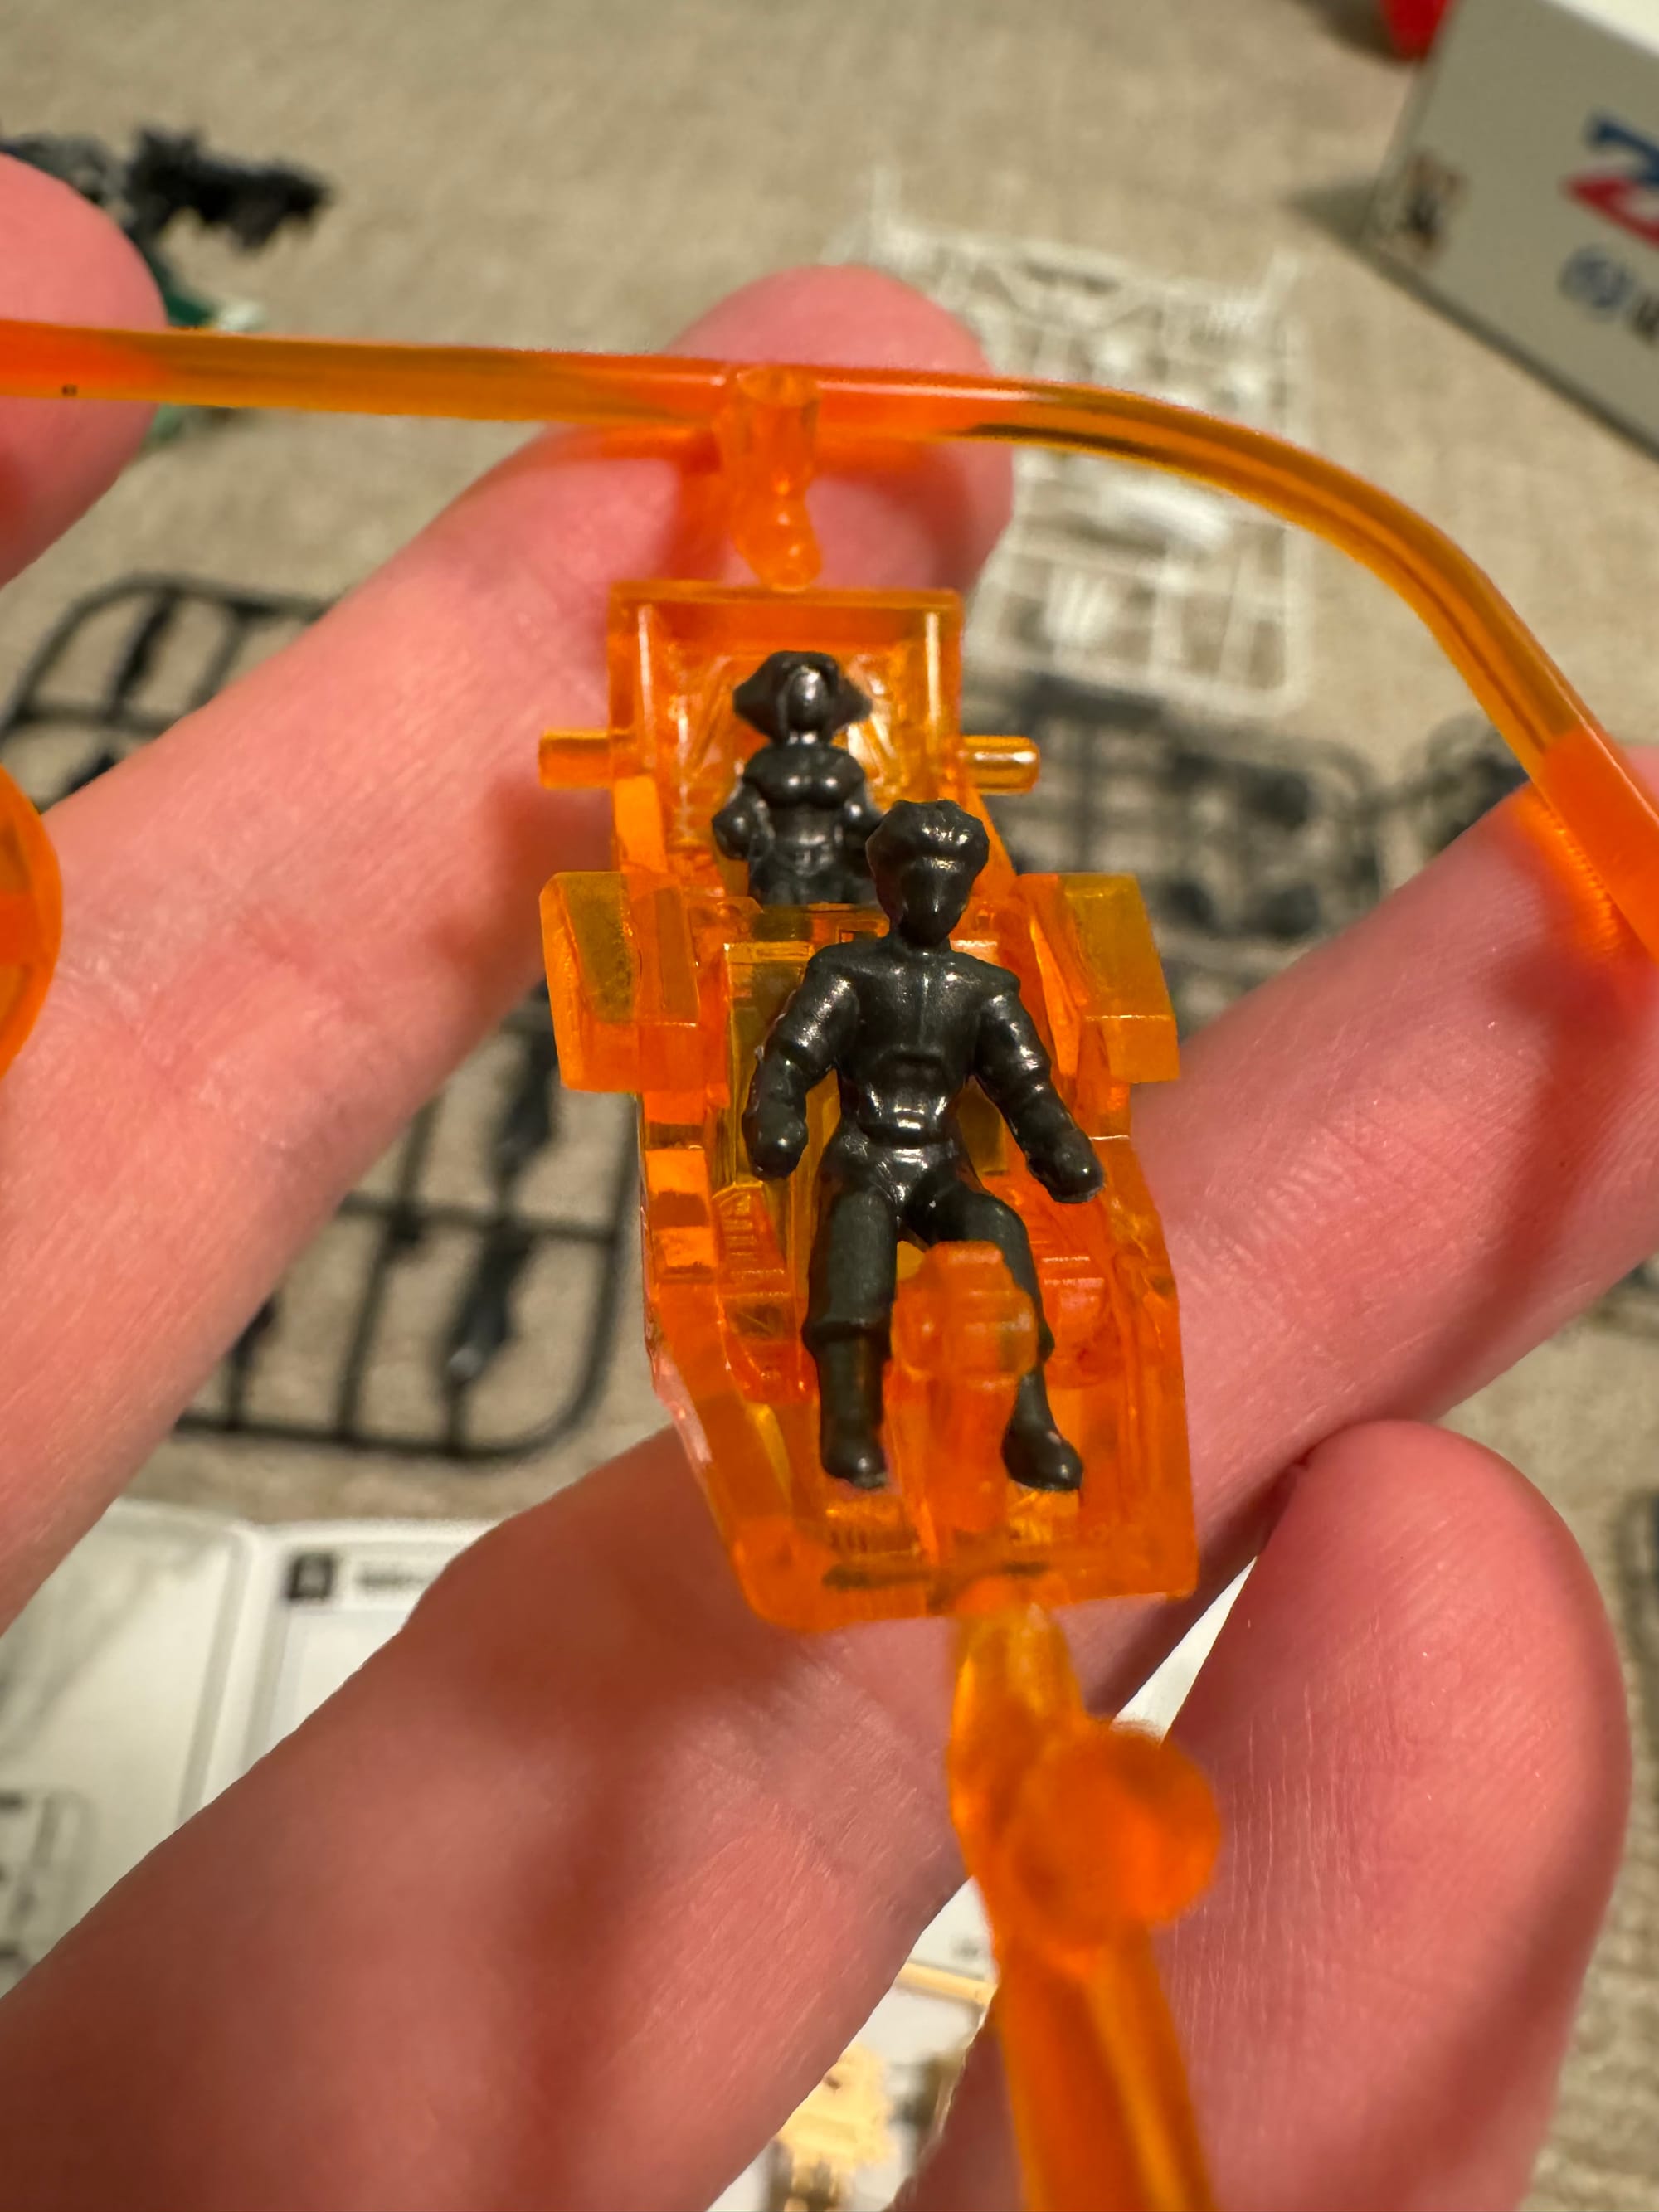
This is a motorized kit, but unlike the old Hasbro models from the early 2000s, this one is quite a bit more detailed and complex. There are LEDs to light up the cockpit and Zoid core, an included stand, much more motion in the walk cycle, and some nicely molded figures of Van and Fiona... but no Zeke.

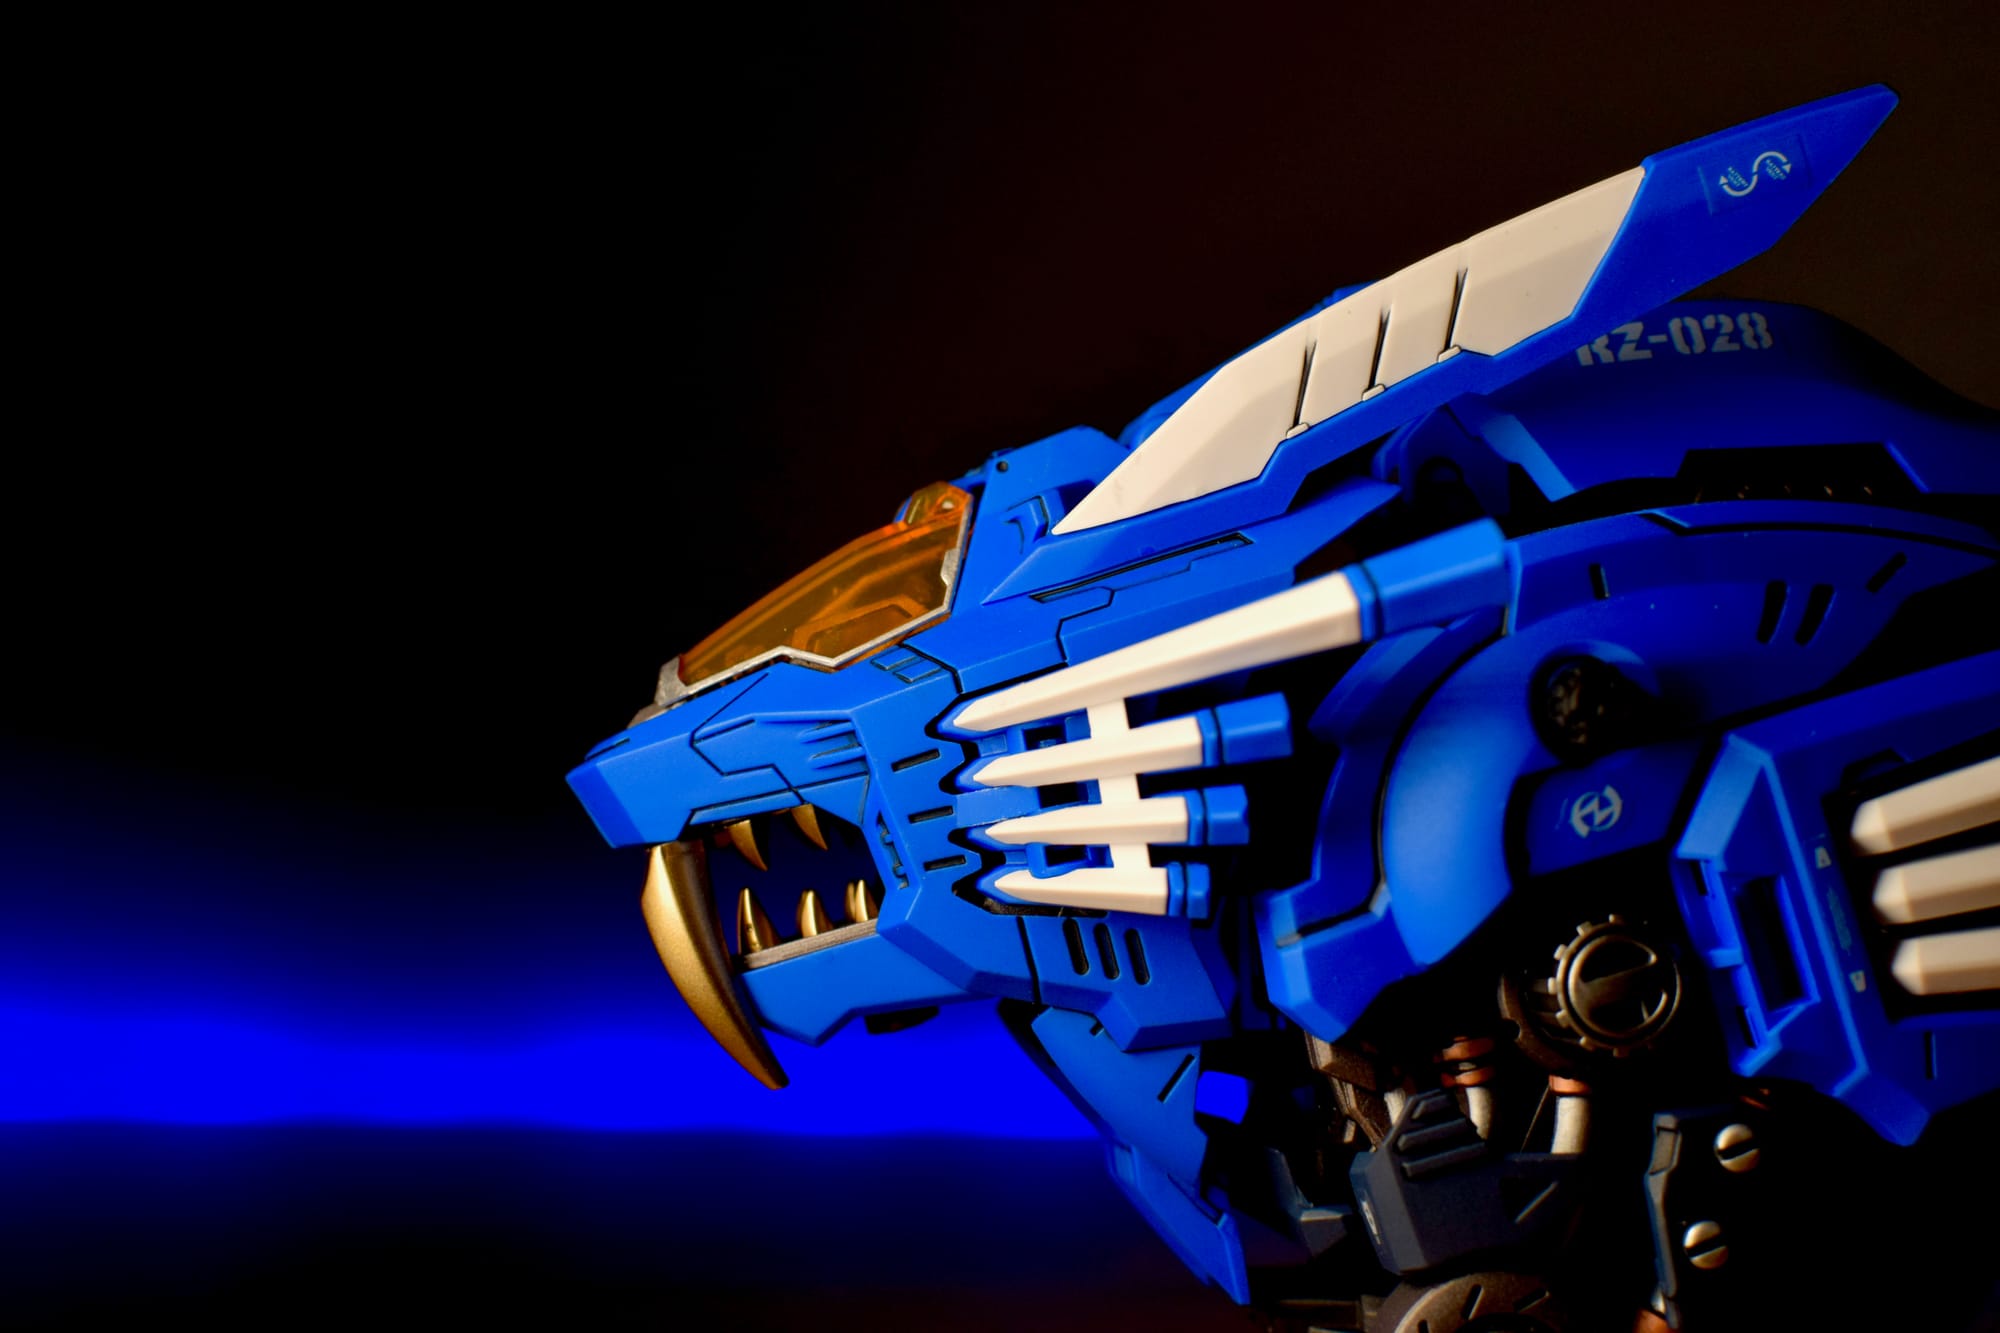
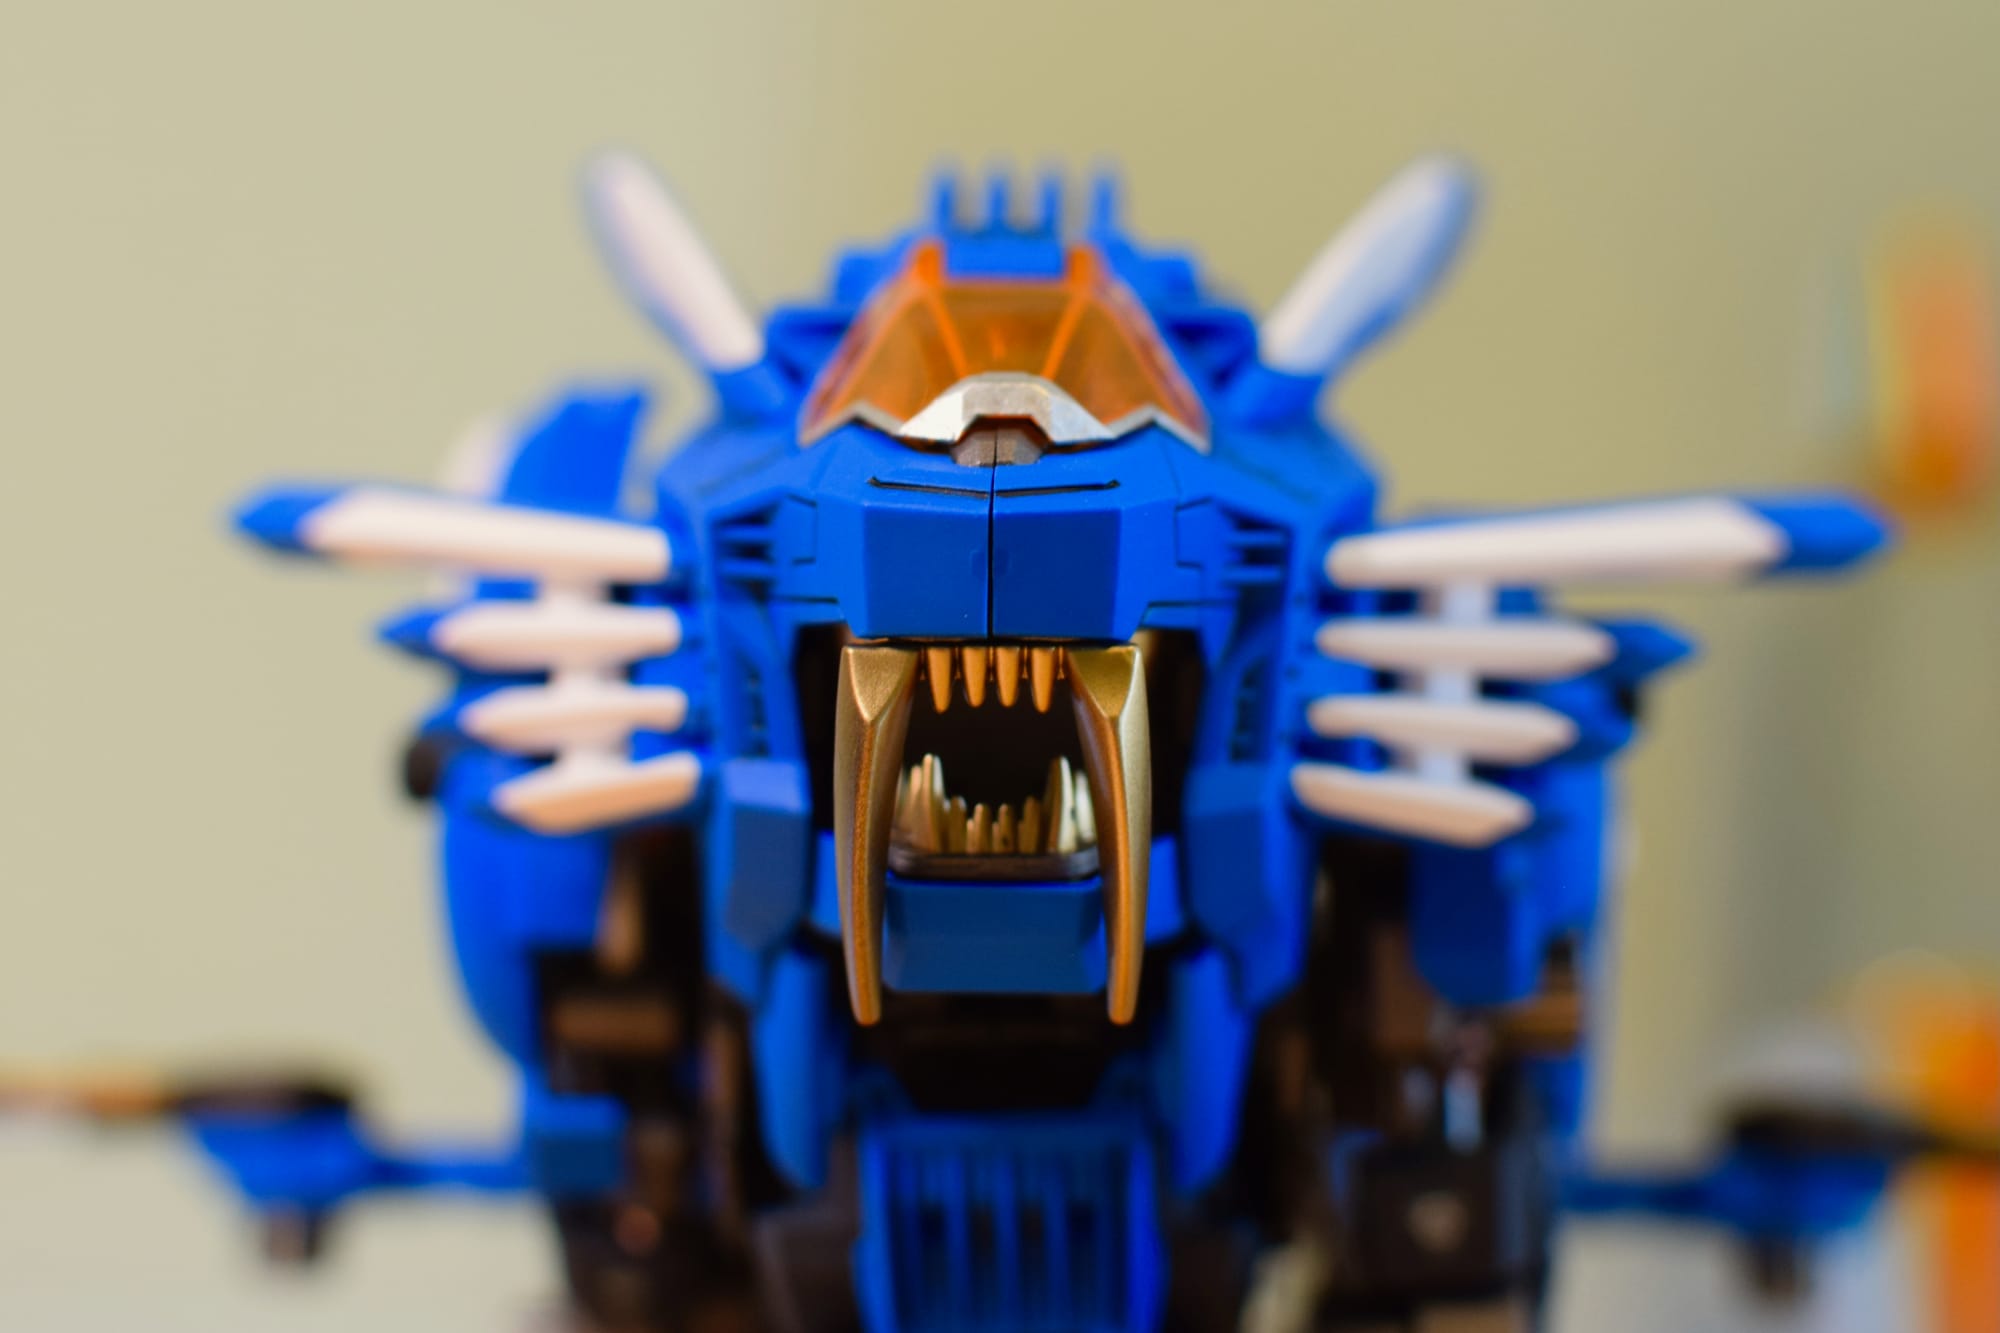
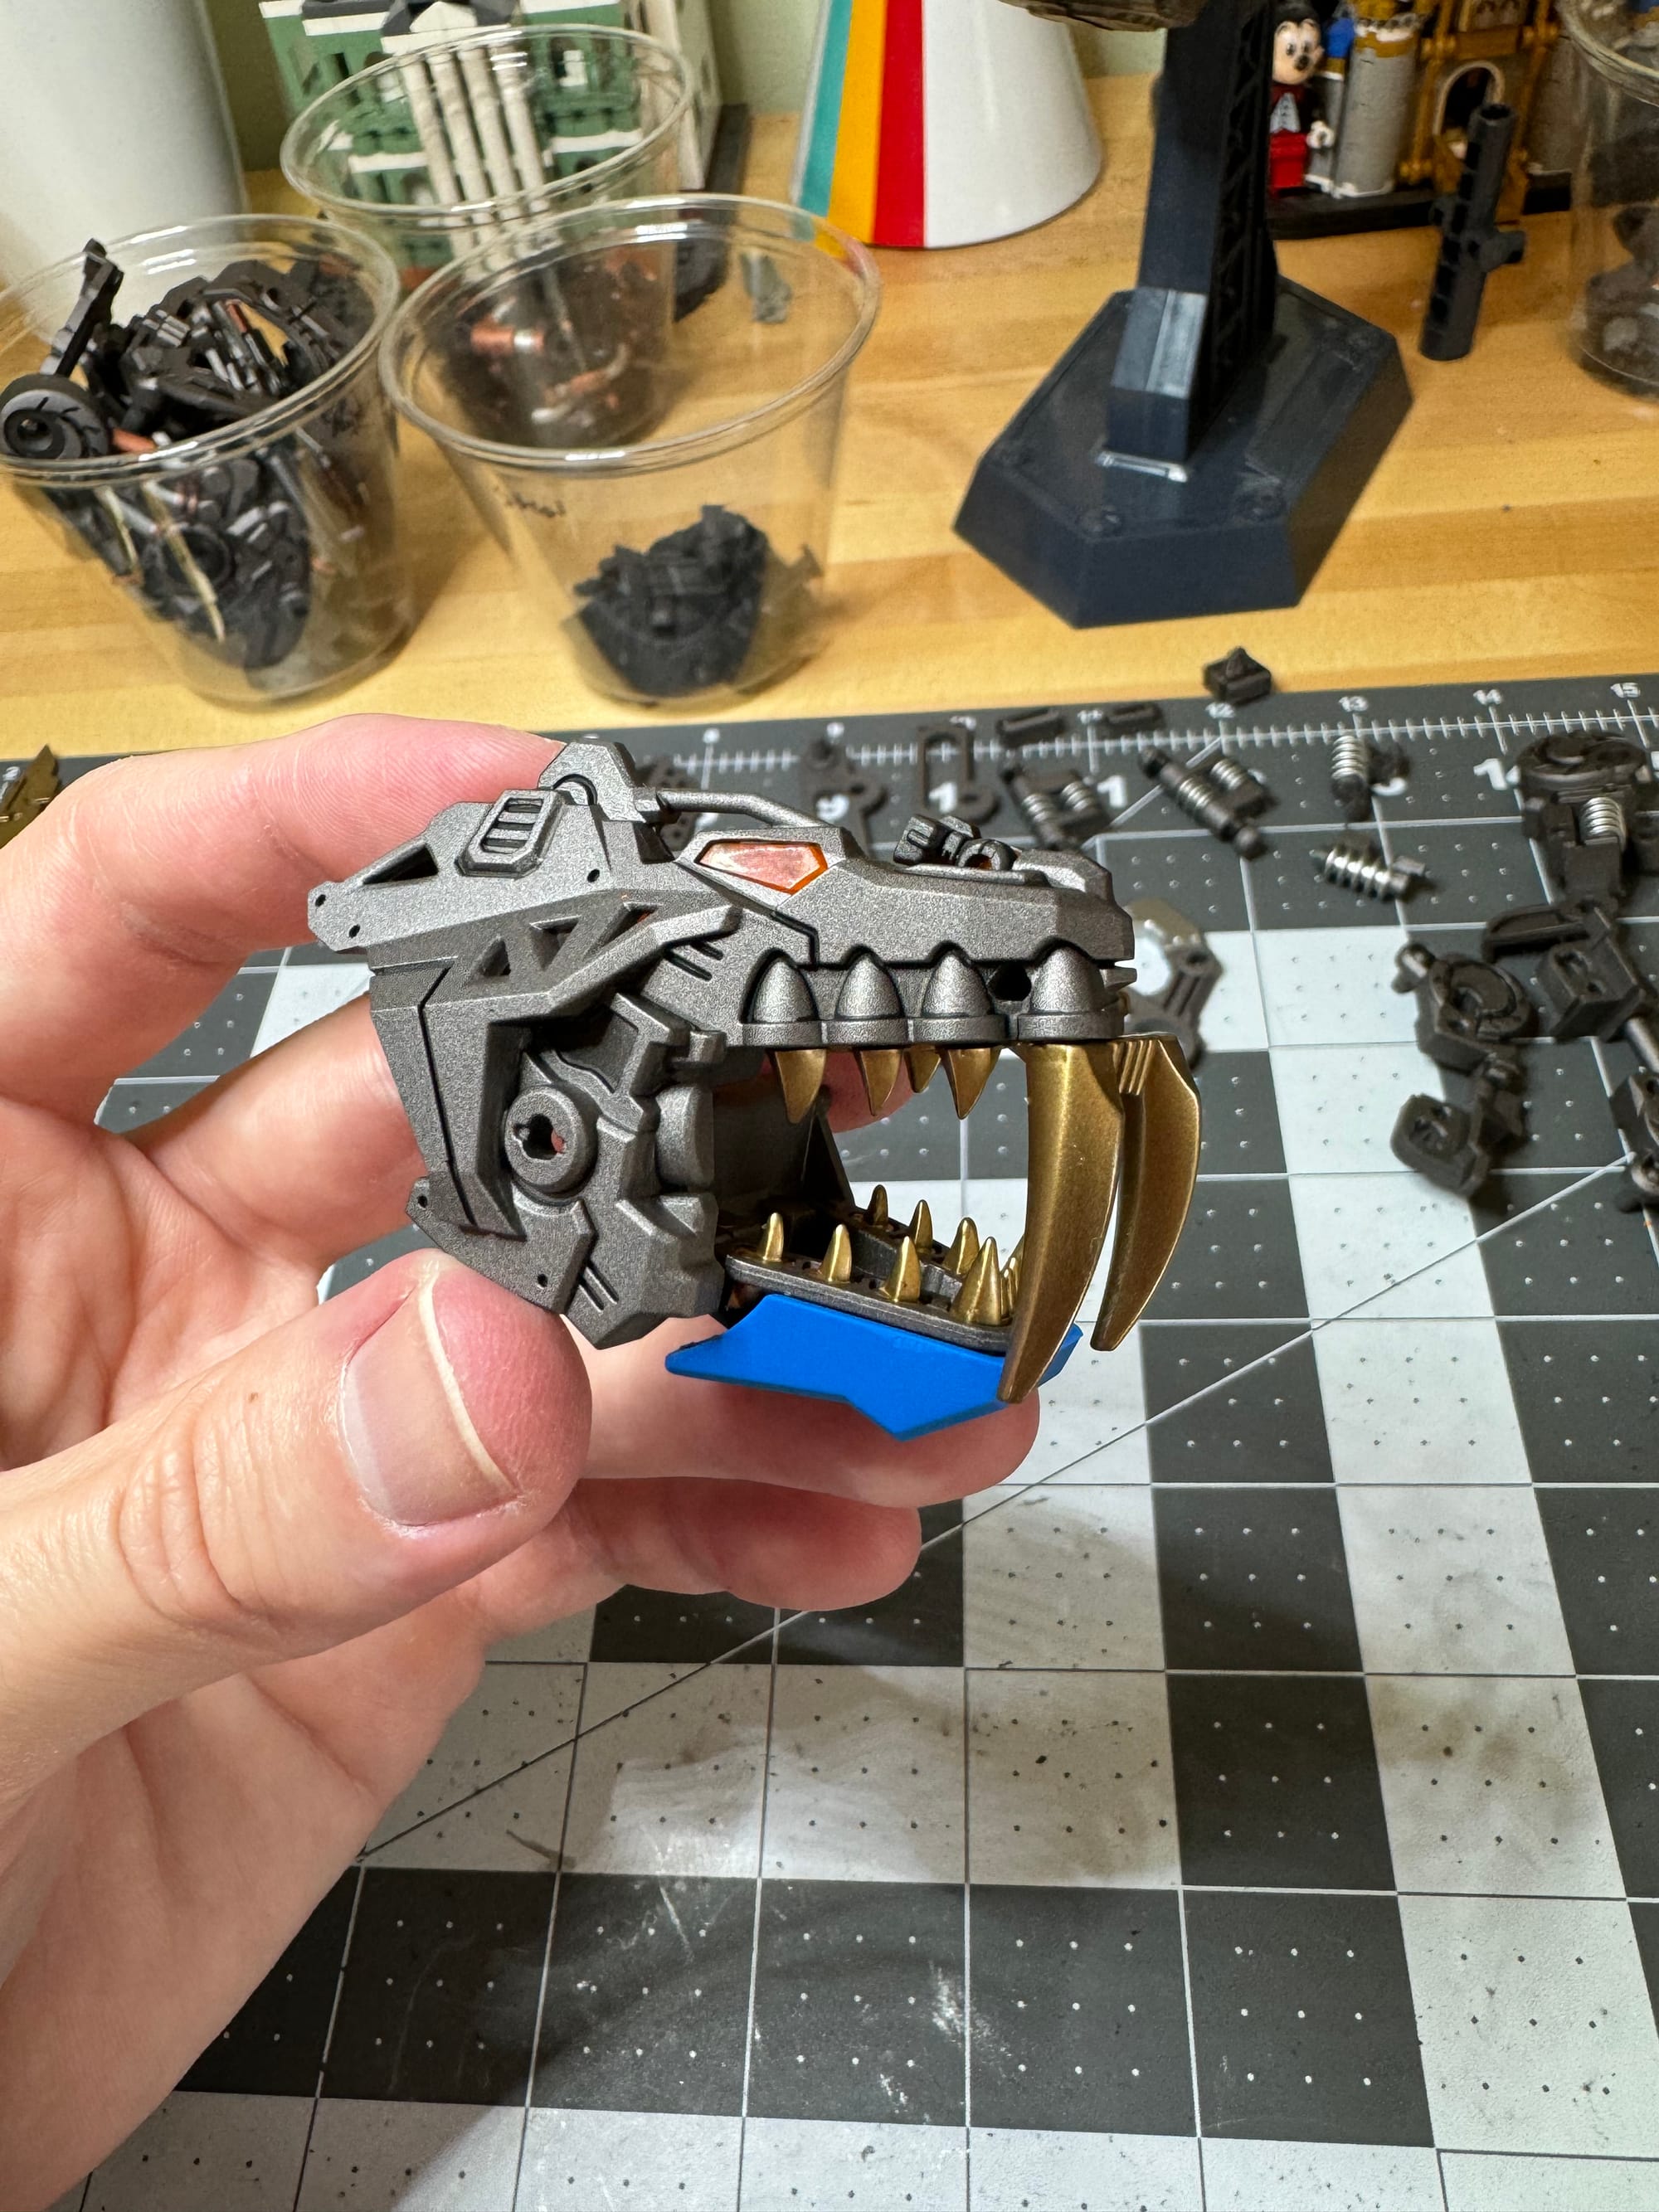
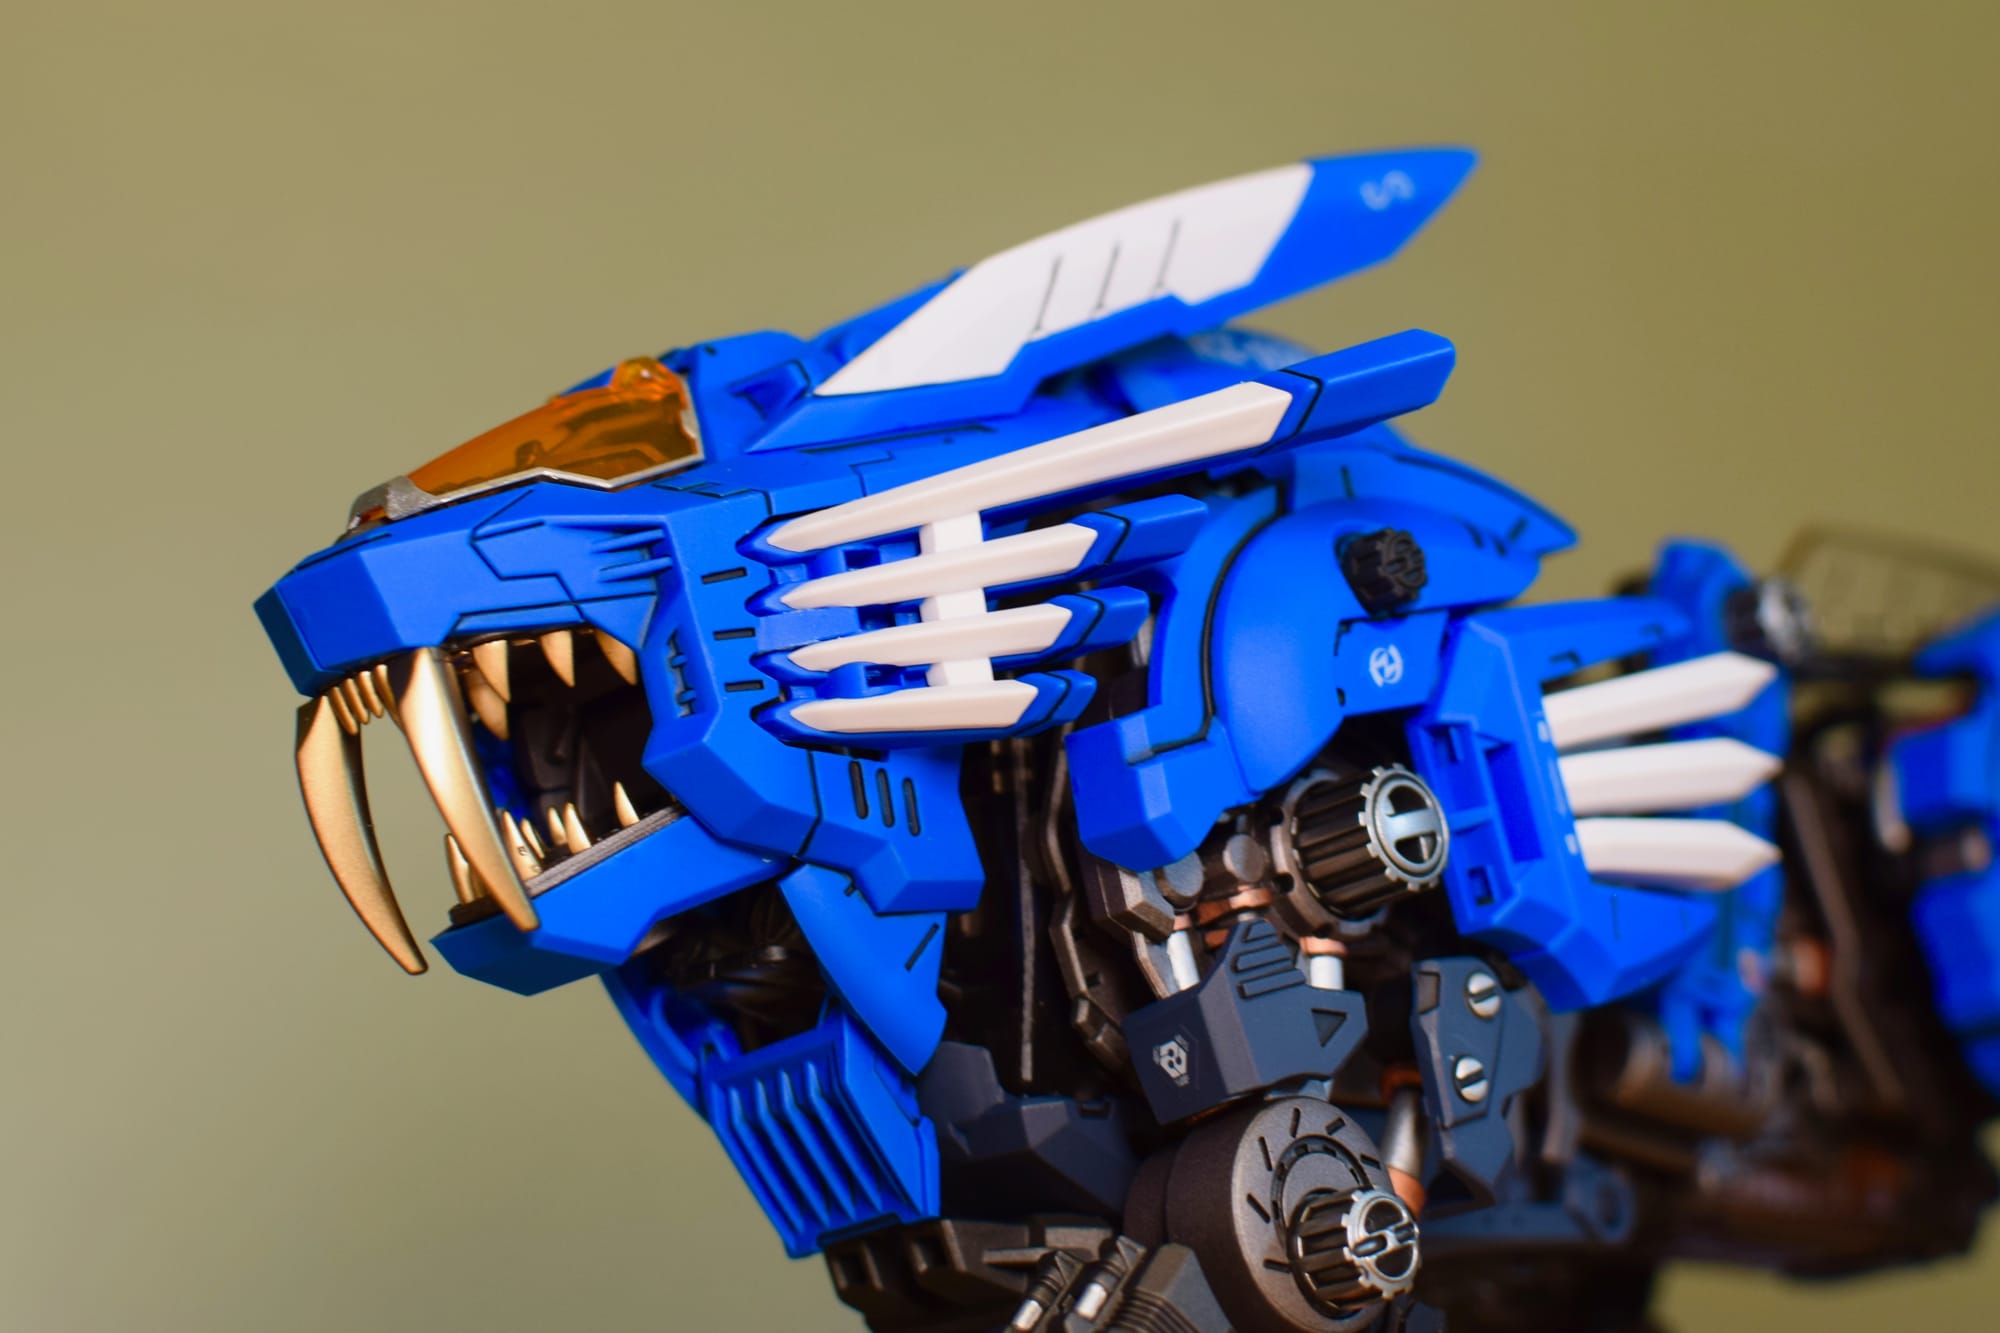
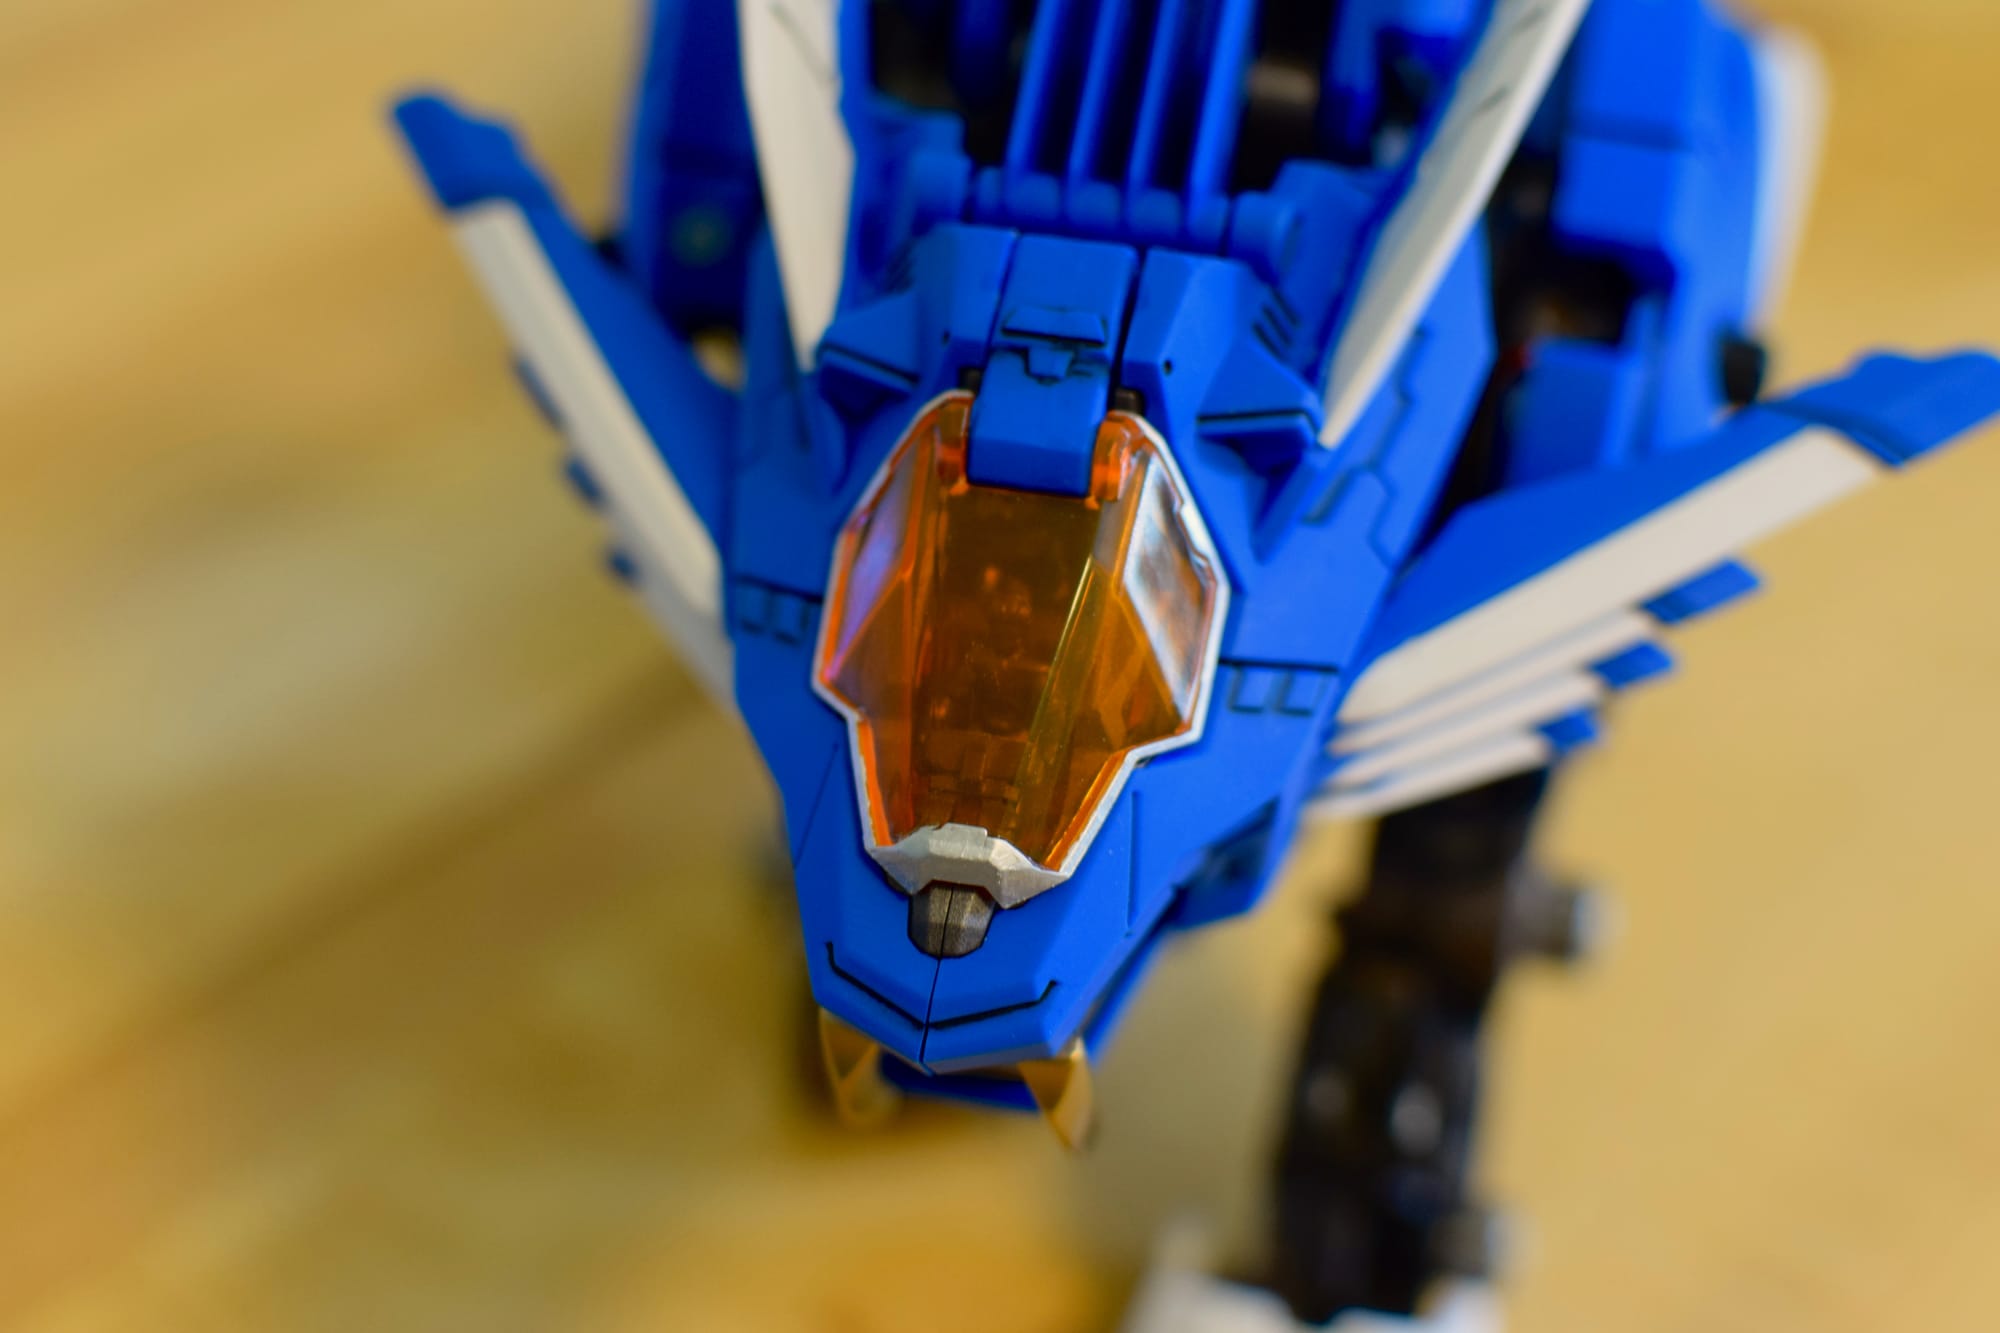
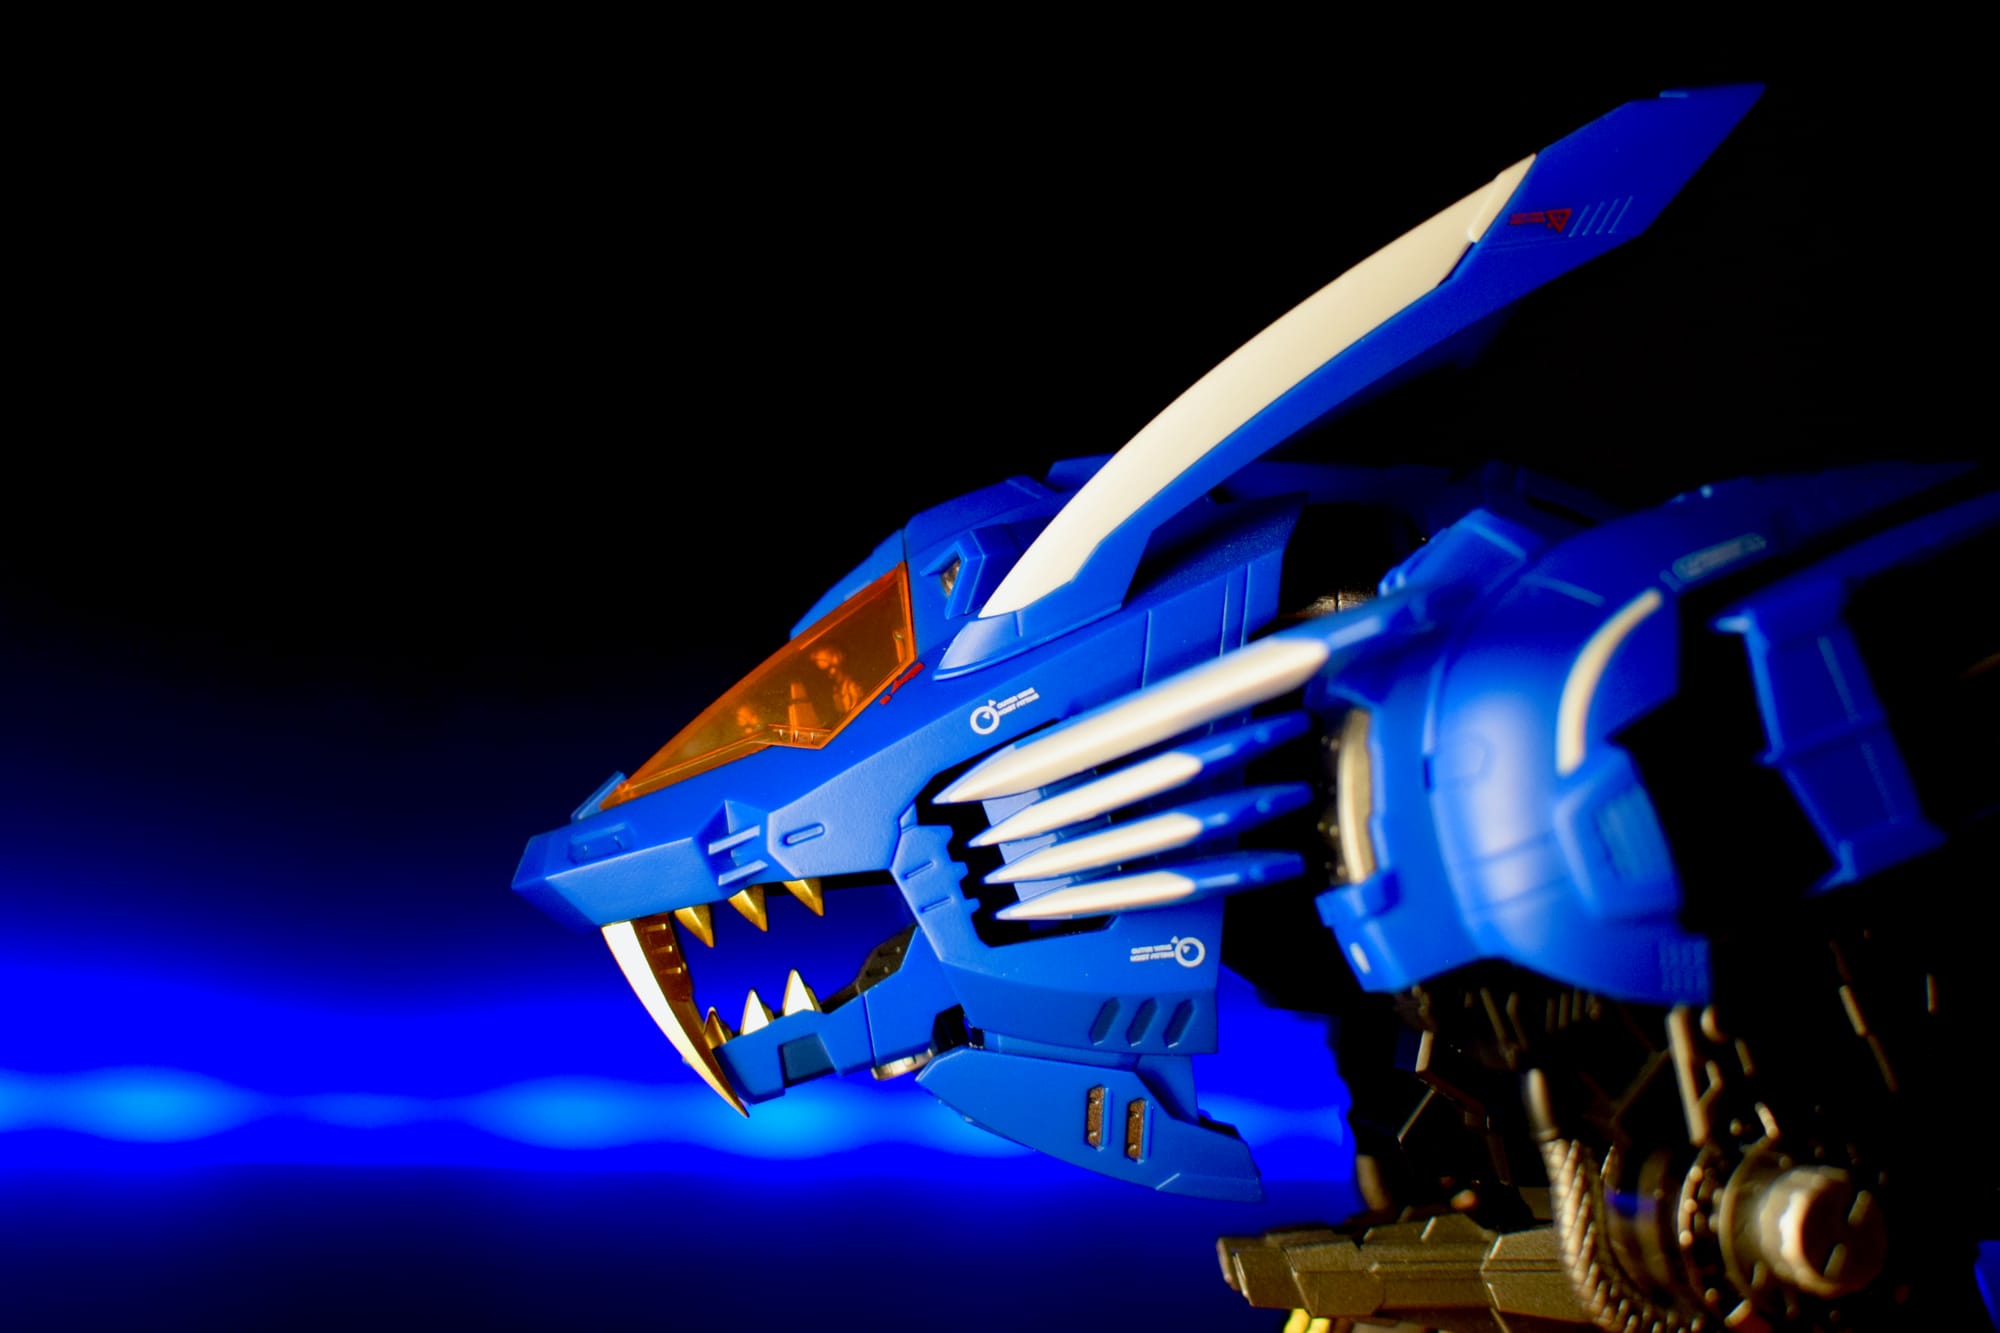
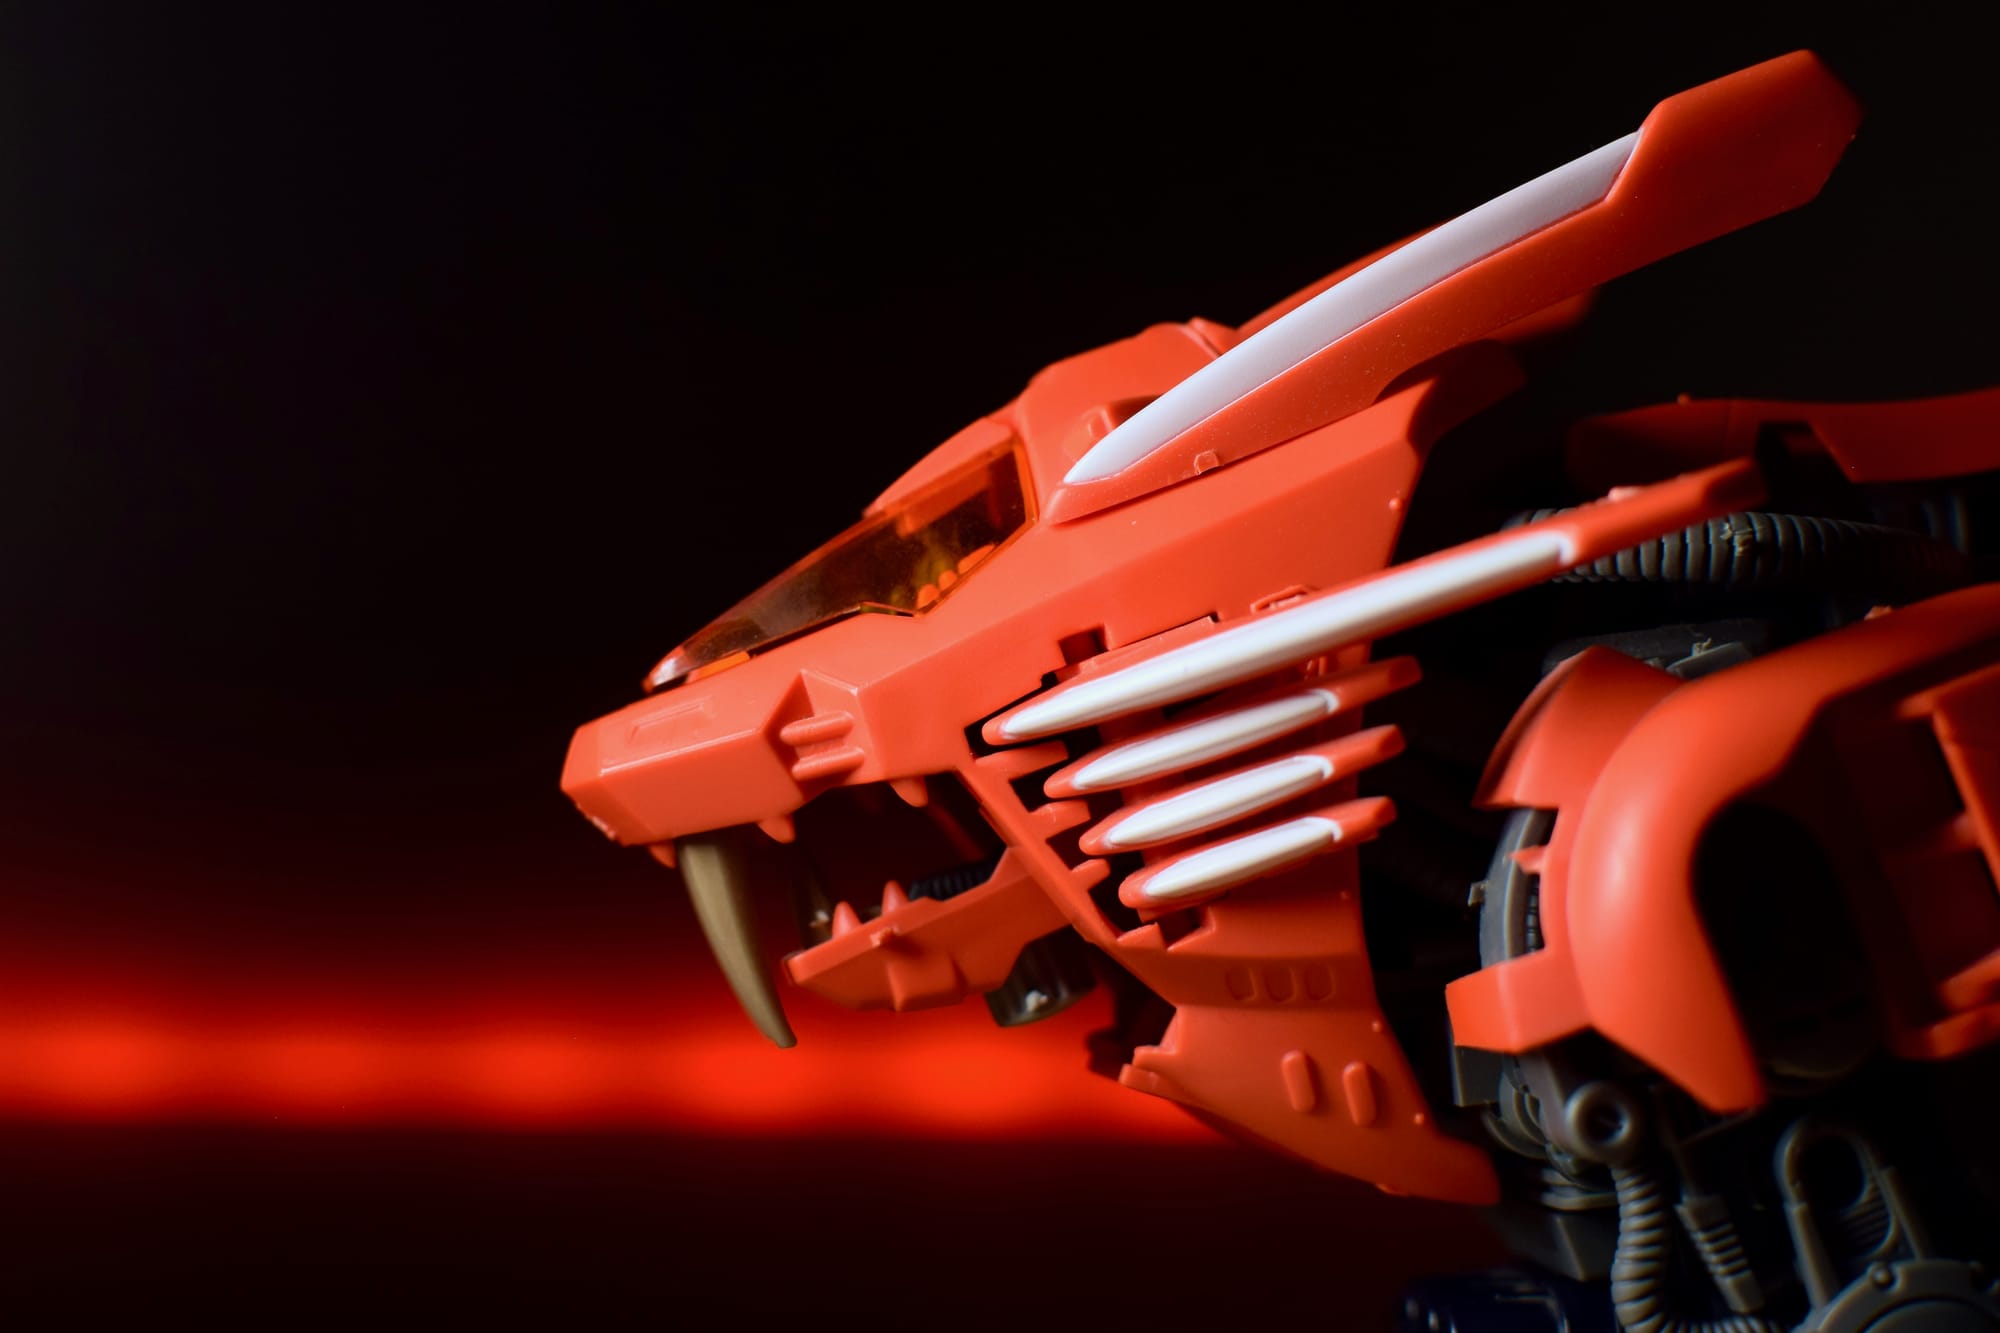
My initial impression of the design was slightly negative, but it grew on me pretty quickly. I love the more organic "wild" elements which were clearly inspired by the recent anime, but it still retains that original Blade Liger silhouette and charm. The teeth were the biggest source of my initial distaste. They're absurdly big. Look at those chompers:
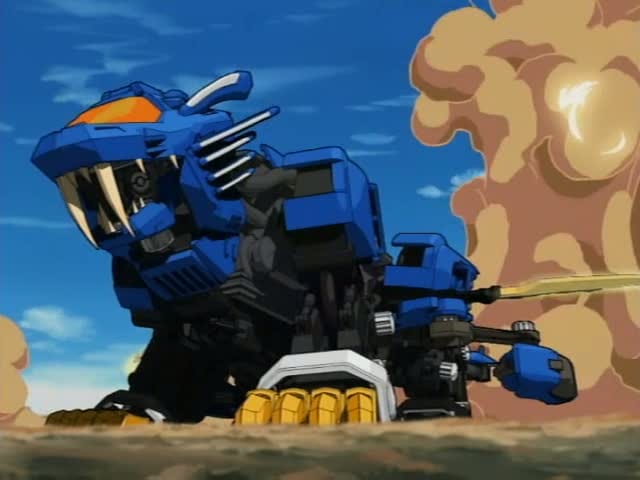
The anime Liger has some solid chompers, but the 40th's put them to shame.
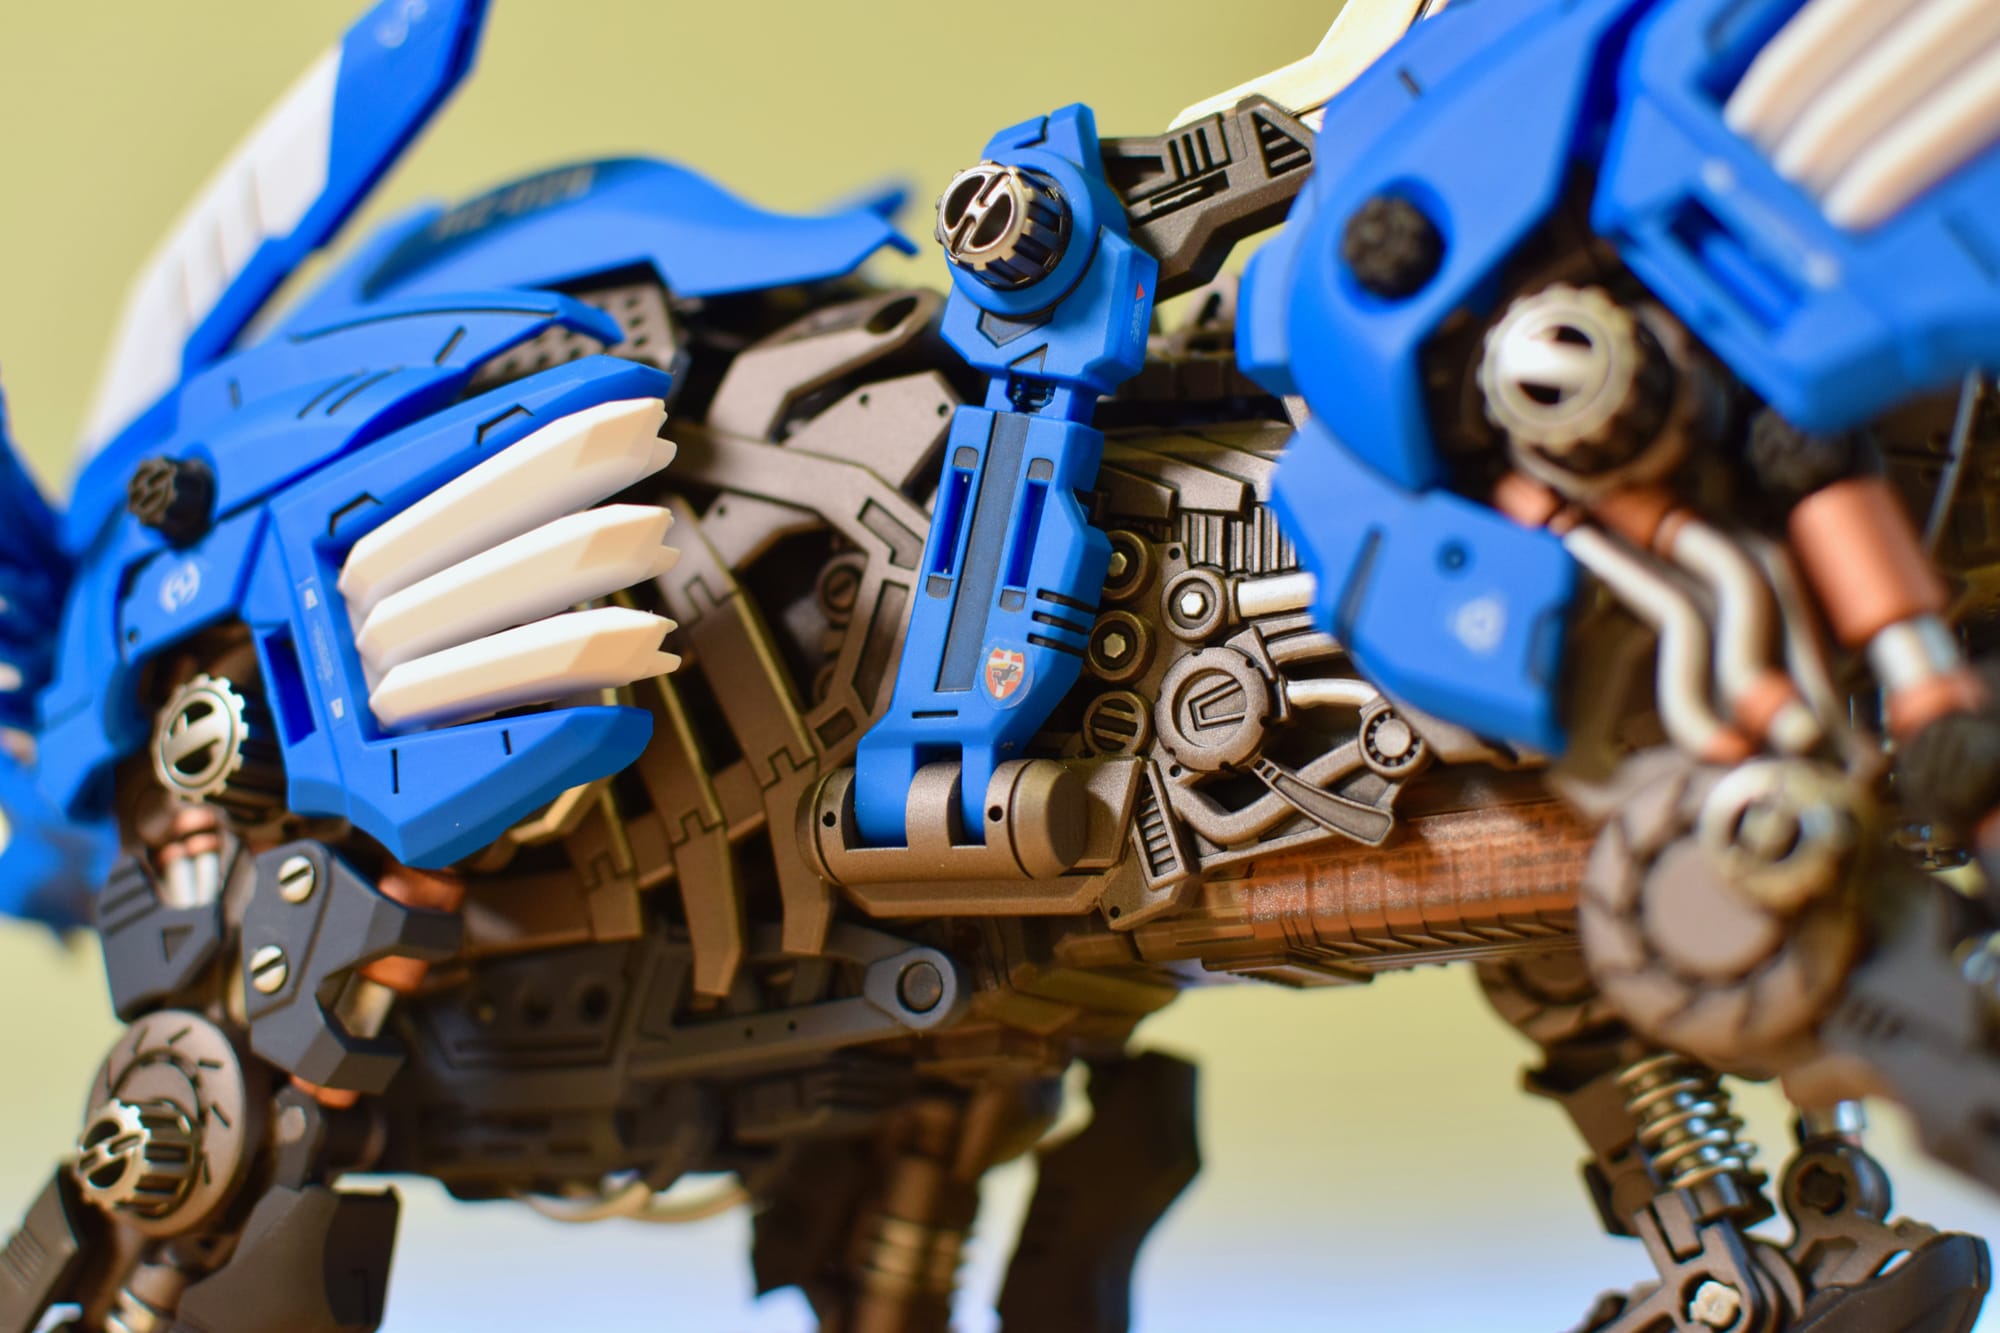
But like the rest of this Liger's design, they grew on me. They're still ridiculous, but it gives it a unique look that I've come around to. And the whole spine and rib cage of the inner body are really excellent touches. There's also tons of molded-in detail that were fun to panel line and paint.
Unfortunately, that's about where my praises end. A bunch of minor annoyances added up pretty quickly which caused early burnout. Having built a bunch of HMMs and RG Gundams, I think my expectations were a little out of whack. That's on me, but there were also some really bizarre choices here.
The Minor Annoyances
One downside to Kotobukiya's HMM line is the annoying gate placement. For example, the Sturm Tyrann had nubs right on the front of the face armor pieces, making for some stressful removal. One slip of the hobby knife and there'd be a divot in the middle of the Zoid's face.
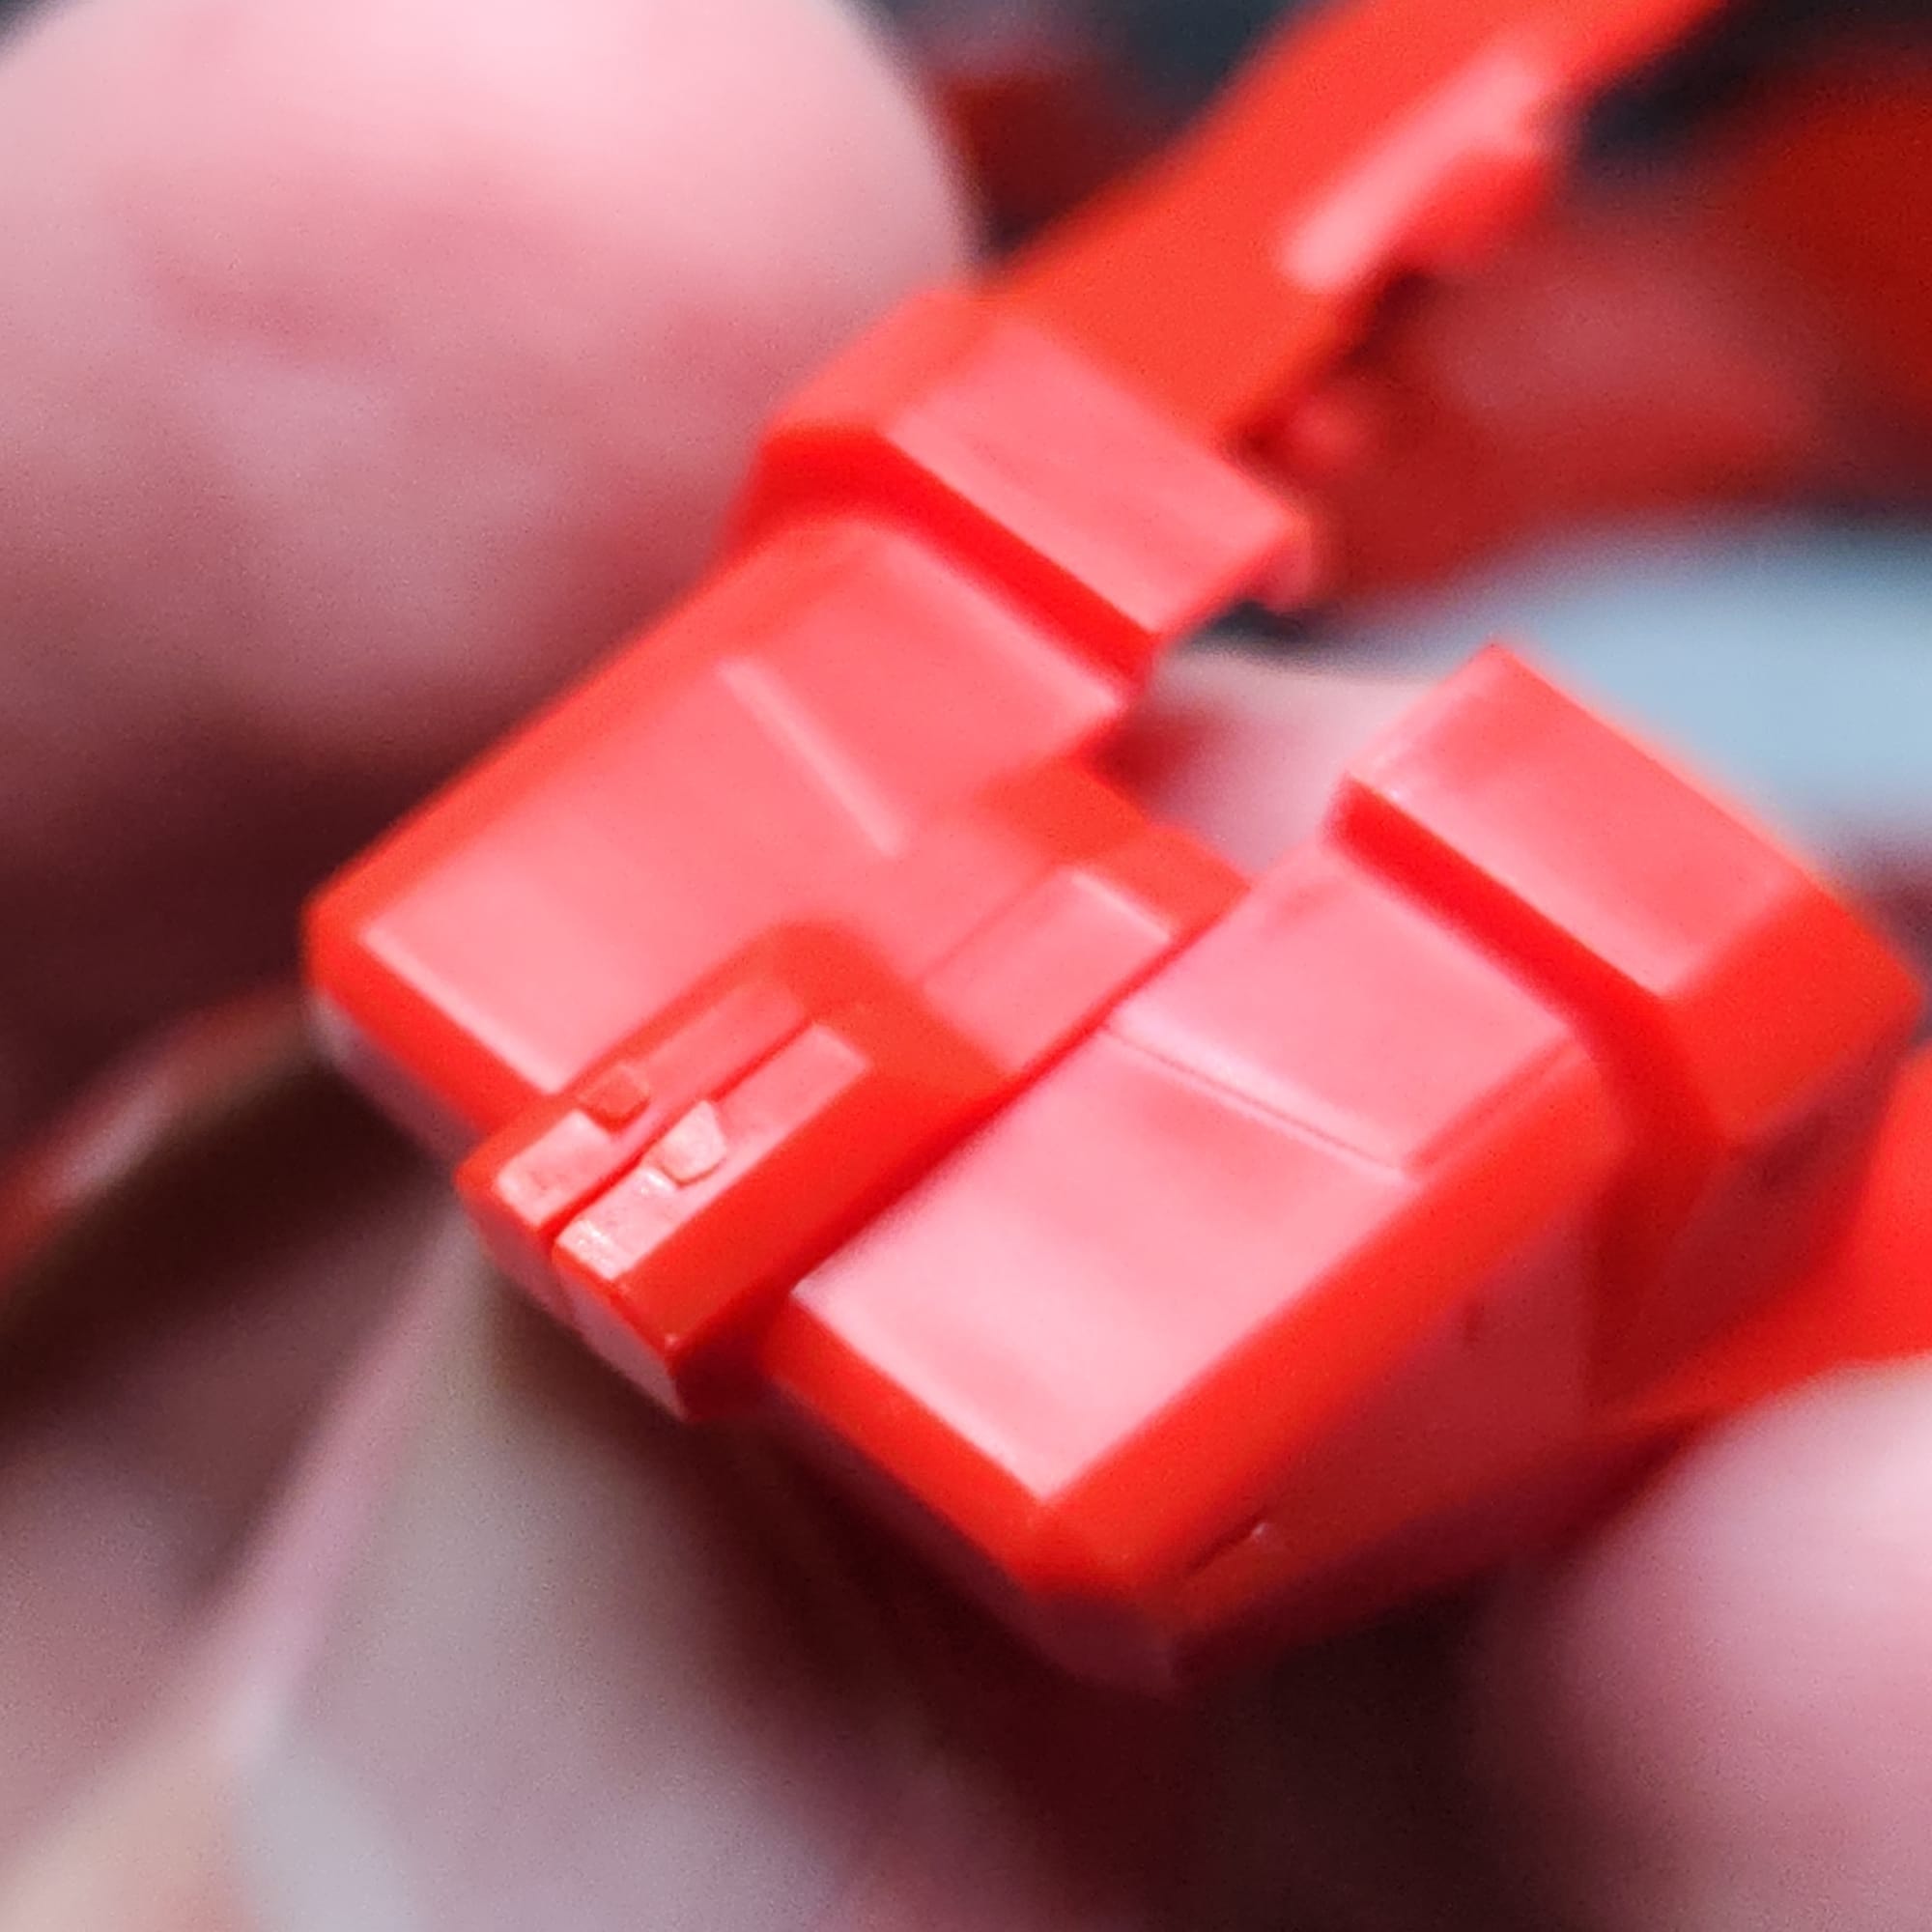
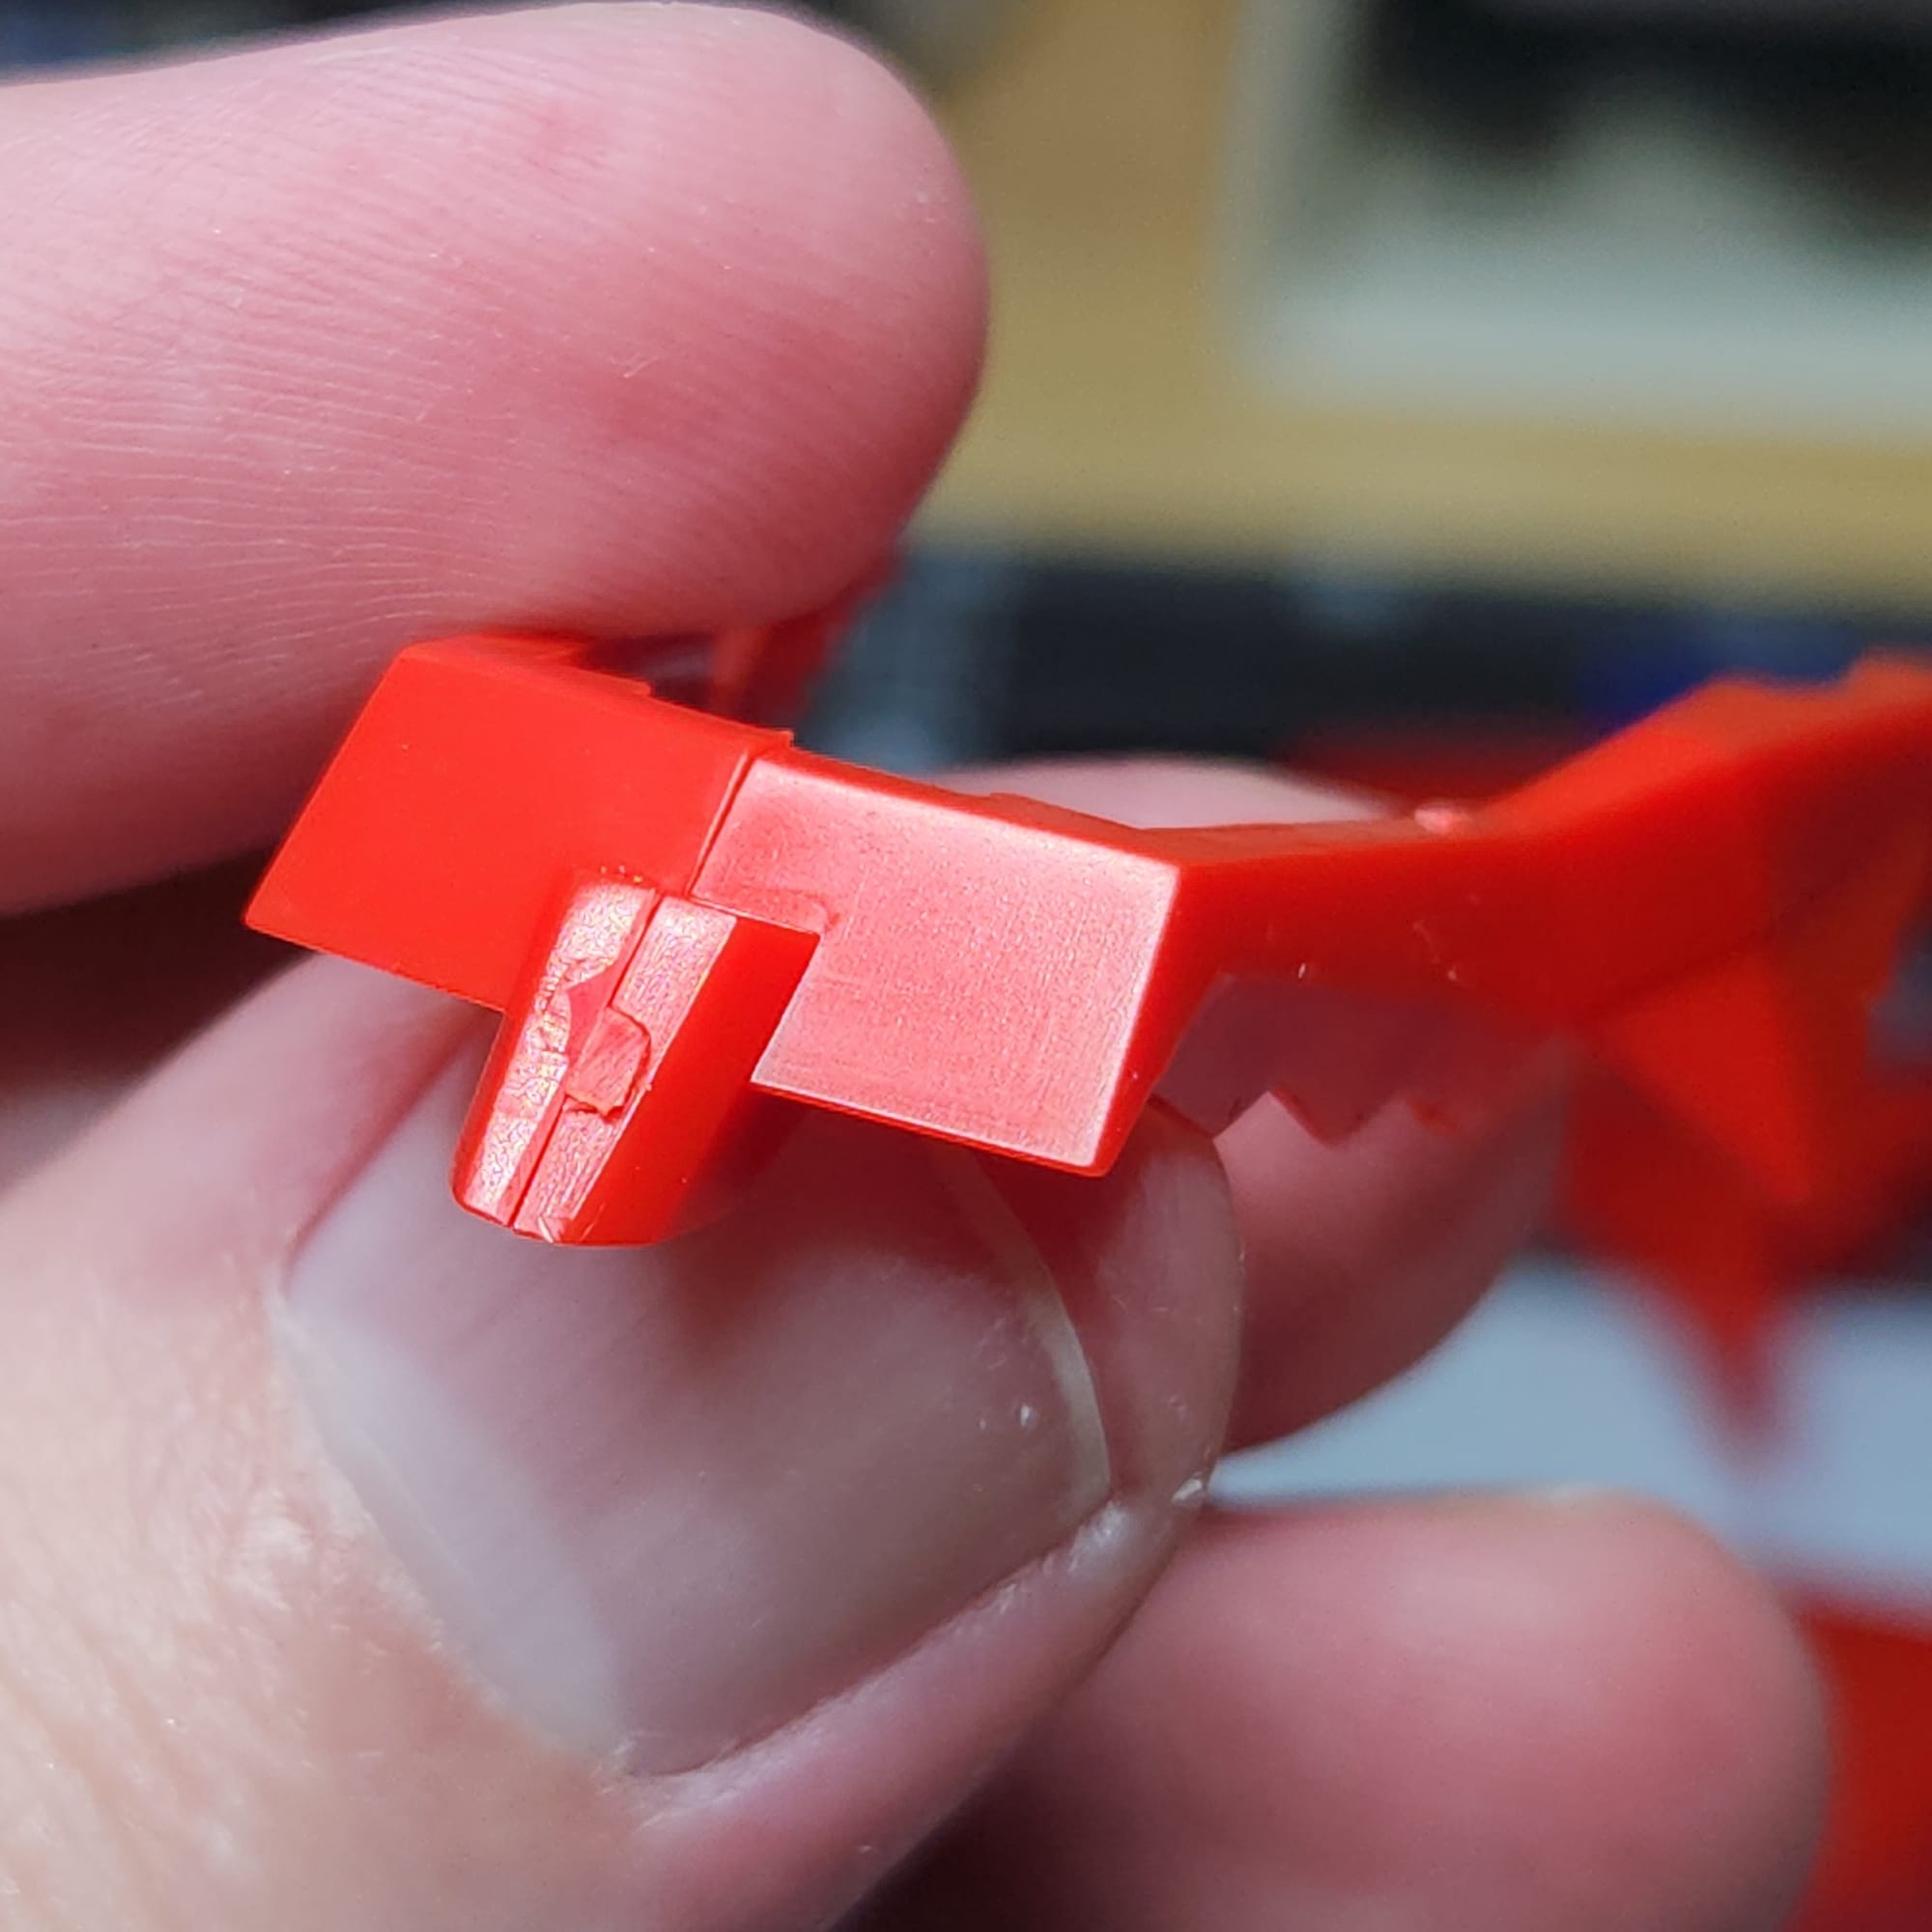
Not ideal. Careful nub removal is required.
This Zoid takes that problem to another level by not just having inconvenient gate placement, but massive chunks of plastic coming off the pieces that require arduous nub removal. Nub removal is part of the hobby, but most Bandai and Kotobukiya kits give much more thought to gate placement, even undergating in many cases.
The part fitment and mold quality weren't great. Some pieces, especially the blue and white, didn't fit together all that well. There were also some pretty chunky mold lines and inconsistencies. With a bit of sanding and trimming, these issues were mitigated. While these minor annoyances can be worked around, they lead to a far less enjoyable build overall.
And lastly, there's no Zeke. How are you going to include Van and Fiona but no Zeke? What have they done with my boy?
The Major Annoyances
Is this a toy or is this a display model? The designers didn't seem to know the answer. It's priced like a display model: about $100 USD. The molded-in detail suggests it's a display model, but the included stickers scream "toy." Again, my expectations were probably too high, but I was hoping for waterslides at this price point. I posted an Instagram story about my disappointment and several people responded with the same level of dissatisfaction. I know I'm not the only one who expected more.
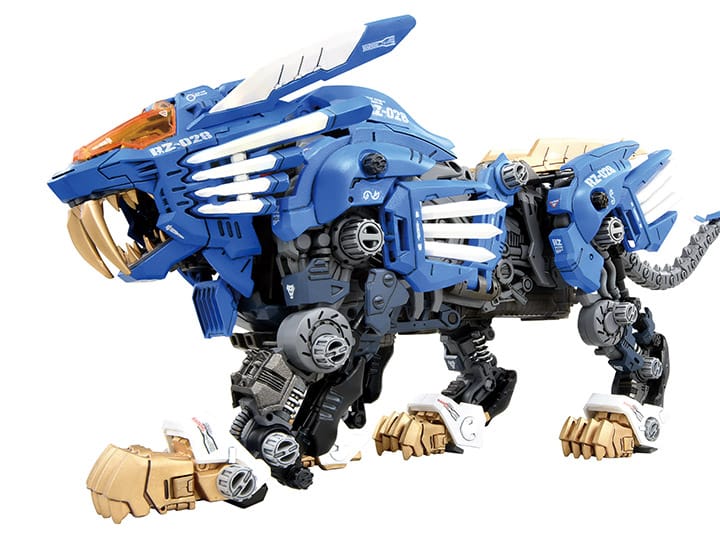
And then there's the gold...
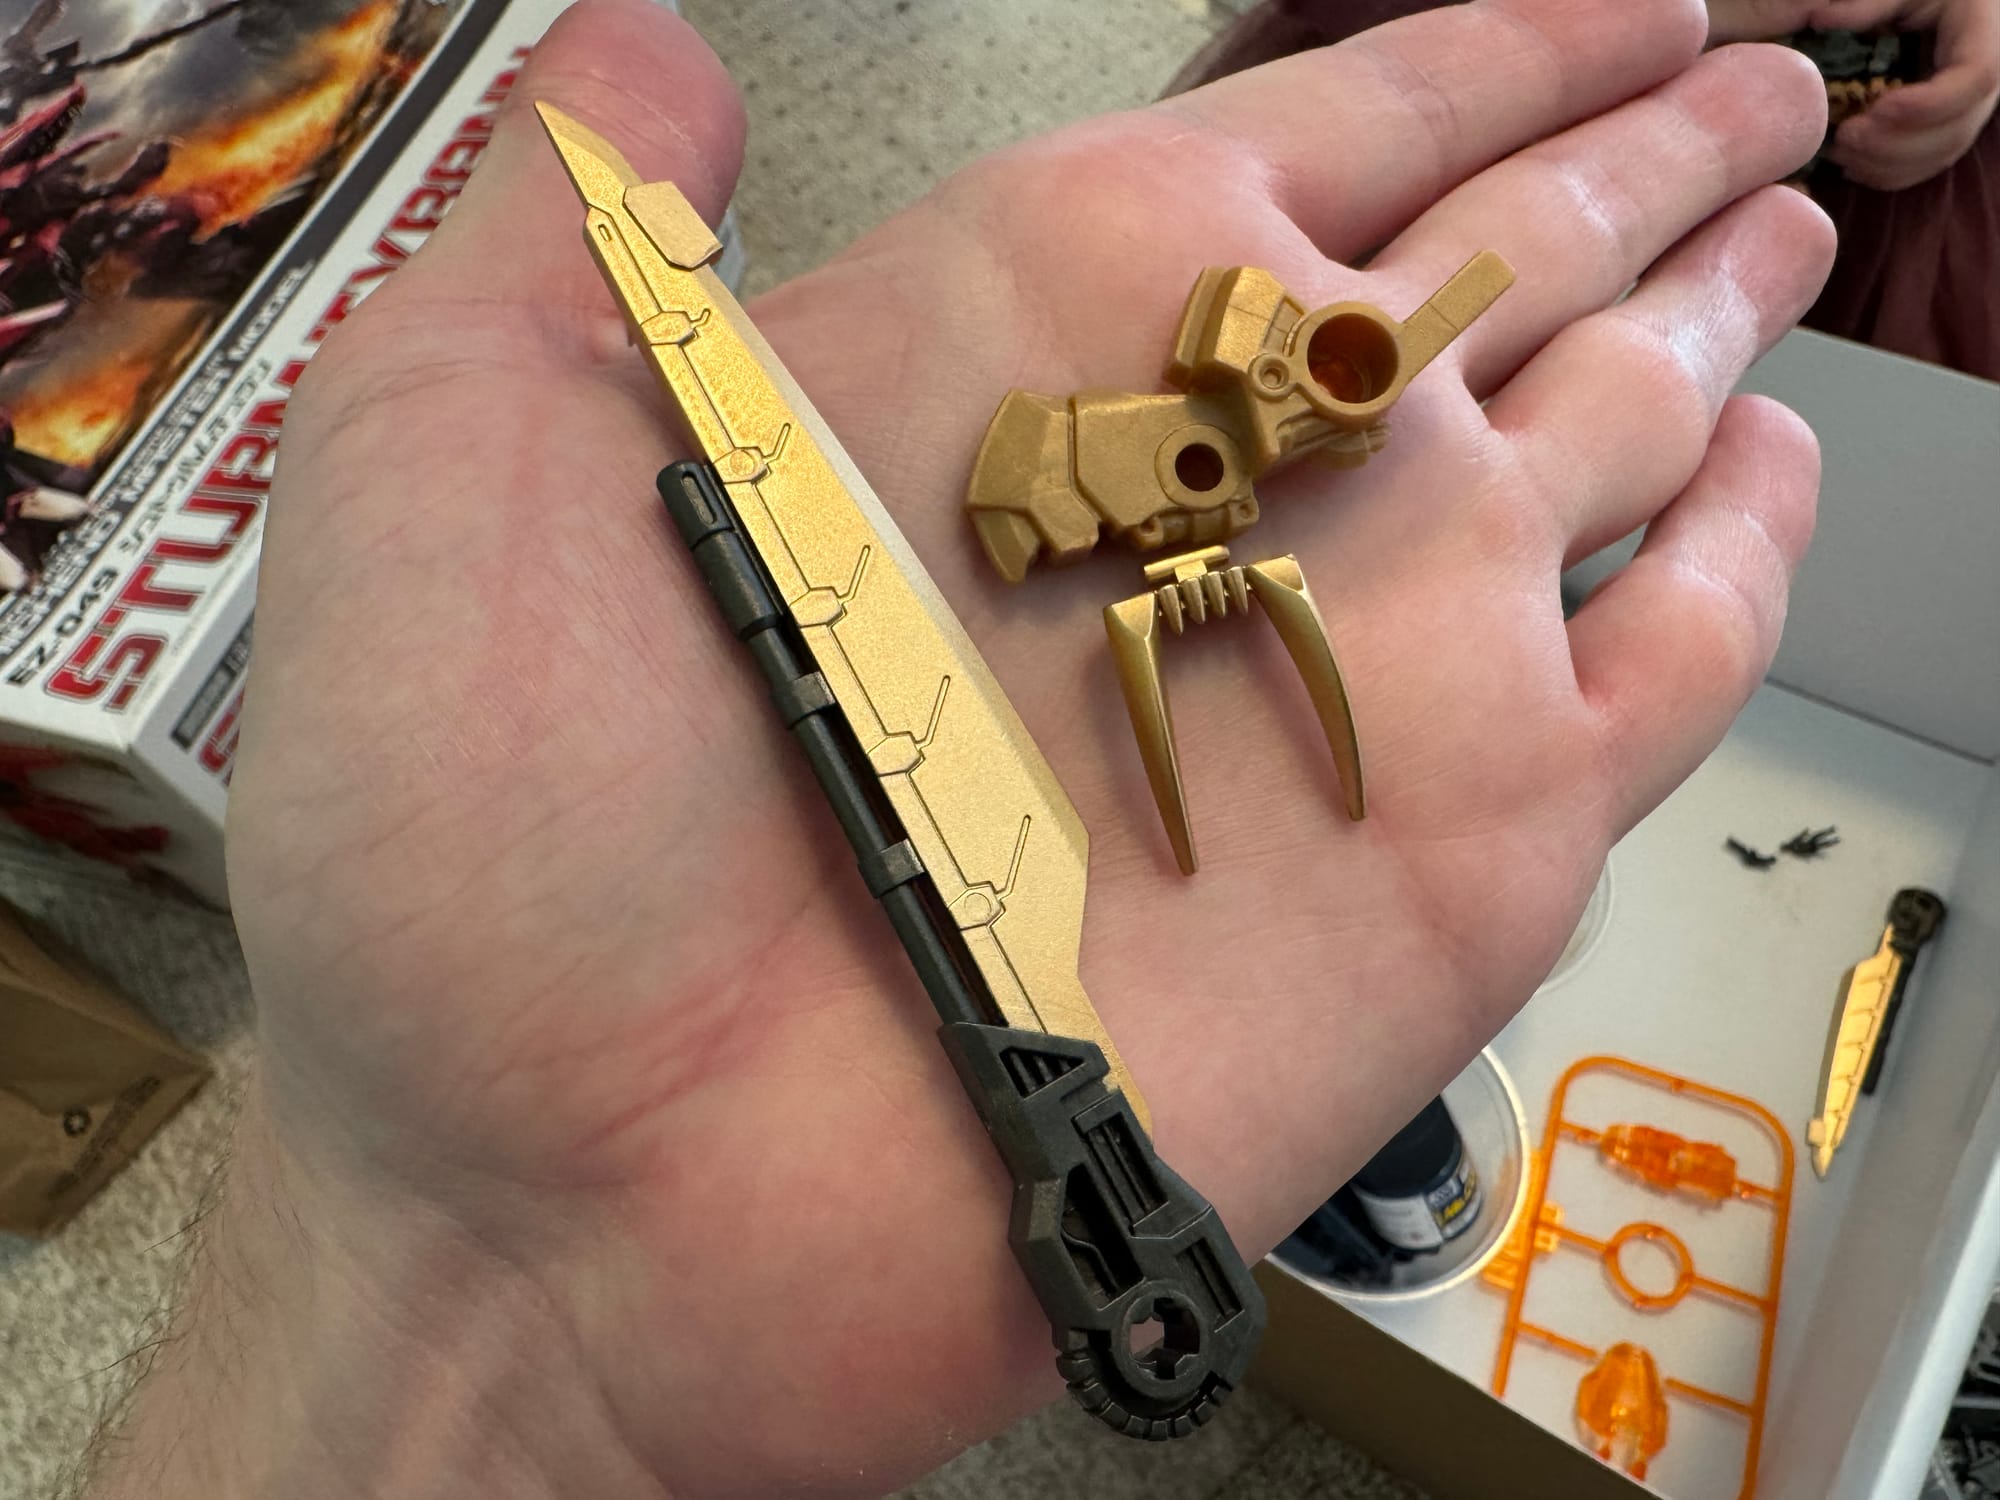
I was initially quite happy when I unboxed the shiny gold blades. But that excitement was diminished at the sight of the tan claws. This confirms my theory that the designers didn't know what they wanted this kit to be. Painting only some of the gold elements satisfies neither the toy nor the model crowd. If you're straight building this as a toy, you will end up with mismatched parts. If you're painting this as a display model you'll either have to find a perfect match for the prepainted gold, or strip it, sand it, and paint over all the gold and tan elements with the same color. Nobody wins here.
The Sad Things
This last one is probably on me. When you paint a kit, the pieces are tighter than normal. I usually try to account for this by masking connection points, or stripping the built-up paint on them, but this method isn't perfect. After attaching all the legs, I tried activating it...
Ugh. It ran fine without the legs. I triple checked the leg assemblies and got the same results. I can't really blame this on the Zoid. It could be fitment issues from painting, but I'm not sure. I spent too much time troubleshooting and wasn't enjoying the project much at that point anyway. So I did what the designers did not, and decided this was a display model.
To add insult to injury, my compressor broke in the middle of the project. Then, I found my remaining two pots of Mr. Super Gold 2 had completely dried out. This project felt cursed.
Distractions
So I got distracted.
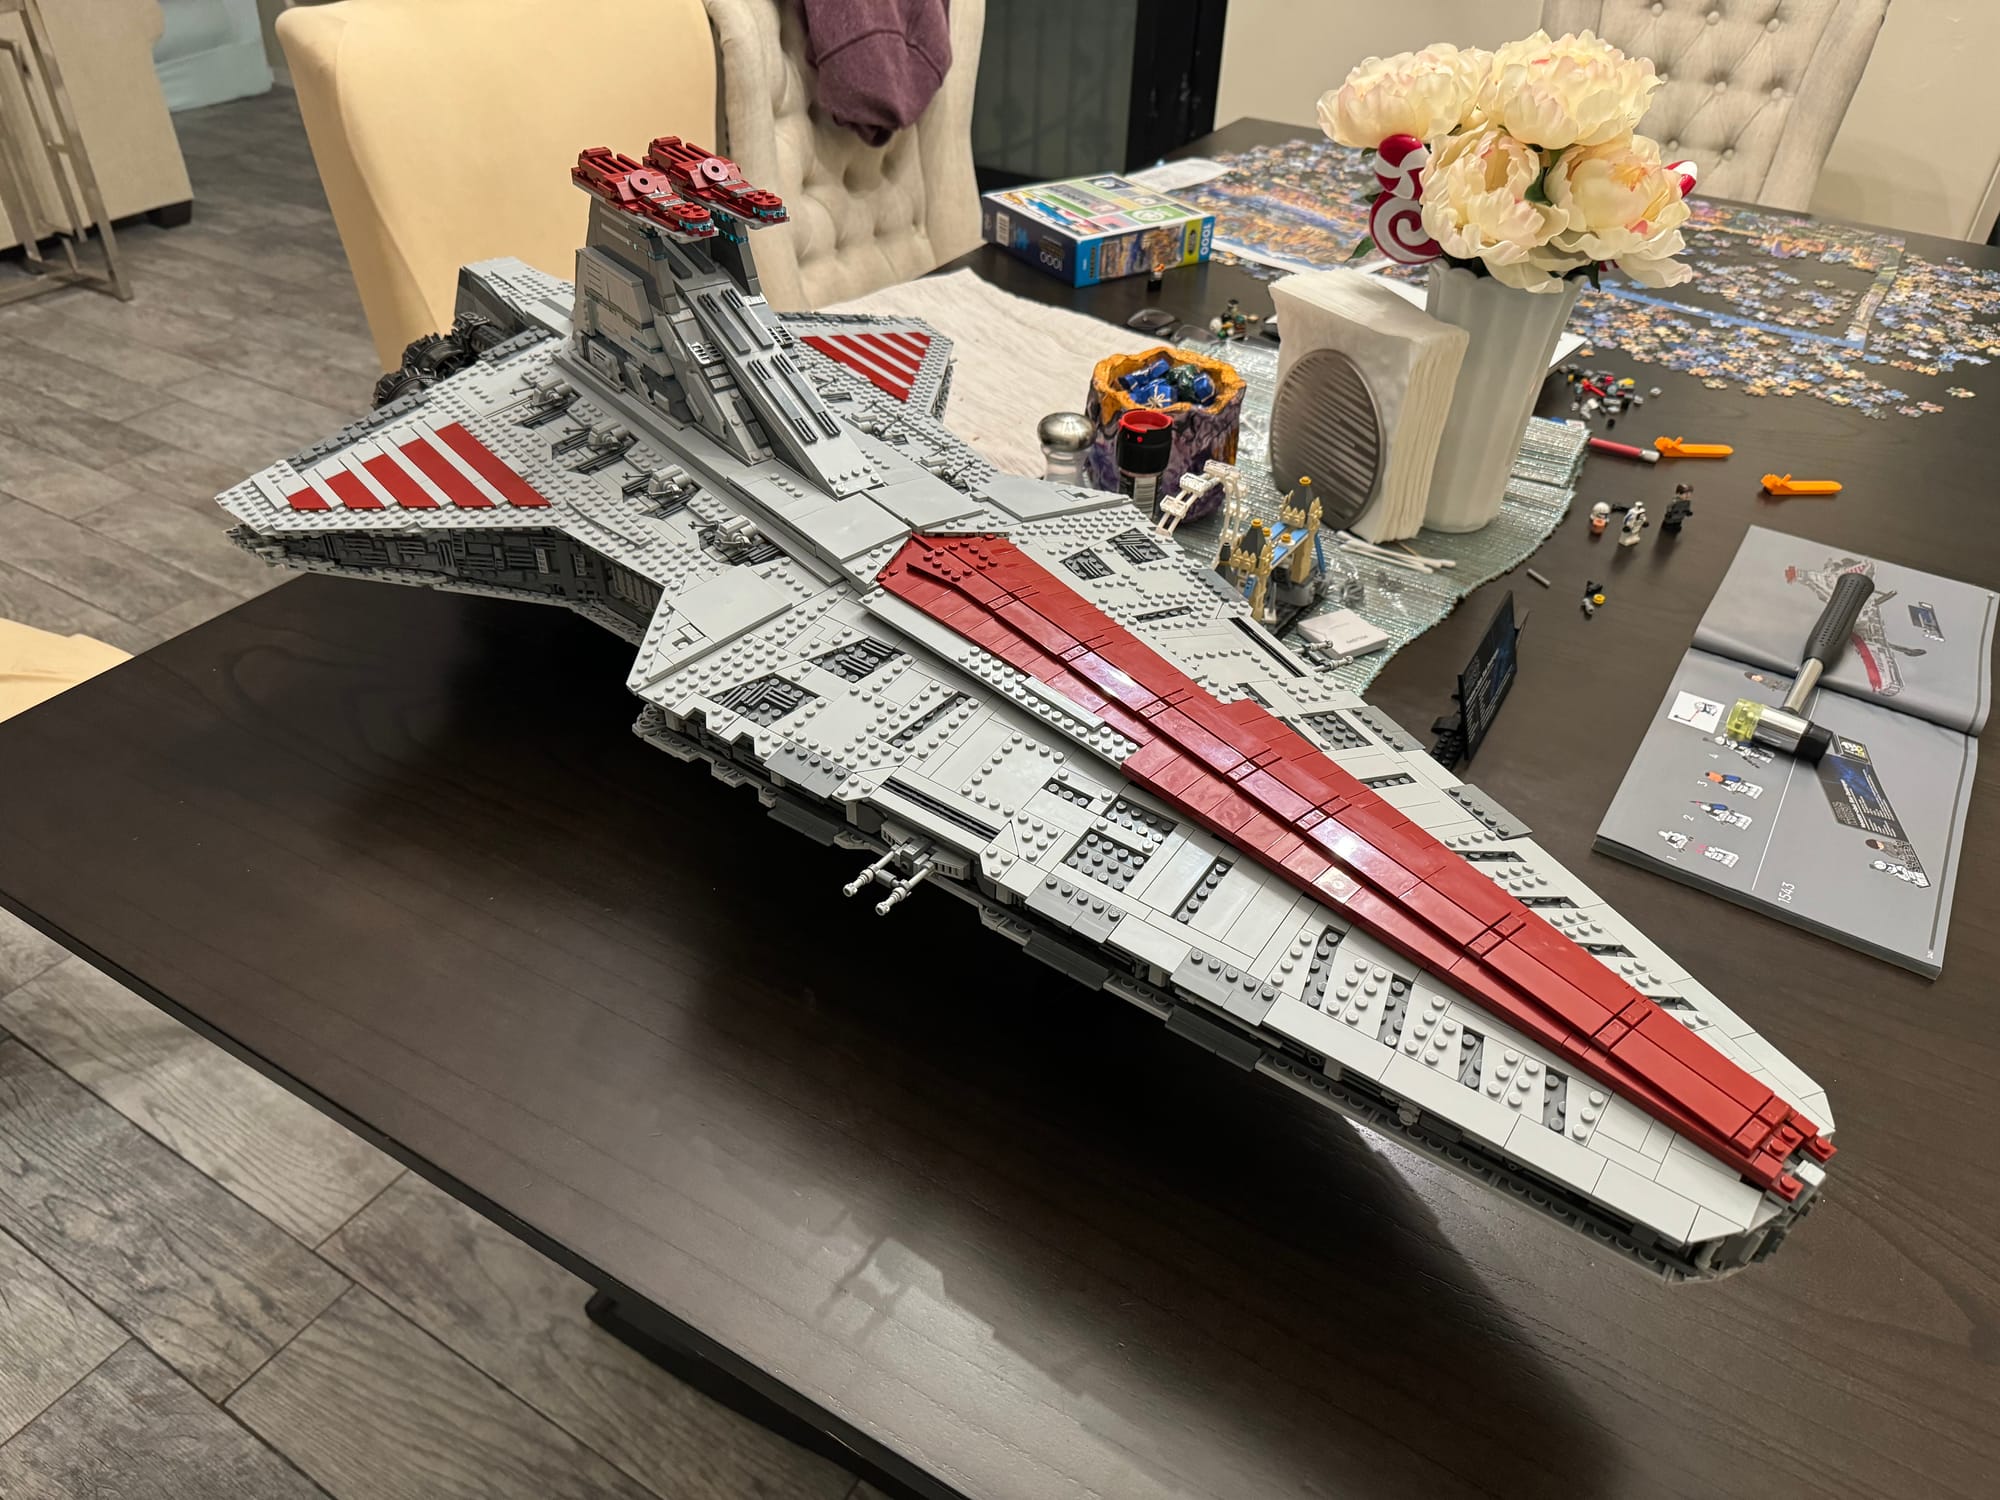
VERY DISTRACTED
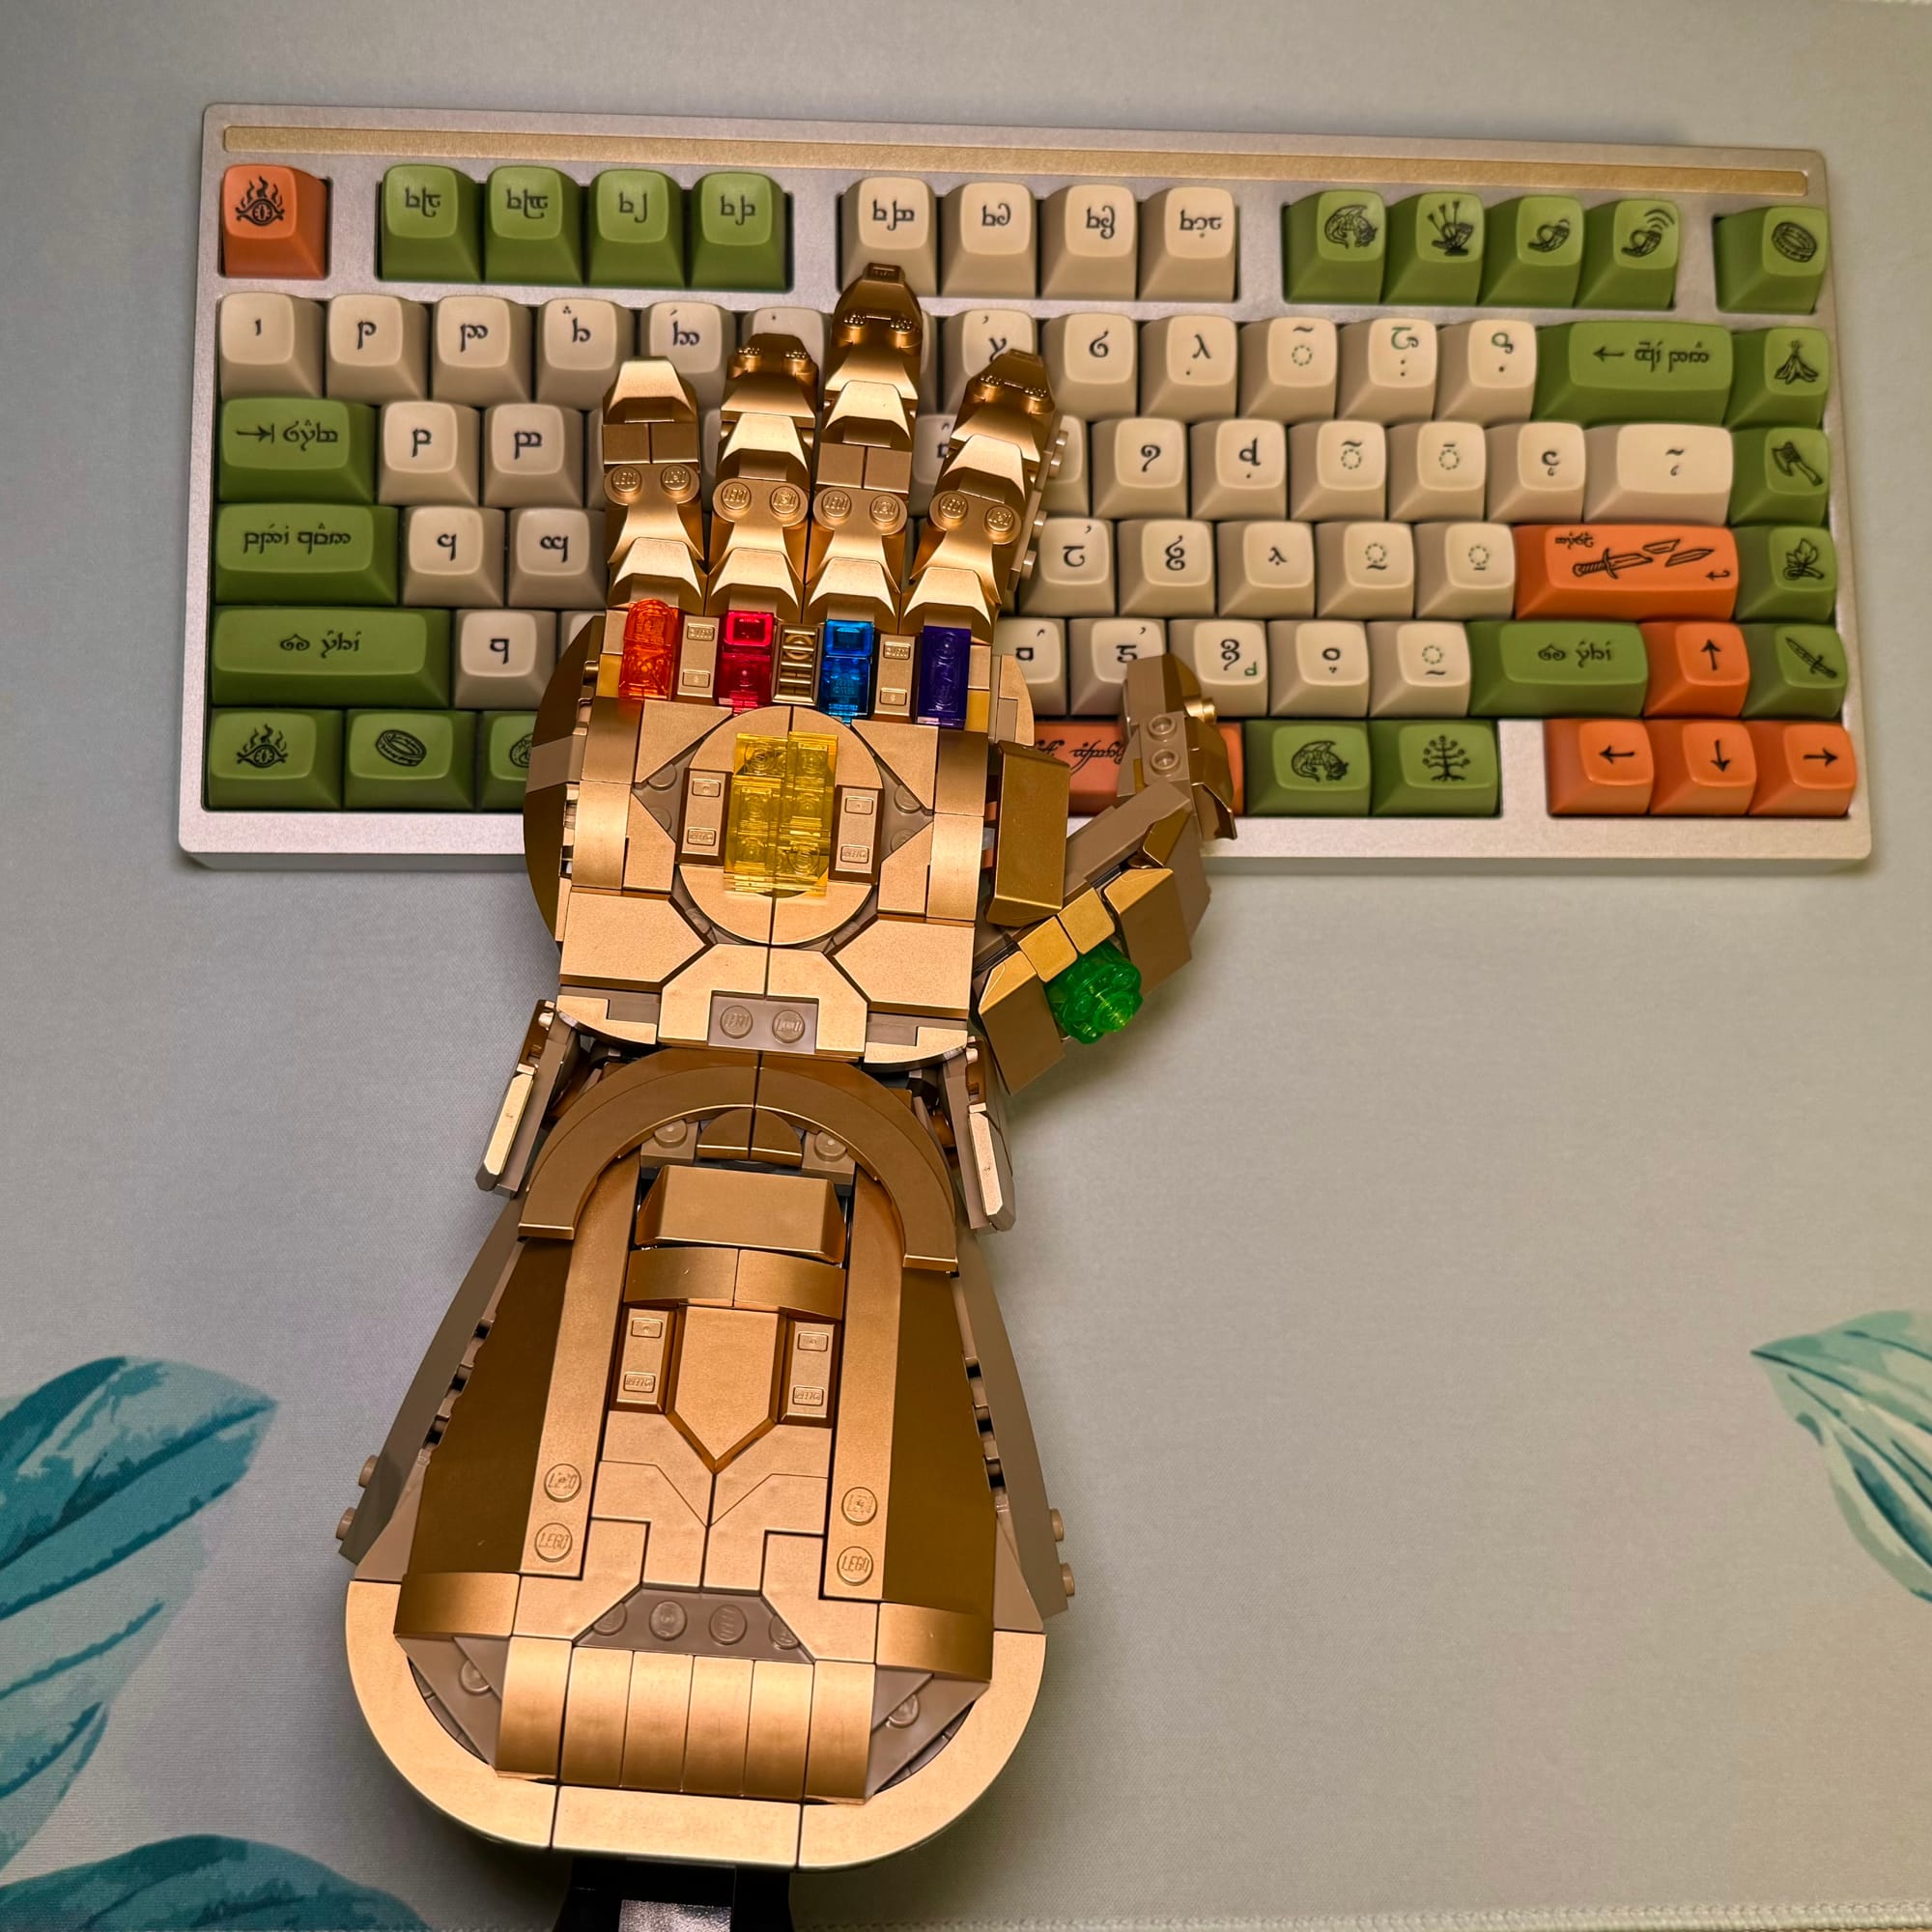
Ok, I shoved the Zoid in the closet and built Legos for like a month. I needed a break.
Back At It
That's enough negativity. Let's quickly run through some paint choices:
- Motor box: Unpainted and untouched. Bad idea to paint this and hardly visible anyway.
- Inner frame (skeleton): Mr. Color Burnt Iron. My first time using this color. New go-to paint unlocked.
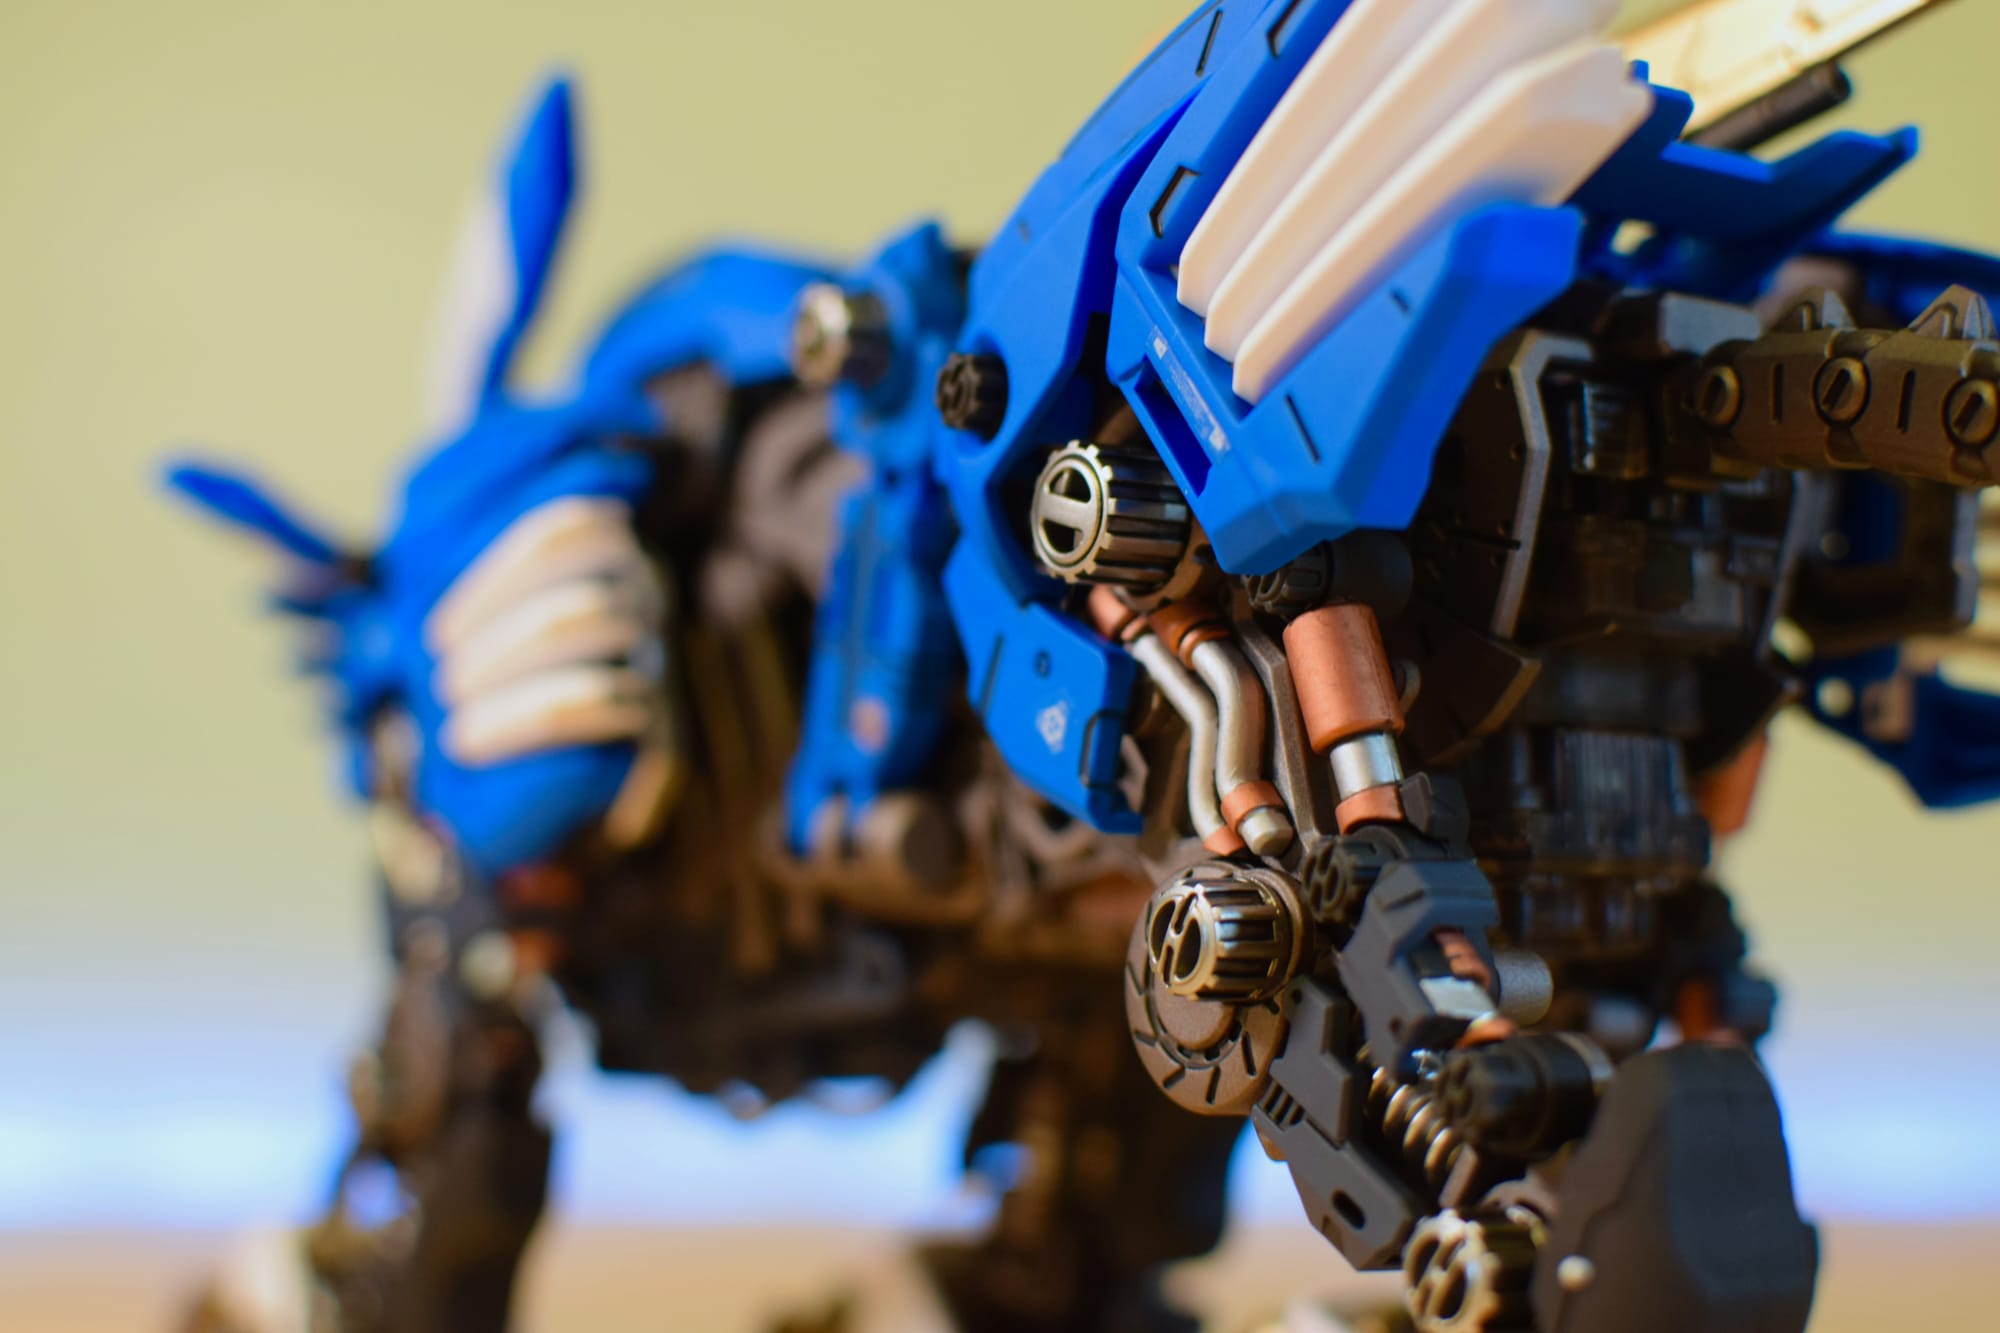
- Black pistony bits: Top coated with Alclad Flat. Unpainted.
- Blue armor: I agonized on whether I should paint this red as that's my preferred Blade Liger color. But I opted to keep it blue since it represented the 40th Anniversary and contained Van and Fiona inside. The standard plastic color is a really nice, deep blue. I simply top coated it with Alclad Flat.
- White armor: Also just topcoated with Alclad Flat.
- Weapons: Mr. Color Steel, top coated with Alclad Flat.
- Caps: Mr. Super Metallic Iron.
- Gold Bits: Lightly sanded the existing gold pieces, then hit it all with Alclad Gloss Black, followed by Alclad Pale Gold. The Alclad turned out nice, but is very sensitive to flooding and scratches. The Mr. Super Metallics are fool proof by comparison. I like Alclad, but learn from my mistake and seal their metallics so they don't scratch.
- Hand-painted elements: Mr. Metal Colors. Wear a respirator and keep your workspace well ventilated. These paints stink. They also don't really adhere to the plasic and will rub off with just a finger. These need some kind of top coat (Alclad Flat here).
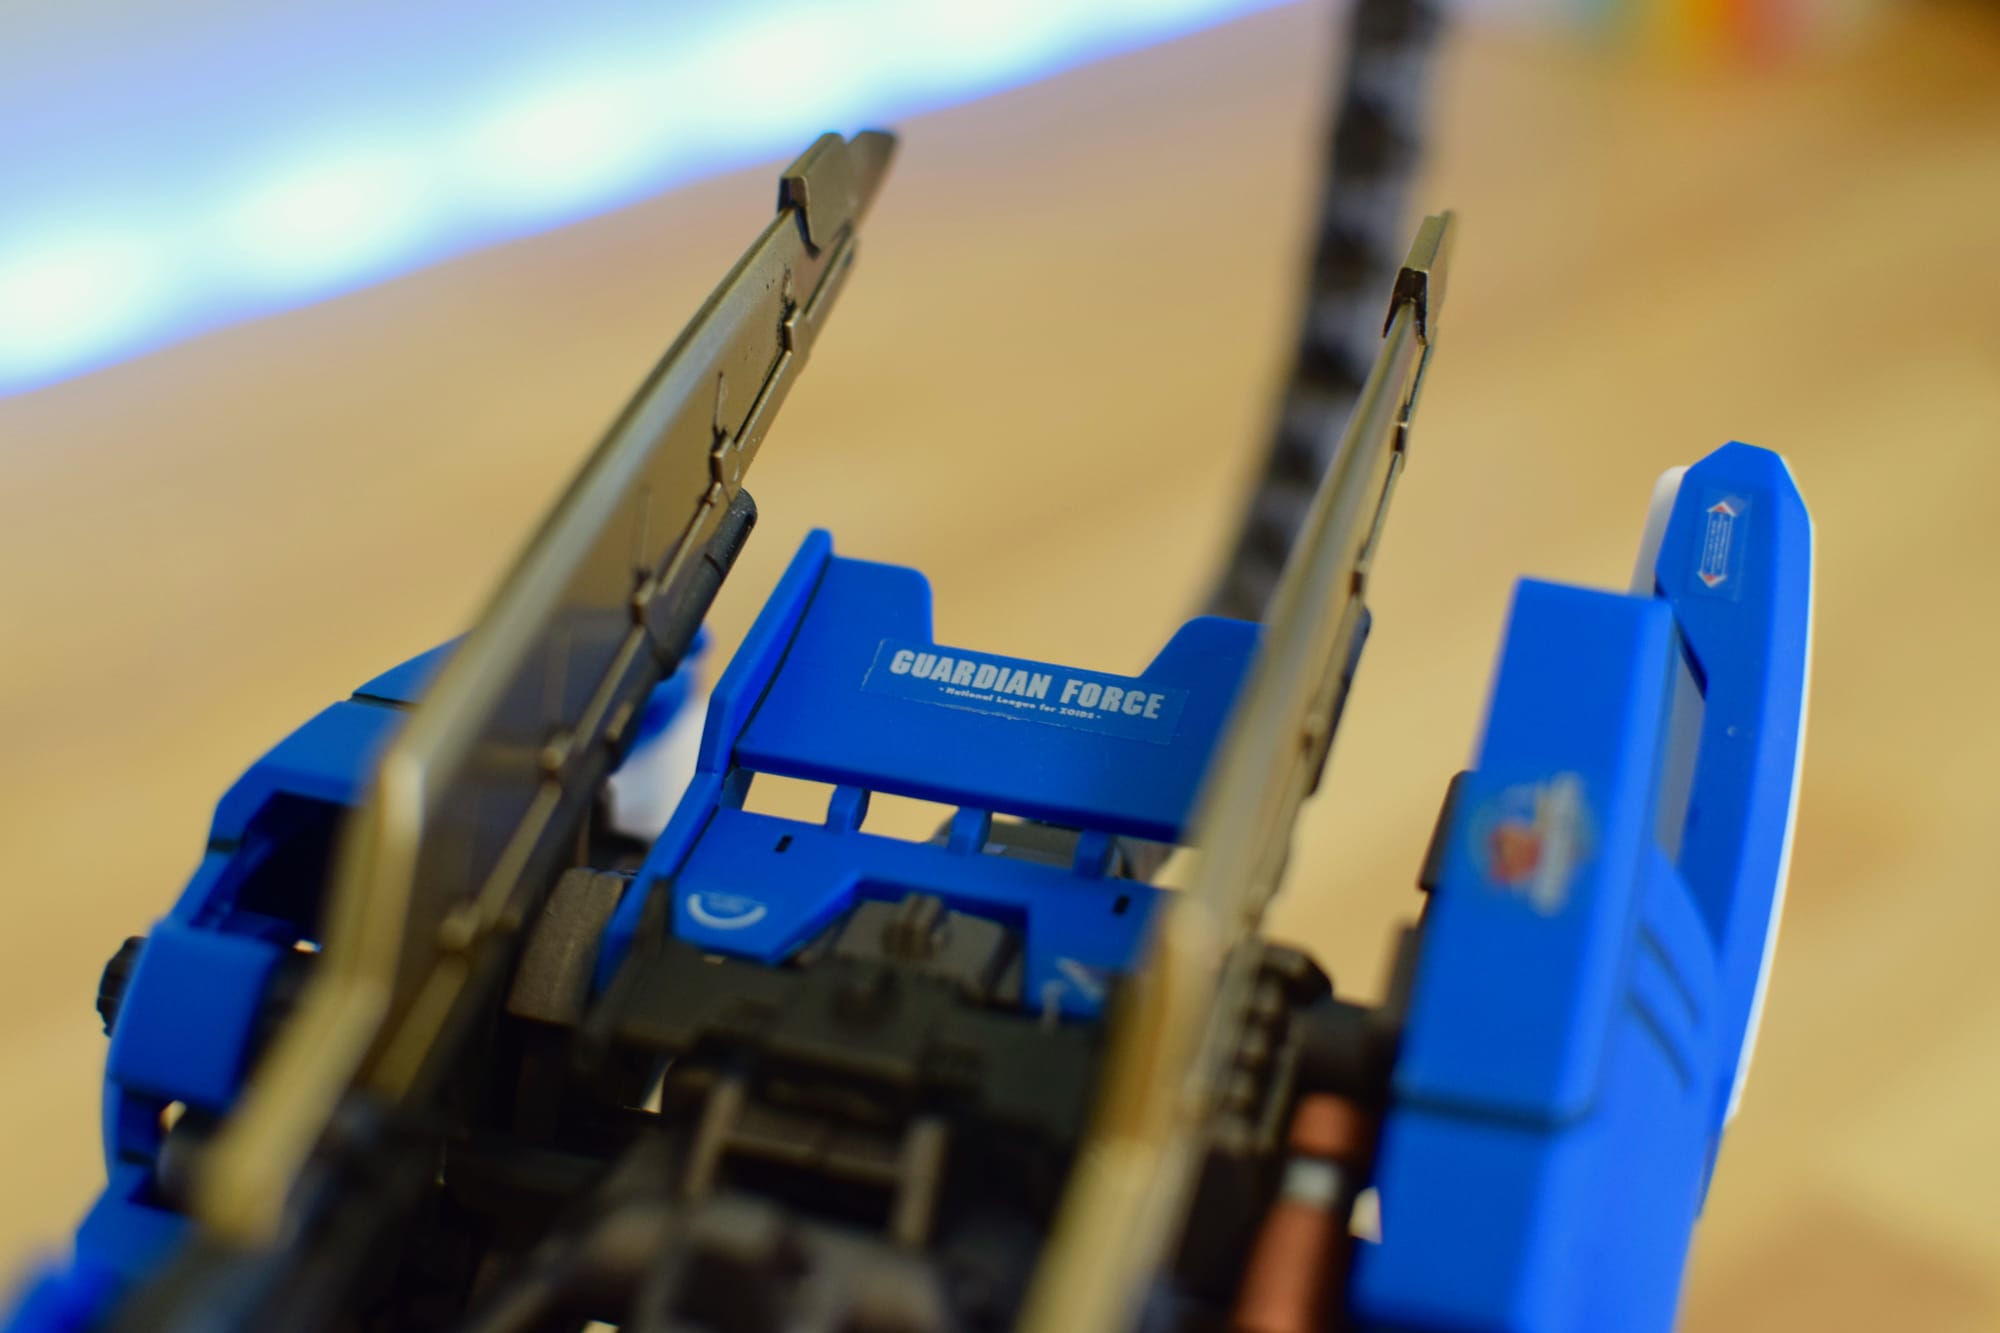
Everything was panel lined with Tamiya black and before top coating, I placed a few stickers in spots that looked cool. The instruction book has a reference model that I used as a very loose guide. There are plenty of stickers and no right or wrong way to place them. This part was pretty fun, despite my disappointment that I wasn't applying waterslides.
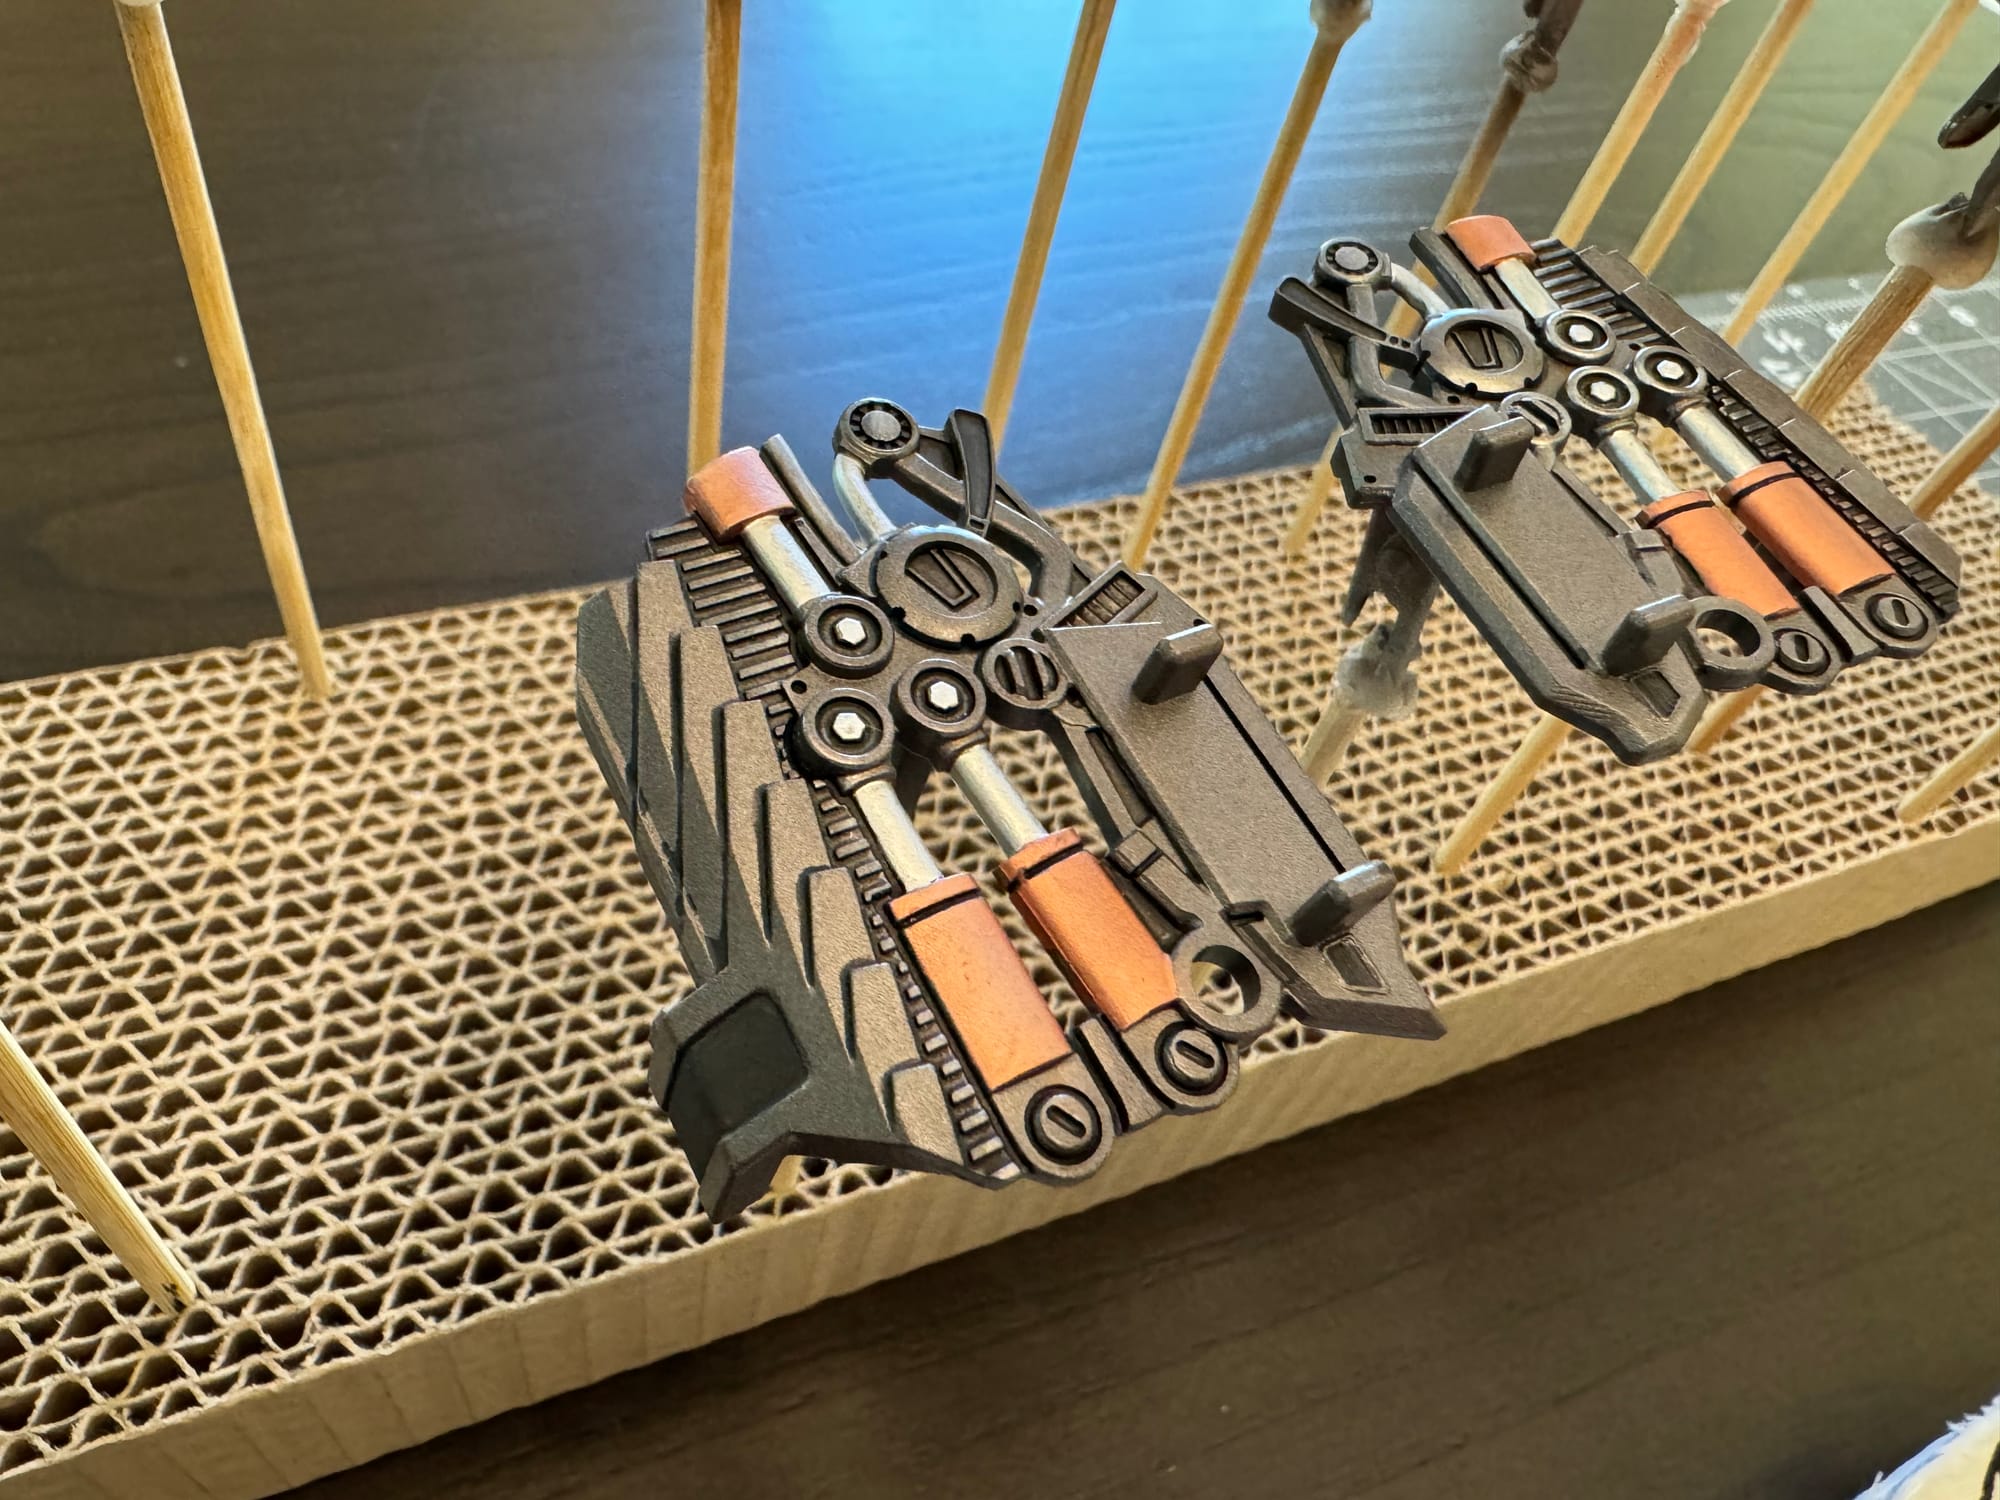
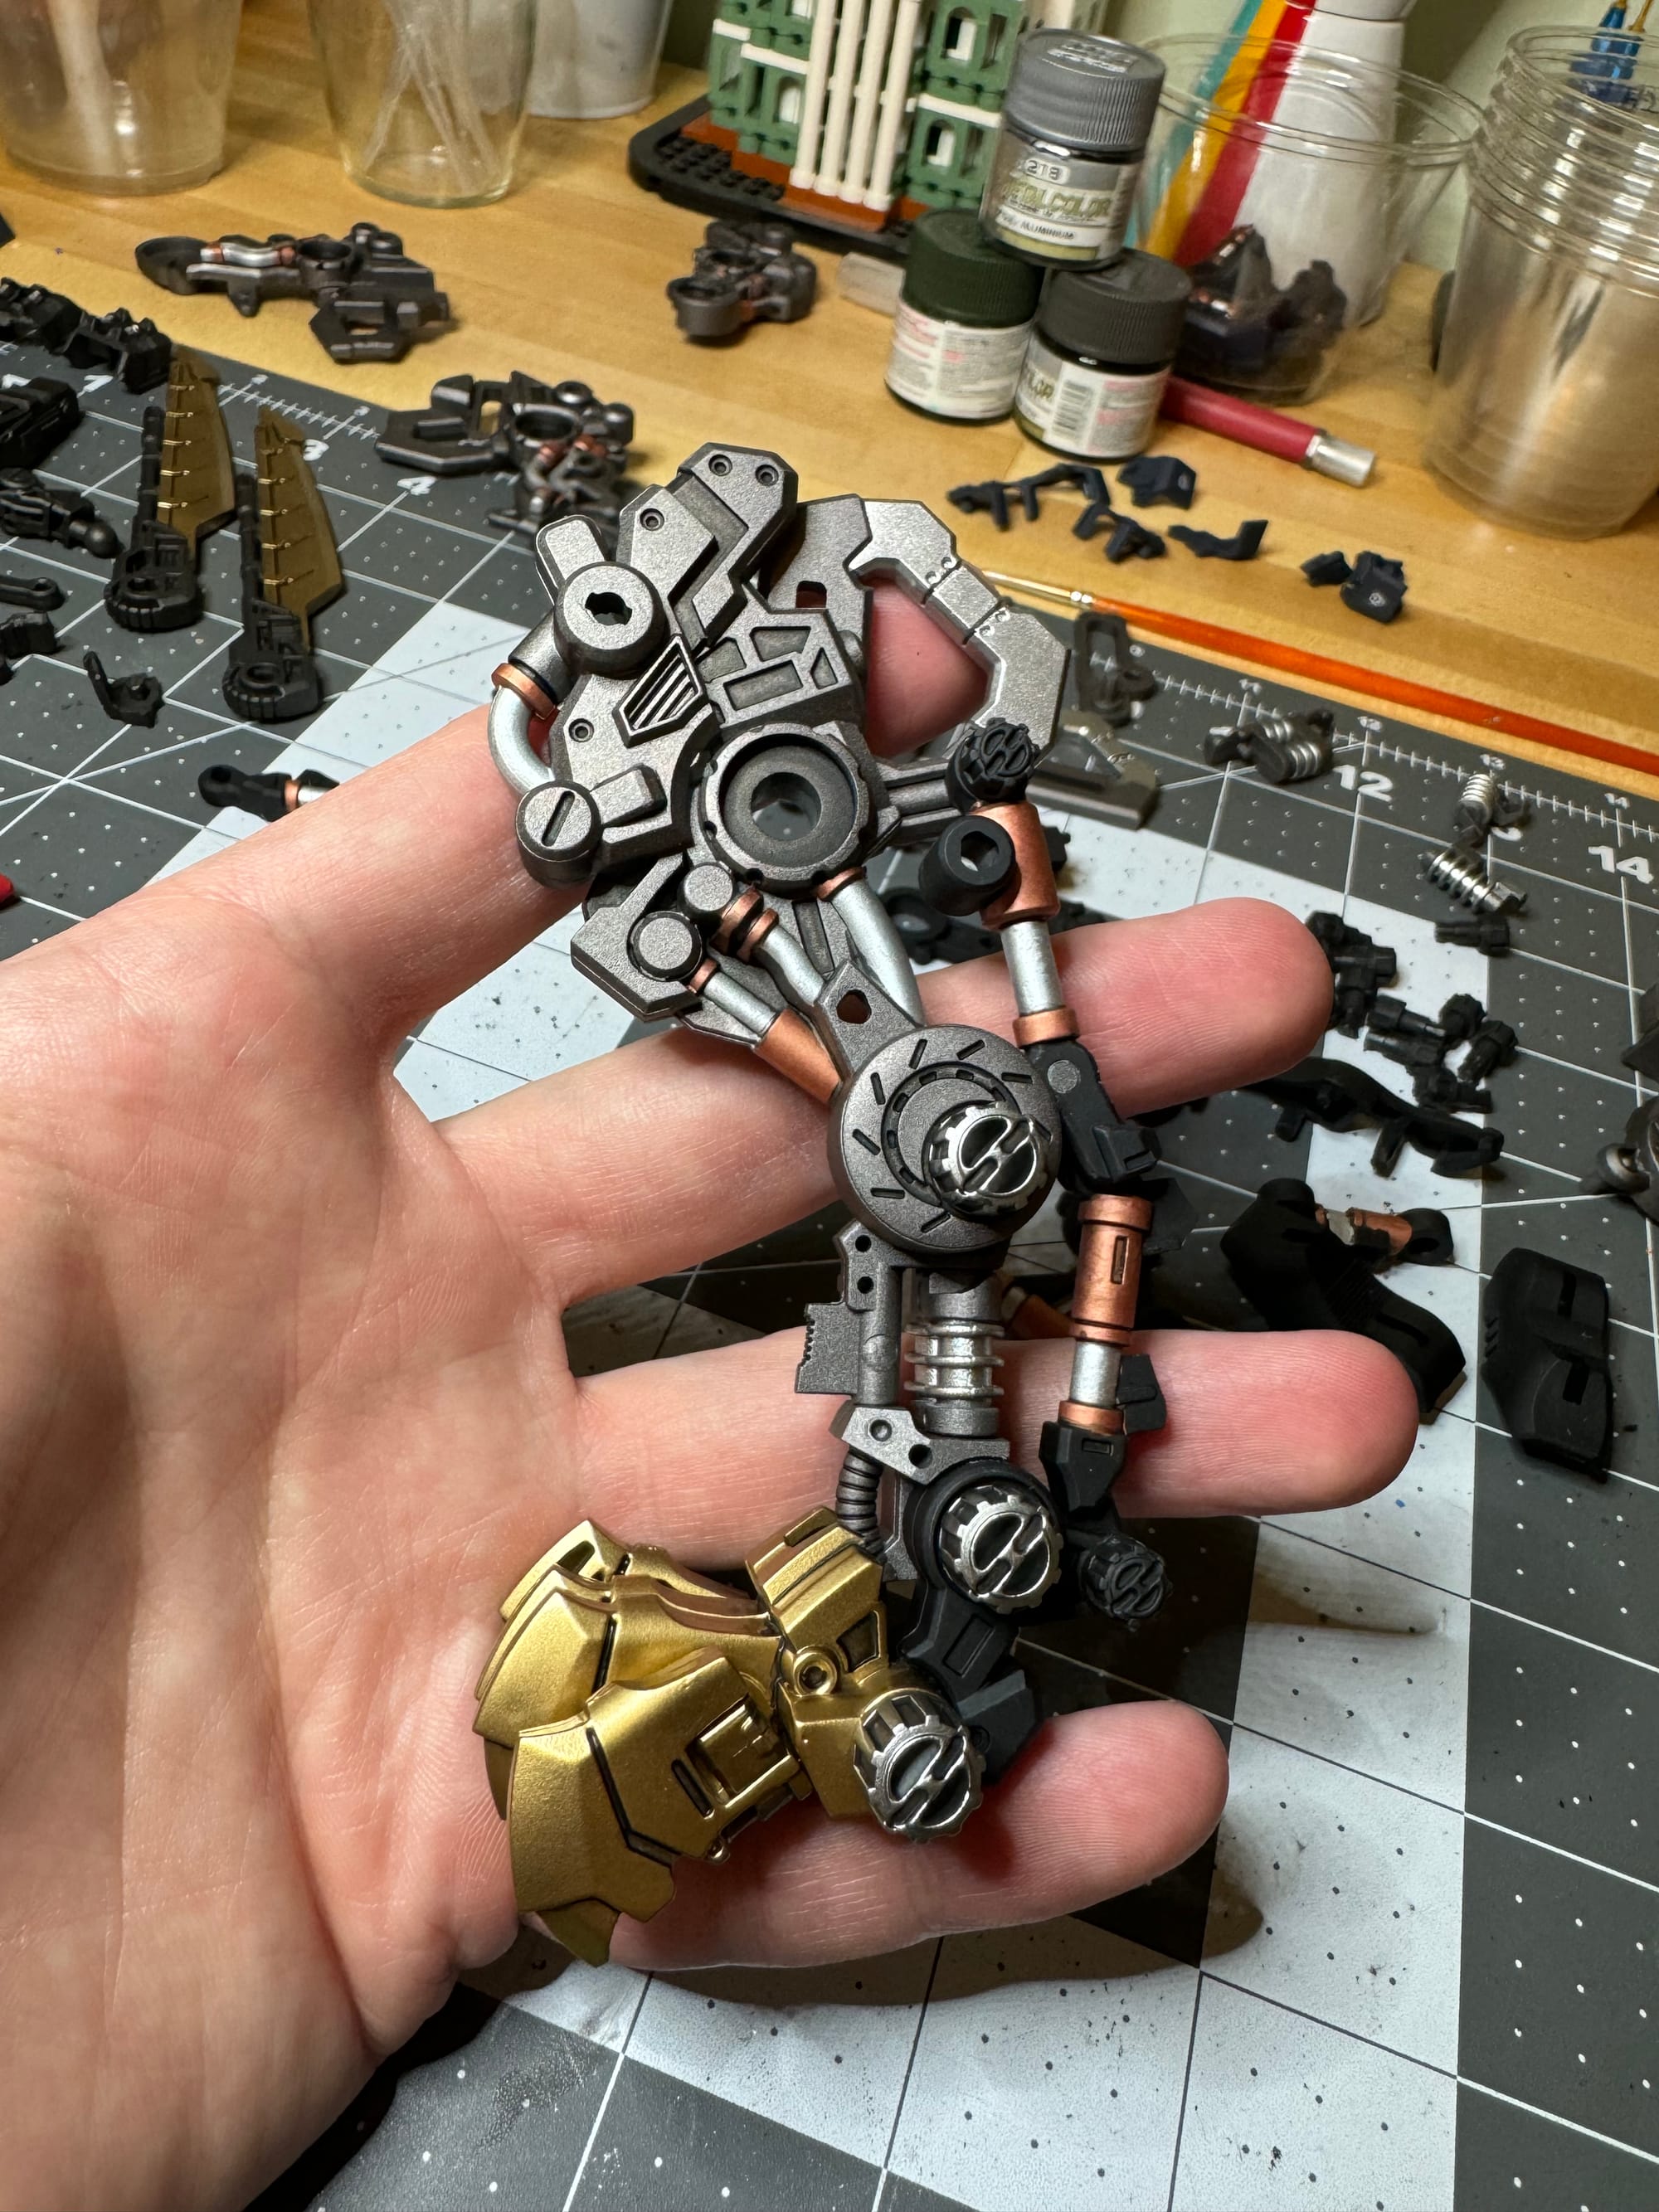
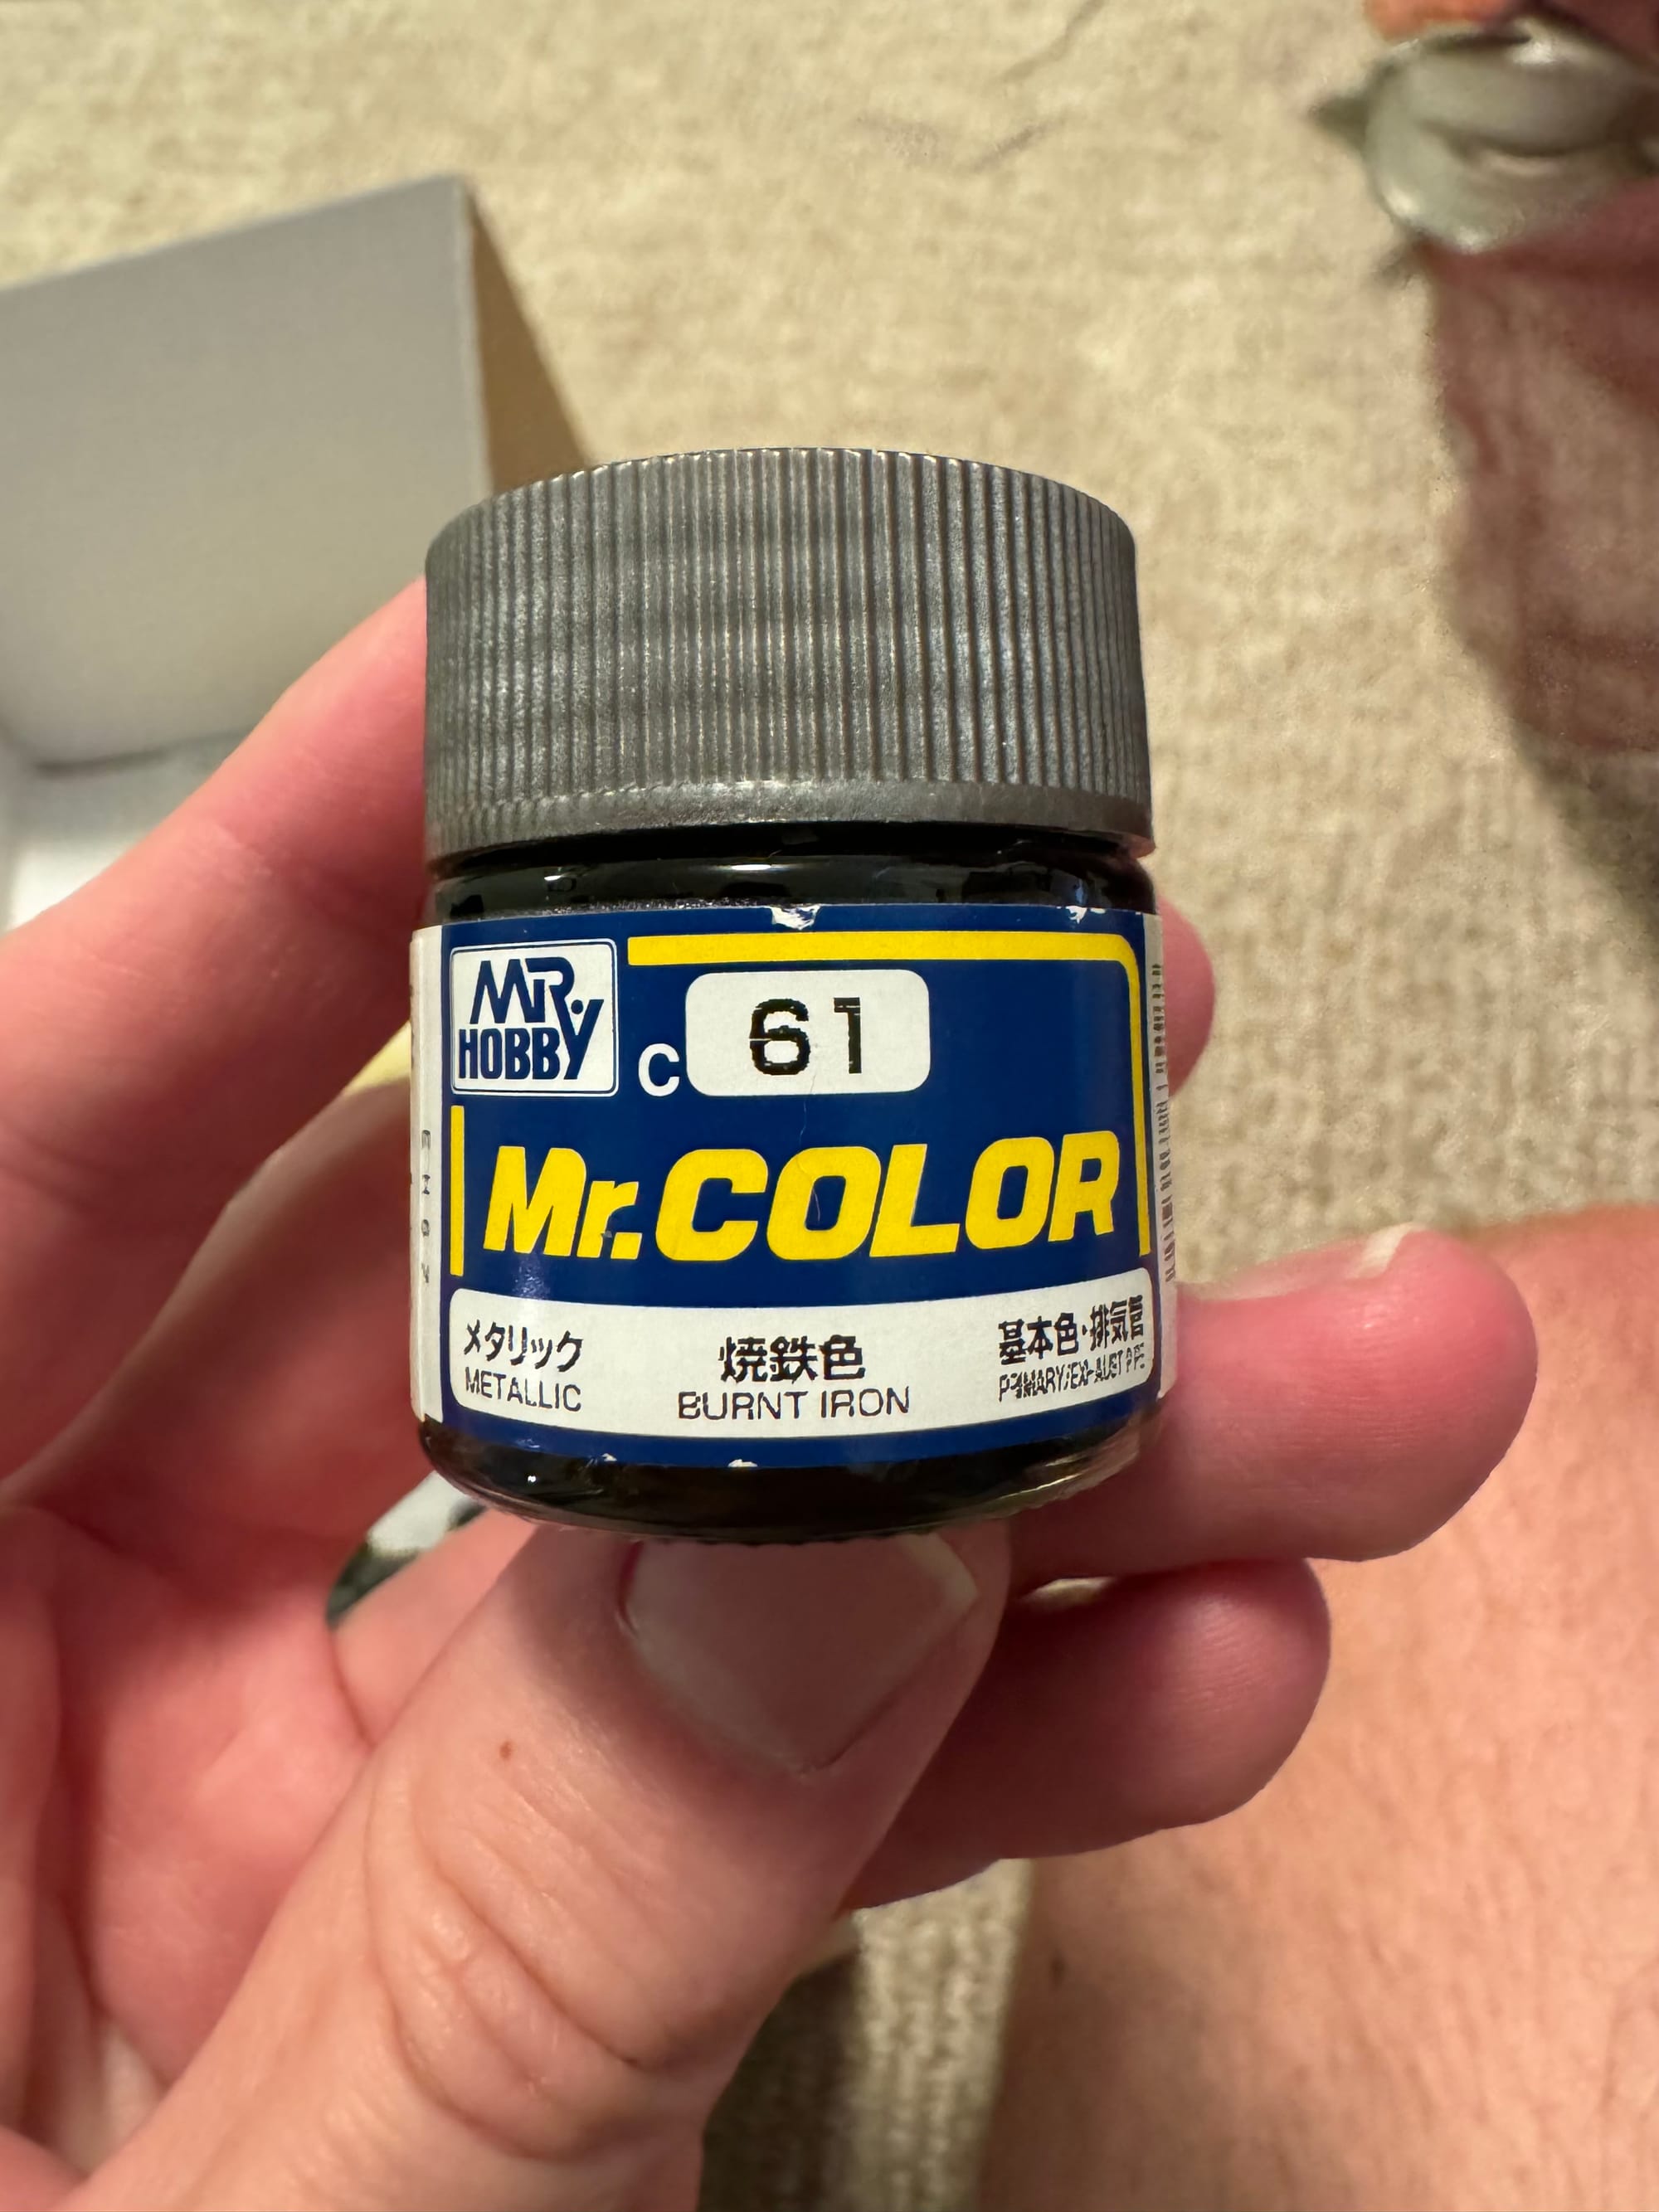
Burnt Iron is ❤️
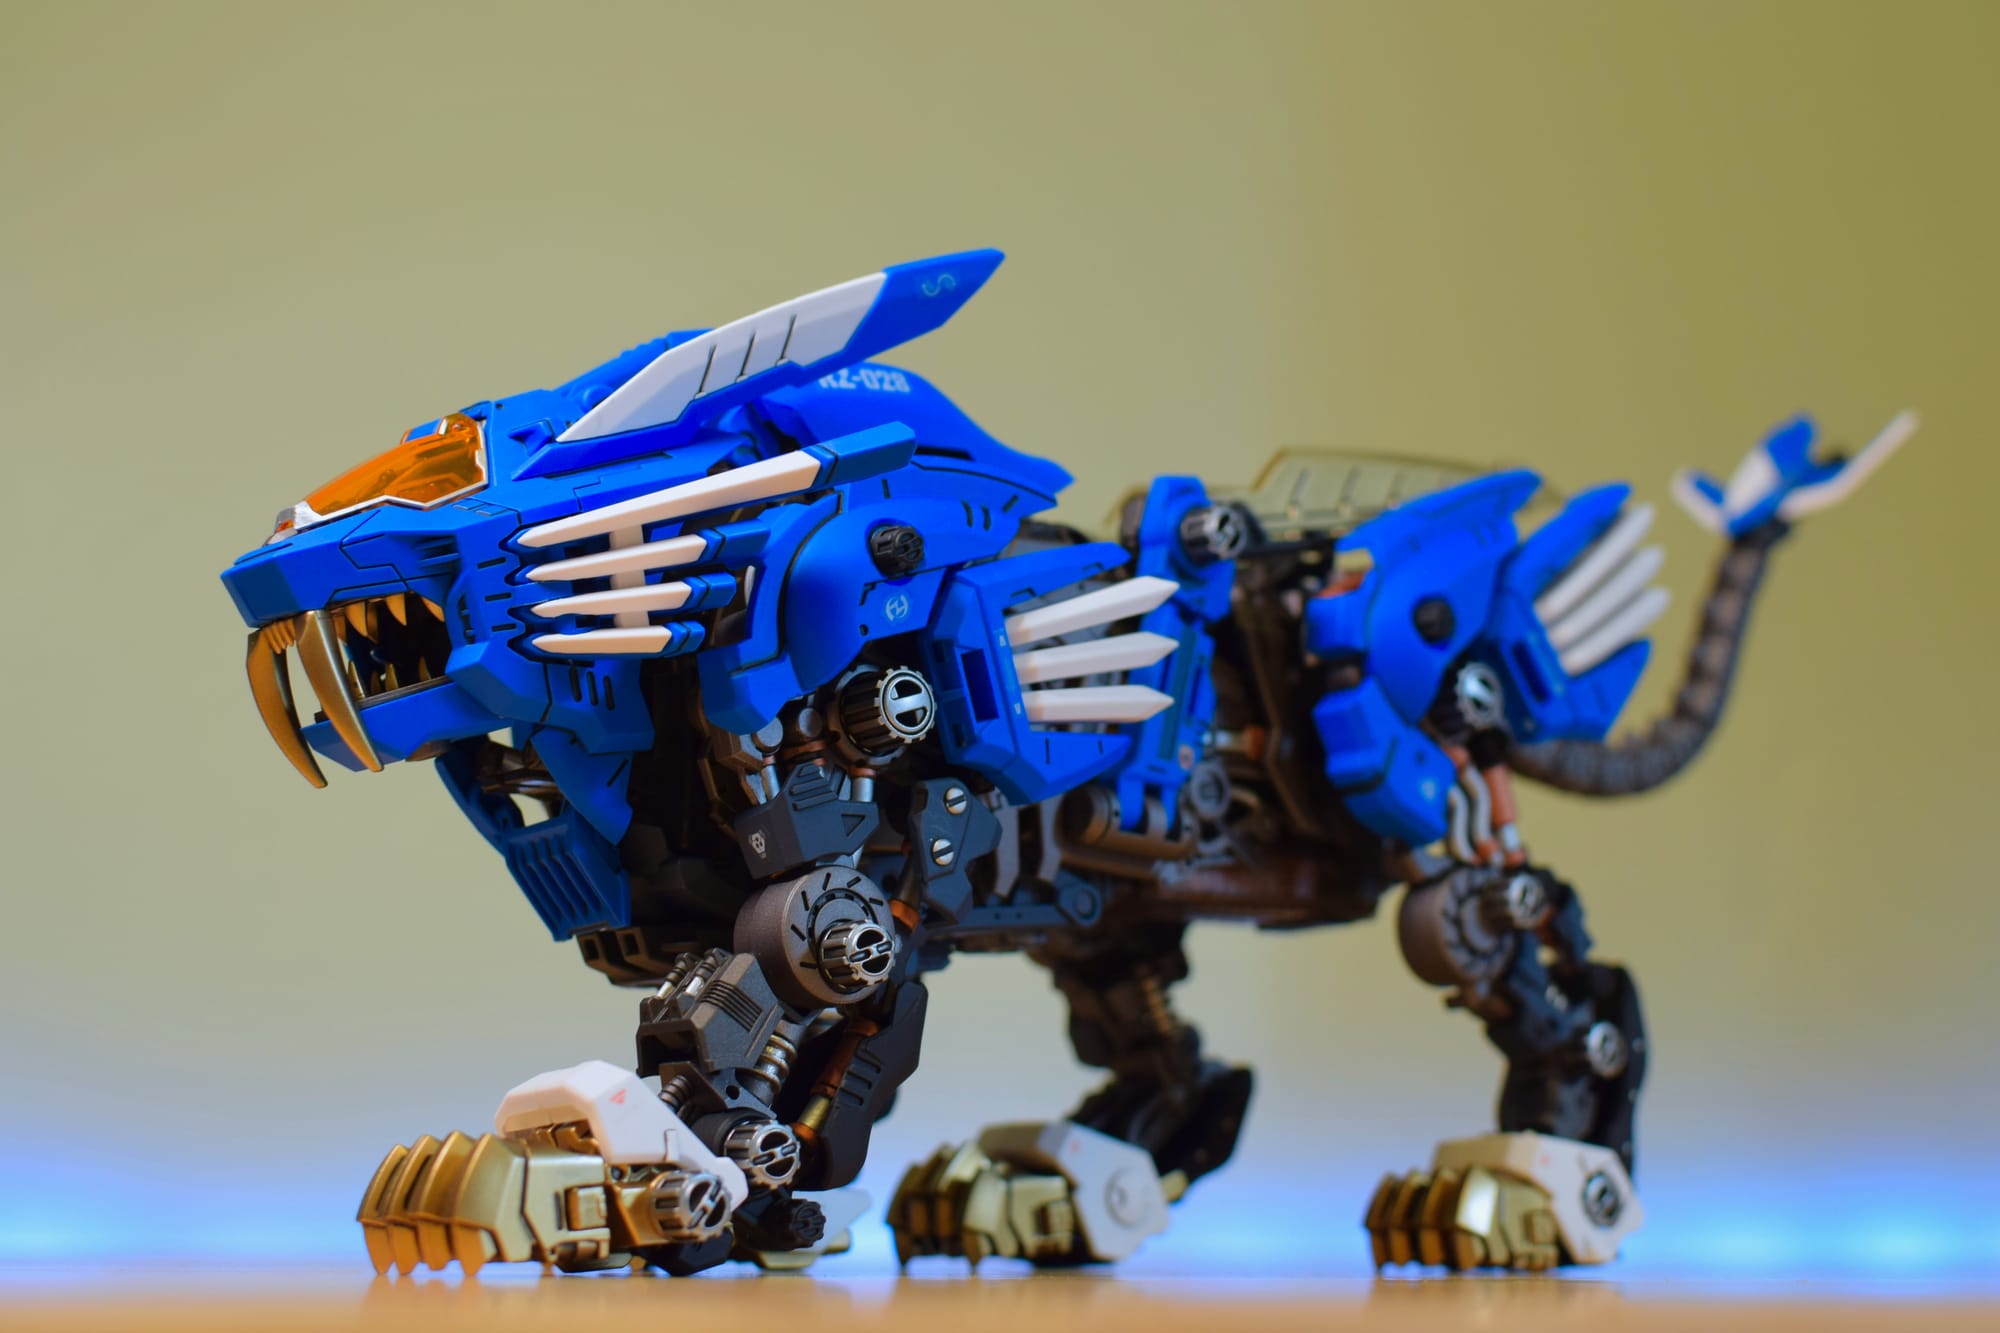
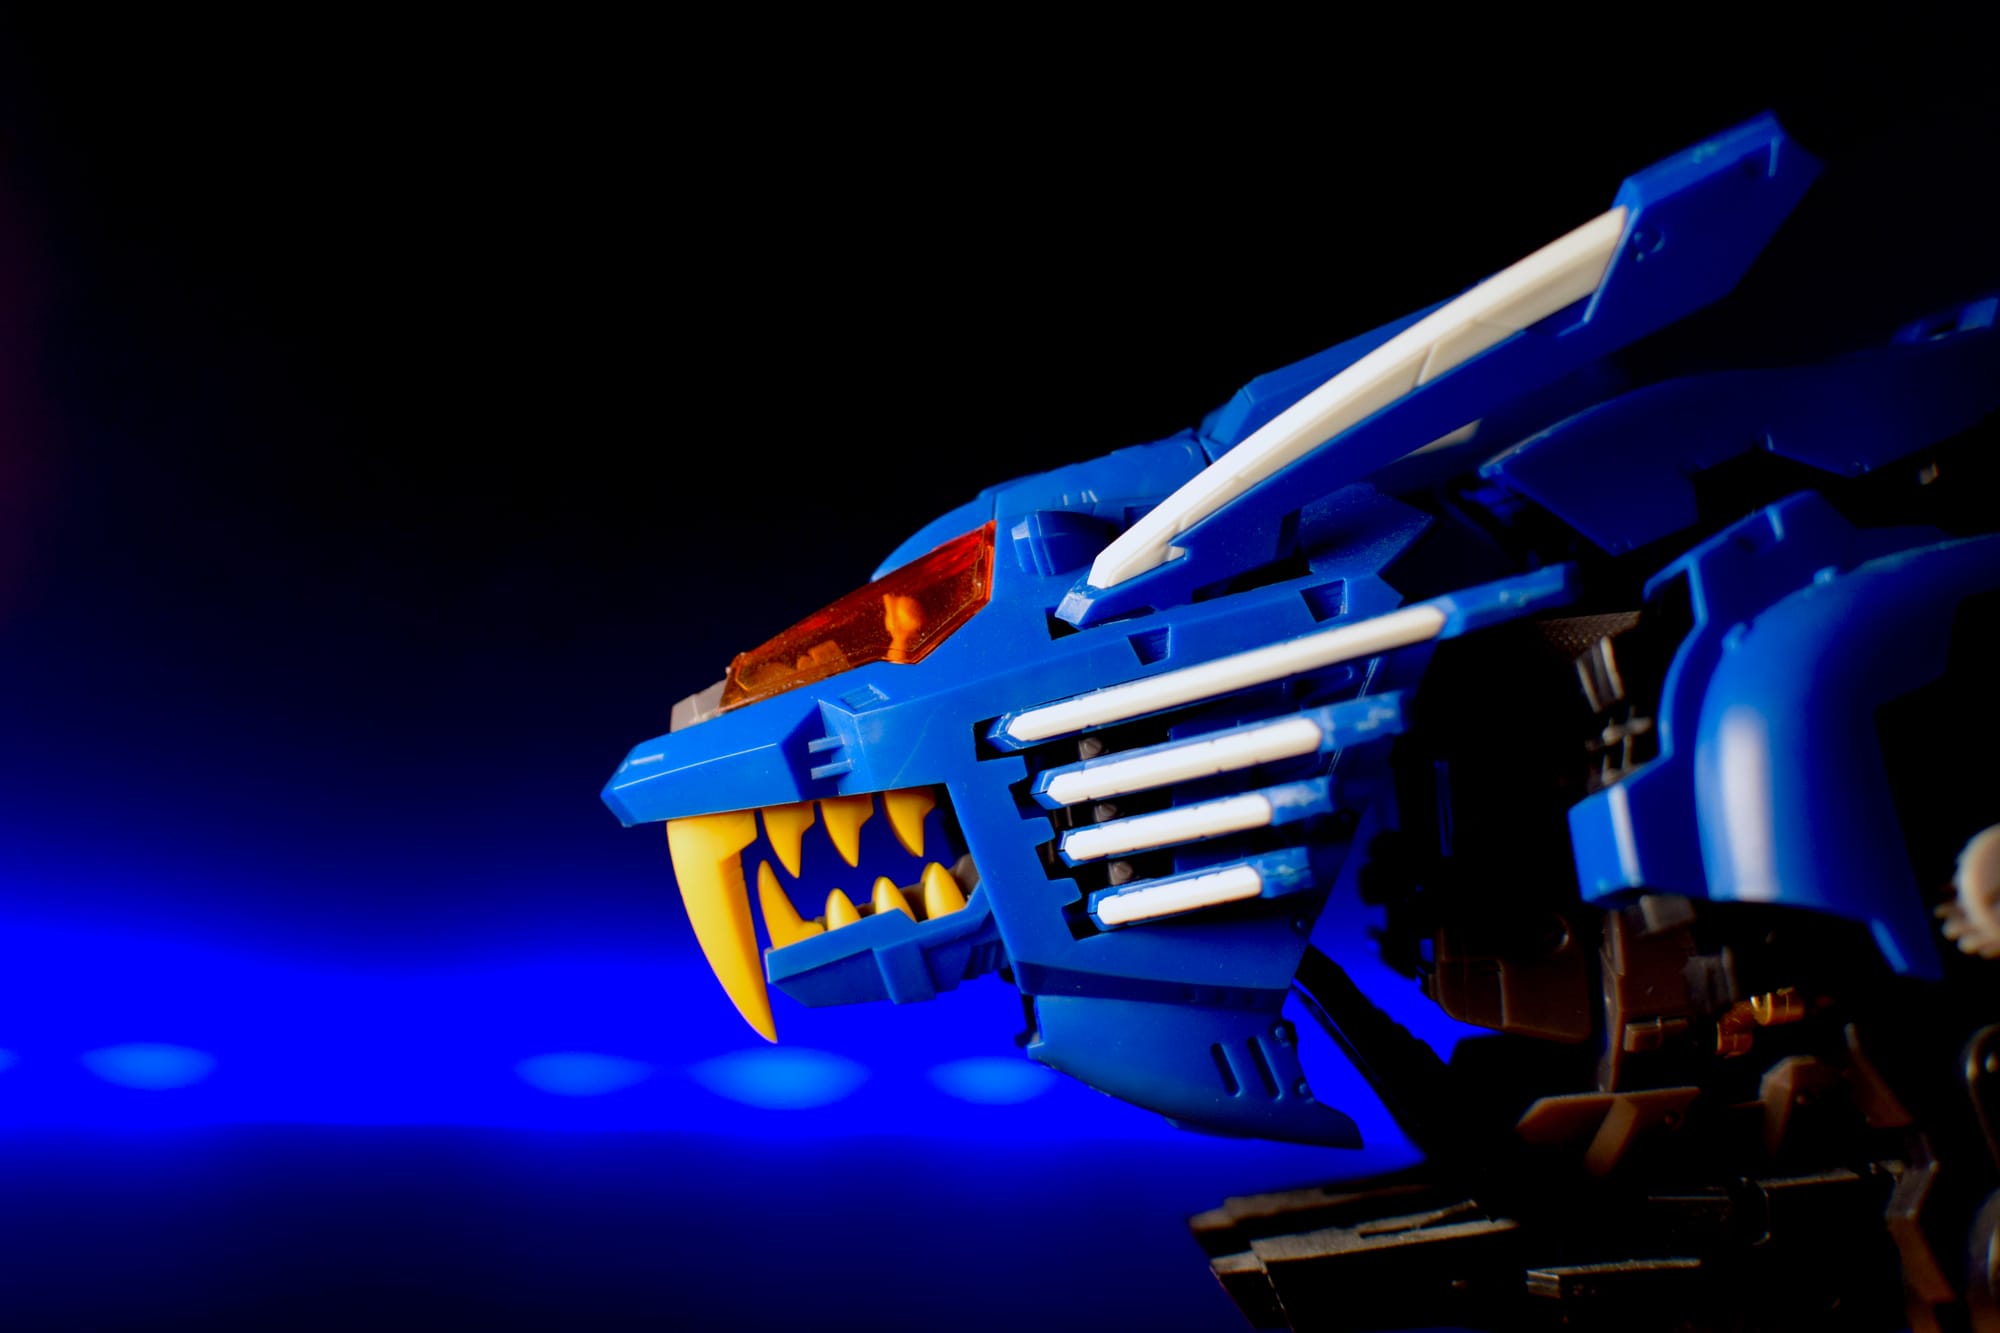
The Good
Gosh, this kit is pretty when it's finished. Despite my grumbling, I ended up with one heck of an addition to my Blade Liger collection. The sword kitty shelf is getting crowded.
I also appreciated that many of the pieces had molded-in part numbers. When I paint a kit, I usually write the numbers on them somewhere so I can make sure I'm using the right piece when building. This made paint prep and final assembly a bit easier.
Another fun aspect was the way the caps attached. Included is a small tool for locking them in place. You insert them, then rotate about half a turn until they click. It was super satisfying and gives the final build a really solid feel that none of the other Blade Liger models have.
And oh my gosh, have I mentioned how good this thing looks all painted up!? The design of this has REALLY grown on me since I first saw pictures of it. I almost want to buy a second to paint red... Almost. I might quit the hobby for good if I try to put another one of these together.

Final Thoughts
If you're on the fence about this kit, I think it's a worthwhile purchase for certain people. You may value different things than me in your model kits so the issues I noticed might not bother you as much. Or you may just be a huge Blade Liger fan. If you check either of those two boxes, then this is a solid kit. The finished product is stunning, especially if you can correct the strange gold color choice.
Tip: If you don't have an airbrush: Mr. Surfacer Primer, and Tamiya Gold rattle cans will produce a wonderful smooth gold without an airbrush. Look up a few tutorials on how to spray paint models and please do it outside. The gold on my Murasame Liger uses this method.
Part of what I love about this hobby is that you can tailor your experience to your preferences. Someone who only uses nippers and a hobby knife can have just as much fun as someone who has a room full of paints and spends months agonizing over every nub mark, seam line, and color choice. And there's a whole spectrum of people in between.
While this kit may have frustrated and annoyed me, it might not cause the same consternation in you. The default plastic colors are great (minus the unpainted claws) so a straight build will turn out pretty nice. And the overall design is very cool, especially when placed alongside other Blade Ligers. I just wish more care was put in to the building experience.
This one nearly broke me, but I'm glad I can at least admire its rad design while I cleanse my palette with the Zoids in my backlog. I may have caved and pre-ordered the 40th Anniversary Liger Zero Phoenix... And I'm almost definitely getting the Death Saurer... So clearly they're doing something right here.
Until the next one.
- Tyler

The Squad