Build Log: Hayate Liger
Mistakes were made.

Our story begins a few years ago. It is a tale of blood and brittle plastic. Of aluminum and gold. A tale of despair and triumph. The year is 2021. The month is March. A large box appears on my doorstep.
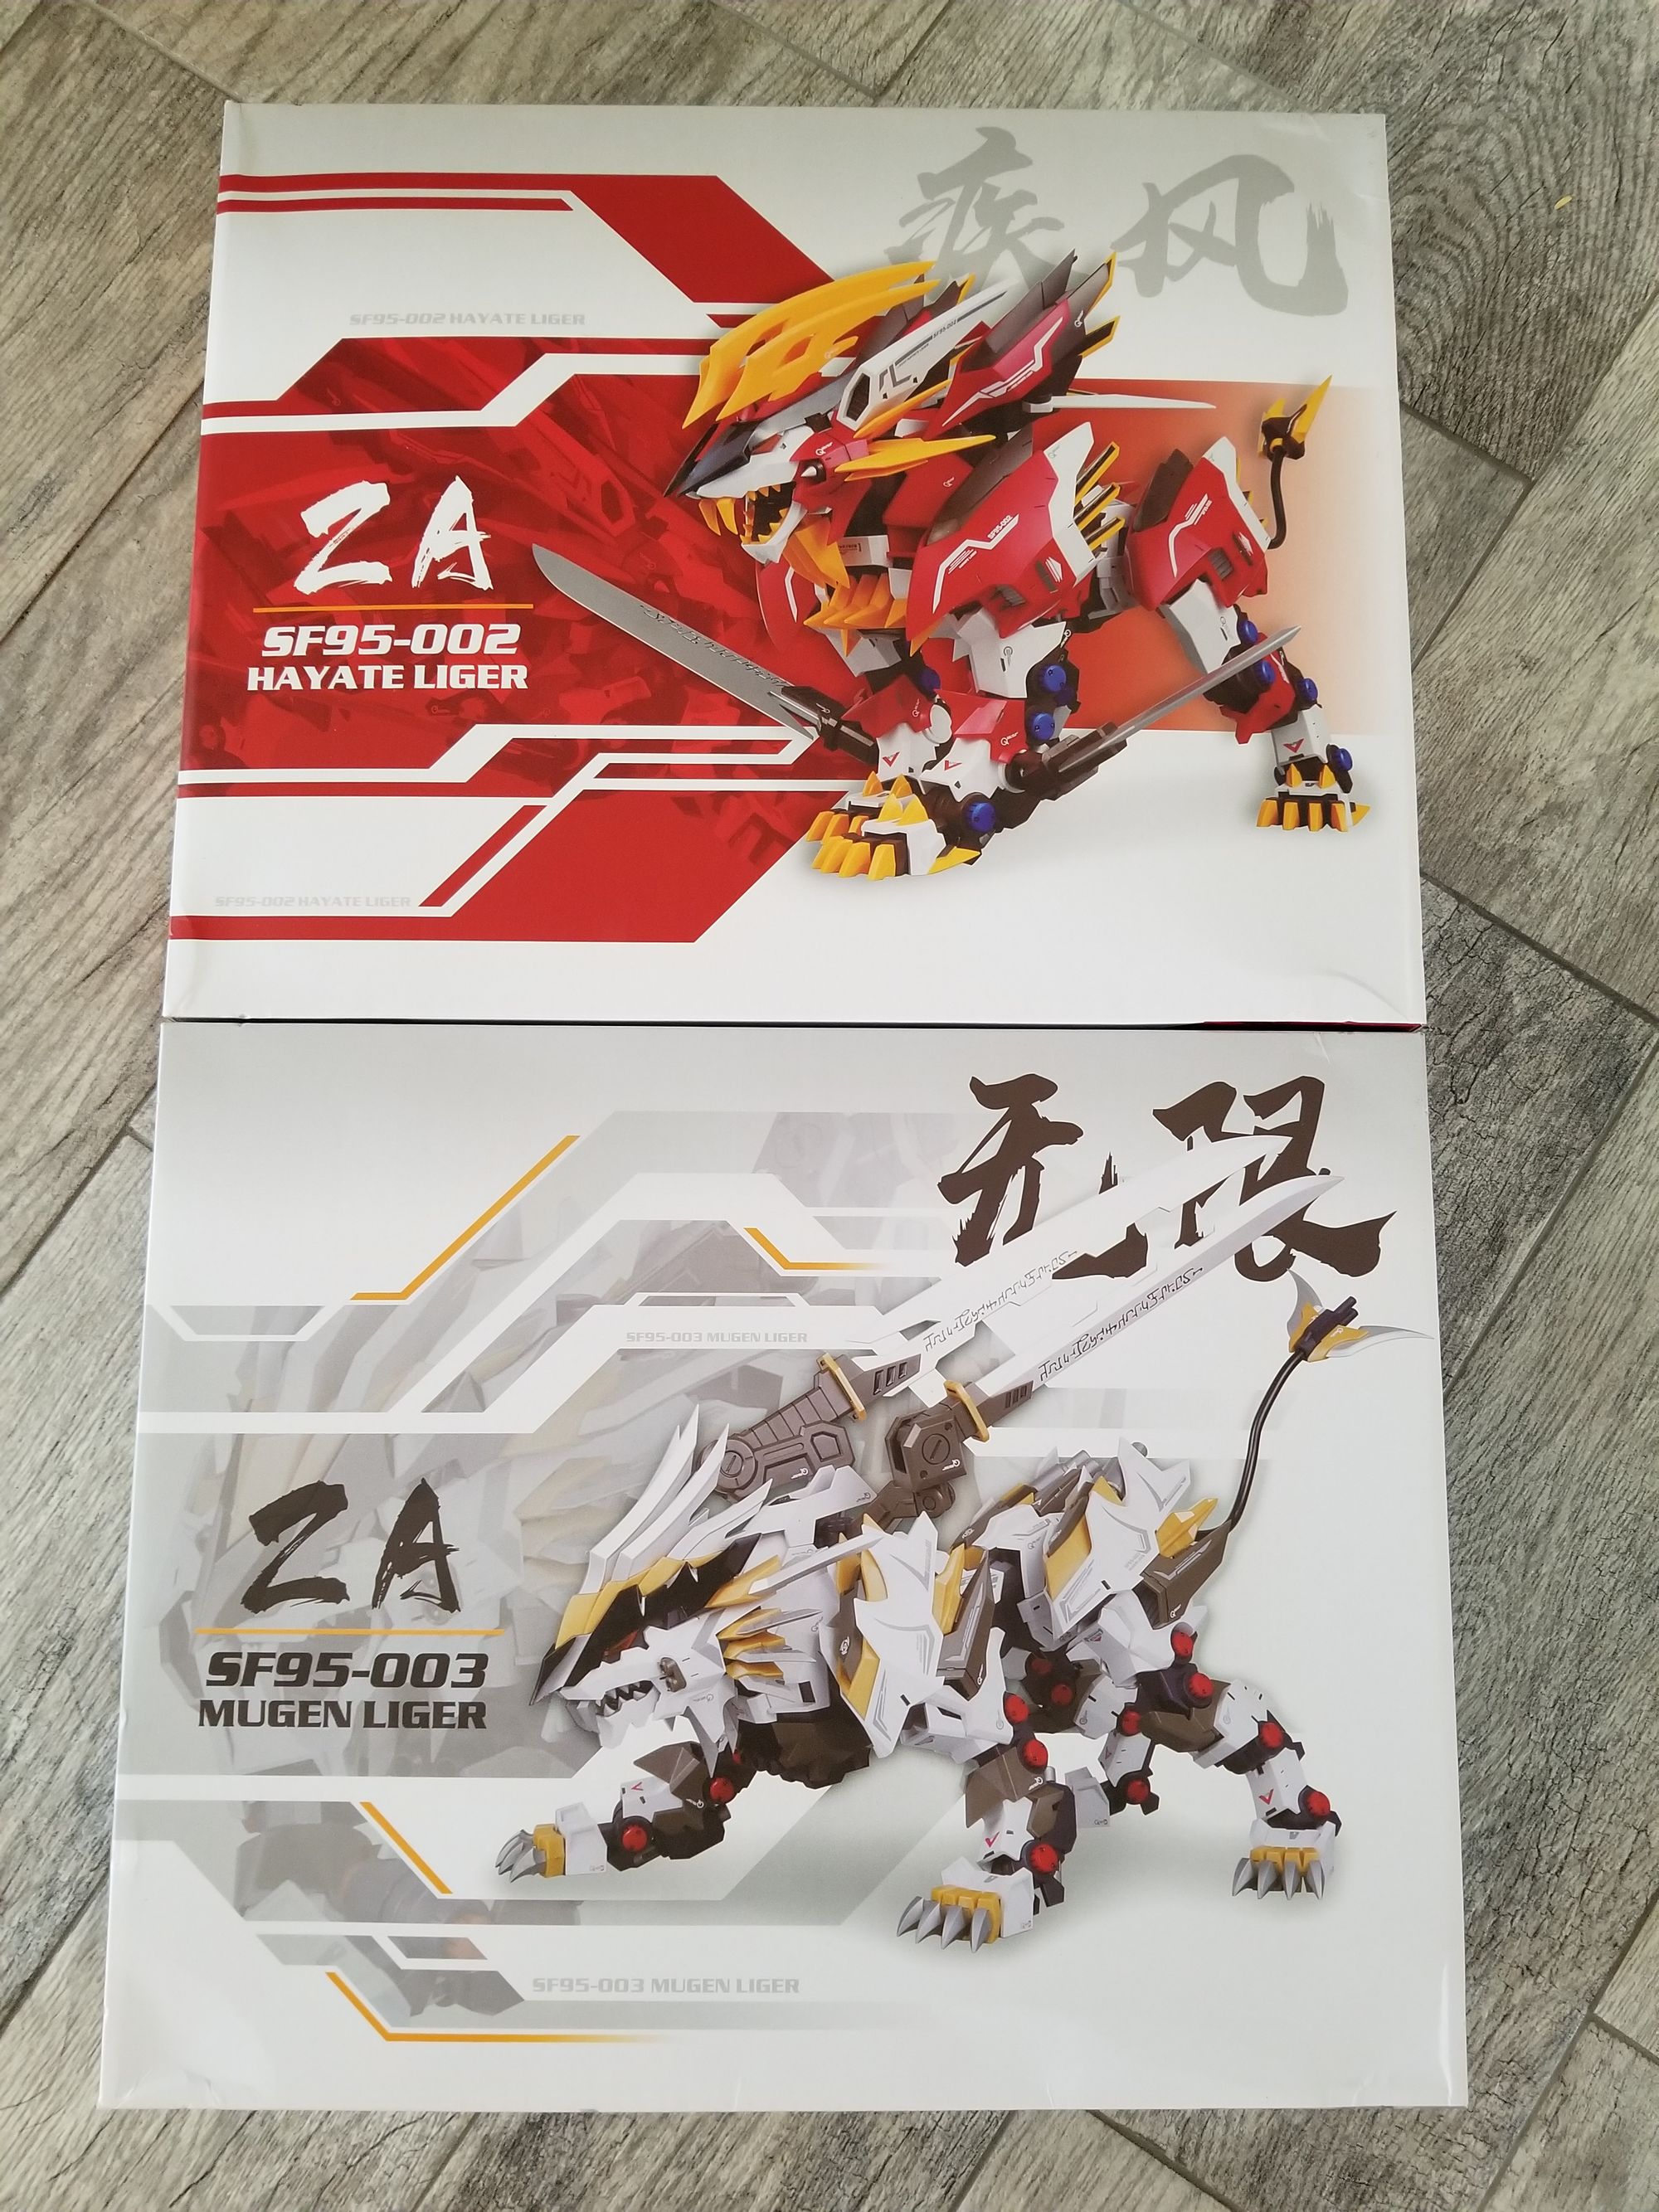
The final two Genesis Ligers arrive. The Murasame Liger was the first model kit I ever painted. I started with rattle cans, but by the end I was a budding airbrush evangelist.
For those not unhealthily obsessed with Zoids model kits, this set of three Ligers hail from the anime series Zoids Genesis. The "ZA" on the box, means "Zoids Aggressive" which references a line of action figures from 2015. However, these kits are knock-offs, not officially licensed by Takara Tomy. Made by Super Nova, these clone the 2015 Zoids Aggressive line, scale them up to roughly 1/72 scale, and turn them into model kits.
The online Zoids community seemed to be raving about these. You couldn't visit a Zoids Facebook page without seeing 6,000 pictures of these knock-off kits. They were filling a gap in Kotobukiya's HMM line since no Genesis ligers had been produced. And at about $50 a pop, they were a reasonable price to boot. The fervor was so high, that people tried arguing that these weren't knock-offs and were serving an important, unfilled niche, with no harm done to the Kotobukiya or the Zoids brand. I didn't buy that argument, but I did end up buying these with no illusions about what they were.
With all the hype, I decided to check them out for myself. The Murasame Liger was a reasonably fun, albeit flawed, build. And I couldn't just have the one, ya know? You gotta get the whole set. And so, the Hayate and Mugen were acquired.
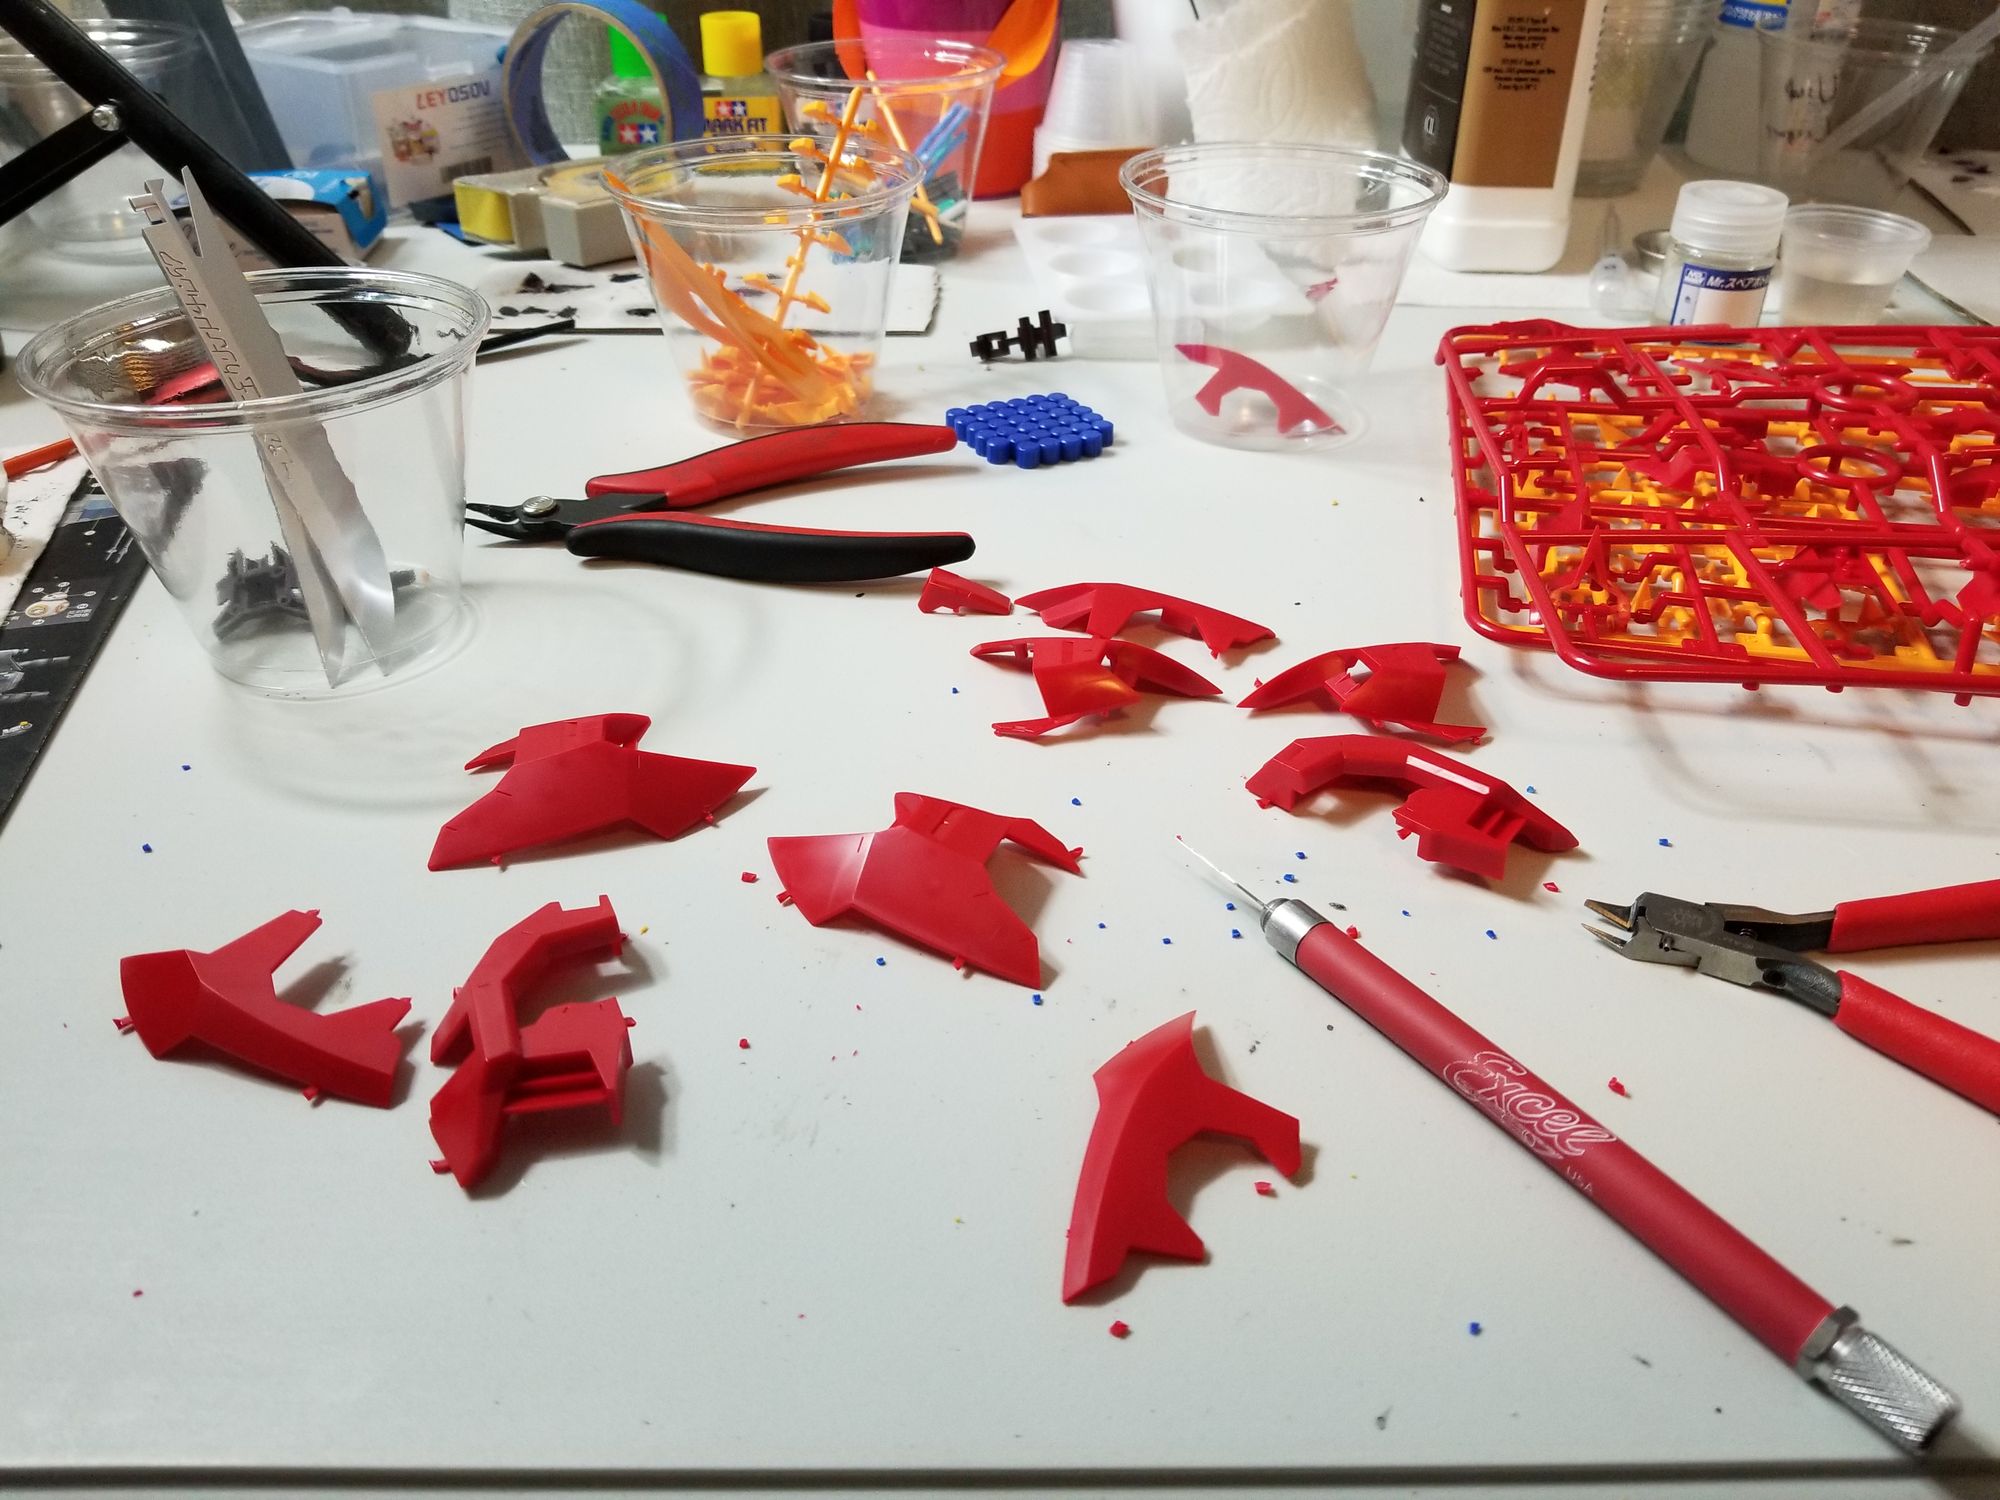
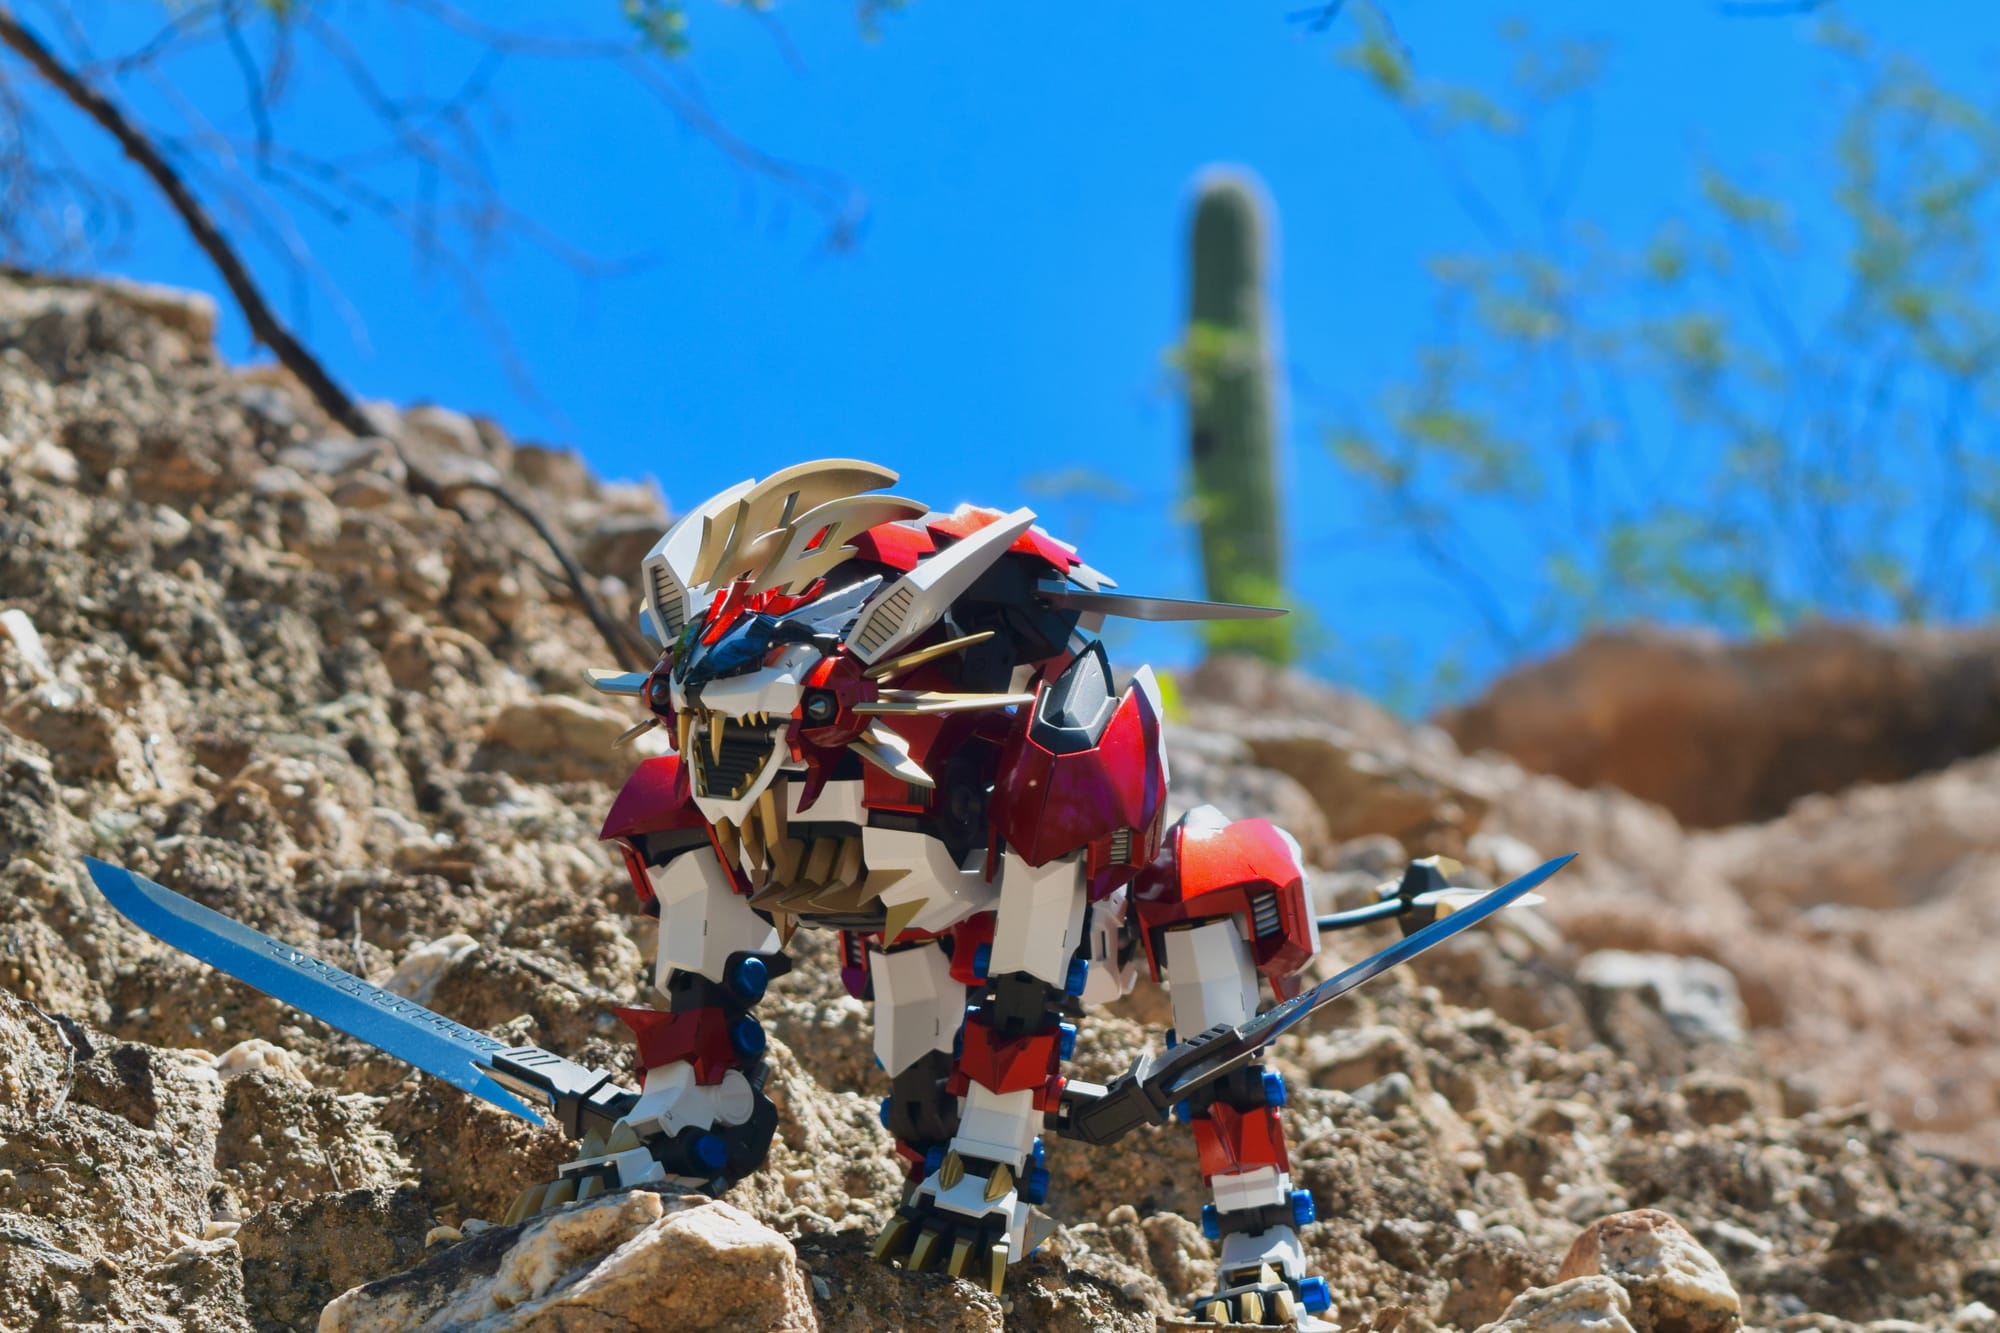
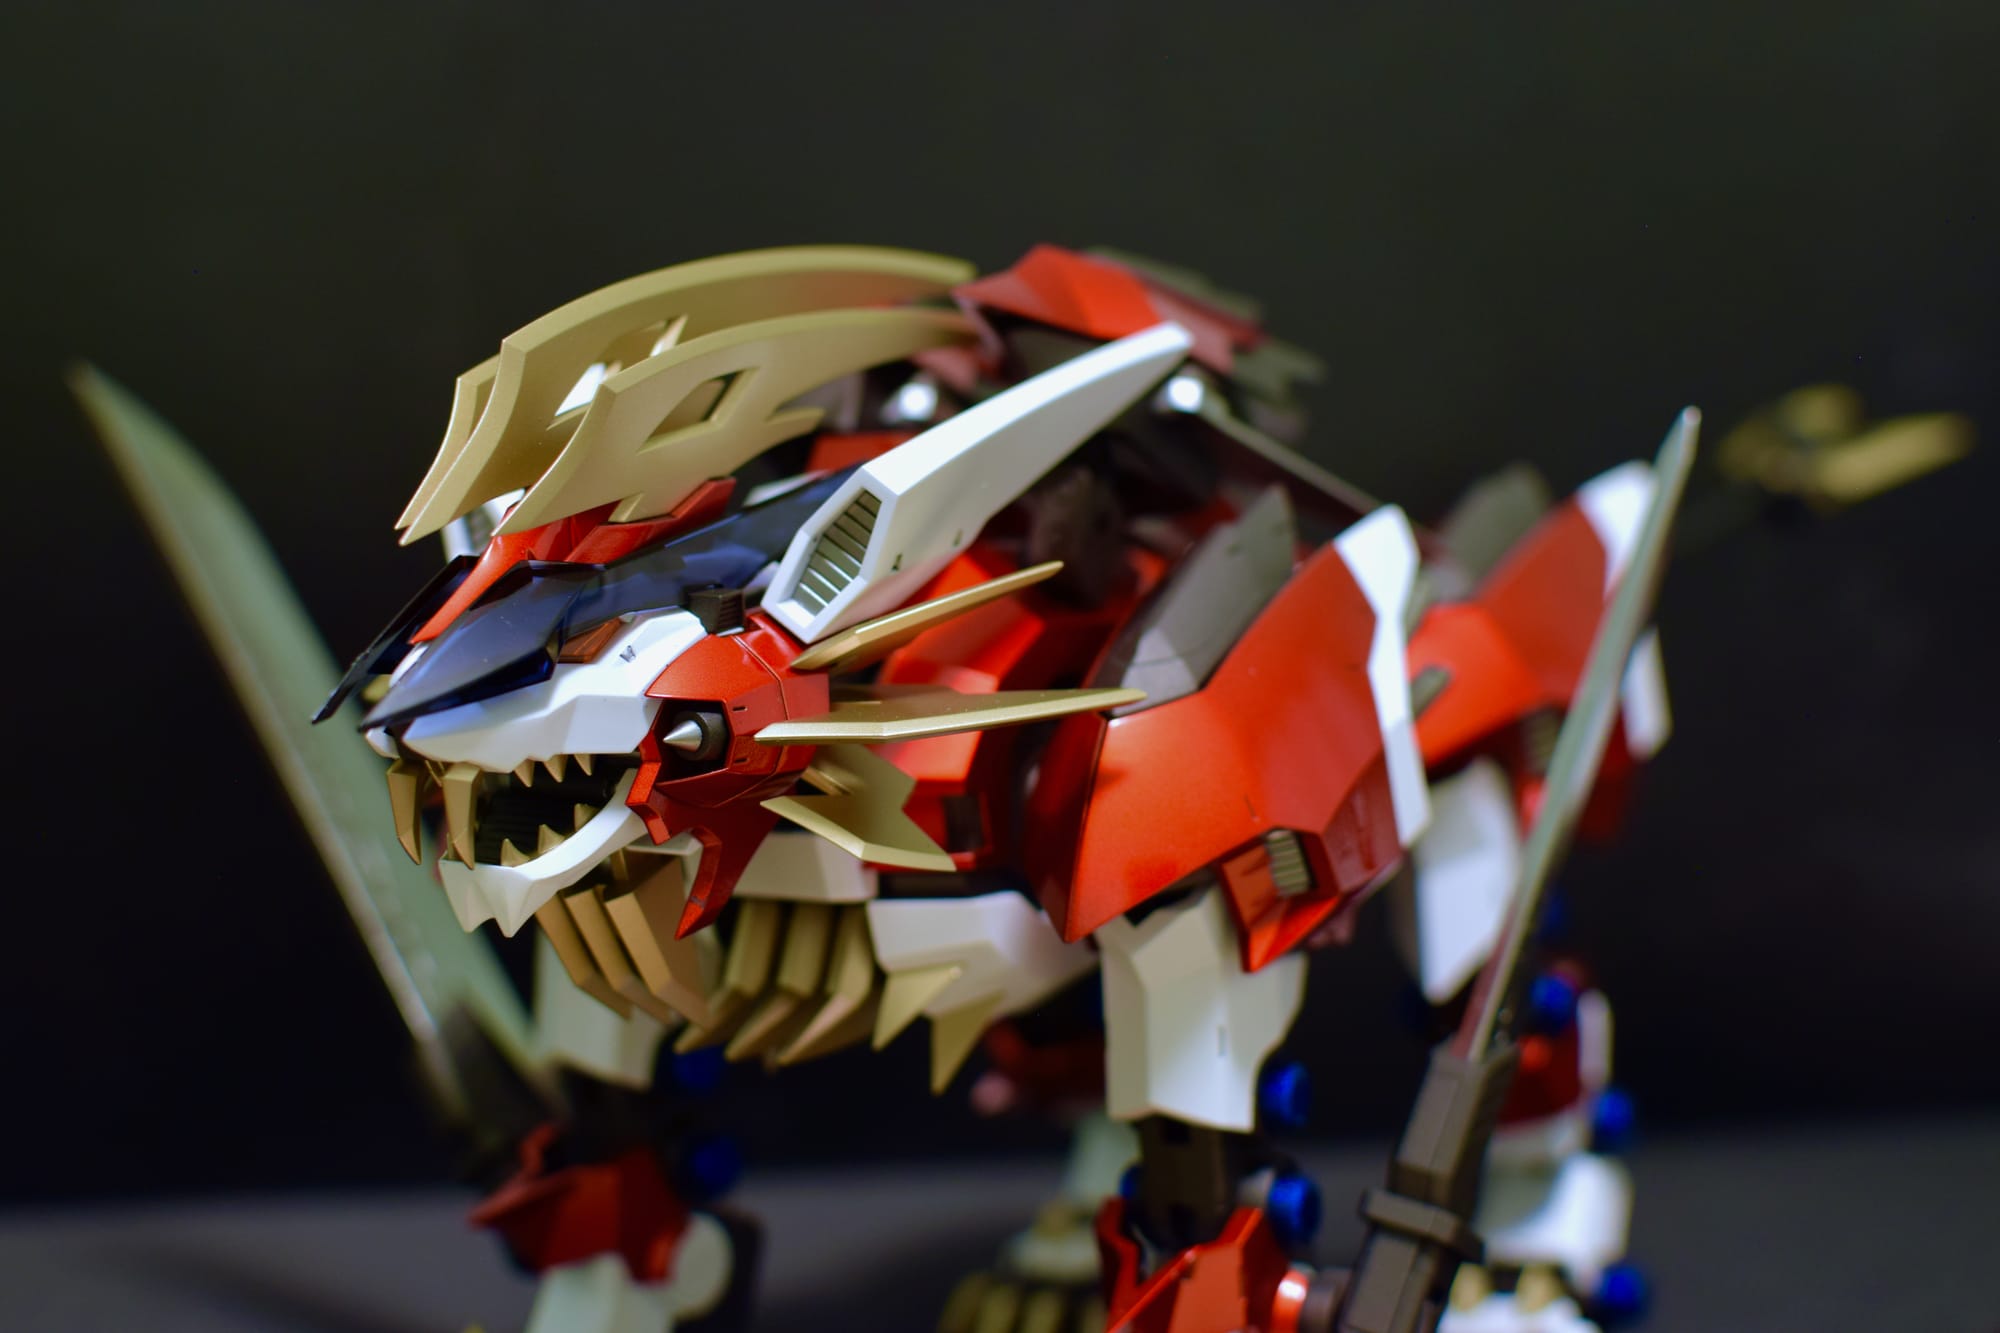
This build started like any other: cutting and organizing pieces. I knew I wanted to try something new with the armor and even though "Hayate" means "a blast of wind," I couldn't shake the aura of fire while working on this. I wanted the armor to invoke intense heat.
There was a technique I saw on the Gunpla subreddit that matched what I wanted to do perfectly. A few experimental spoons later...
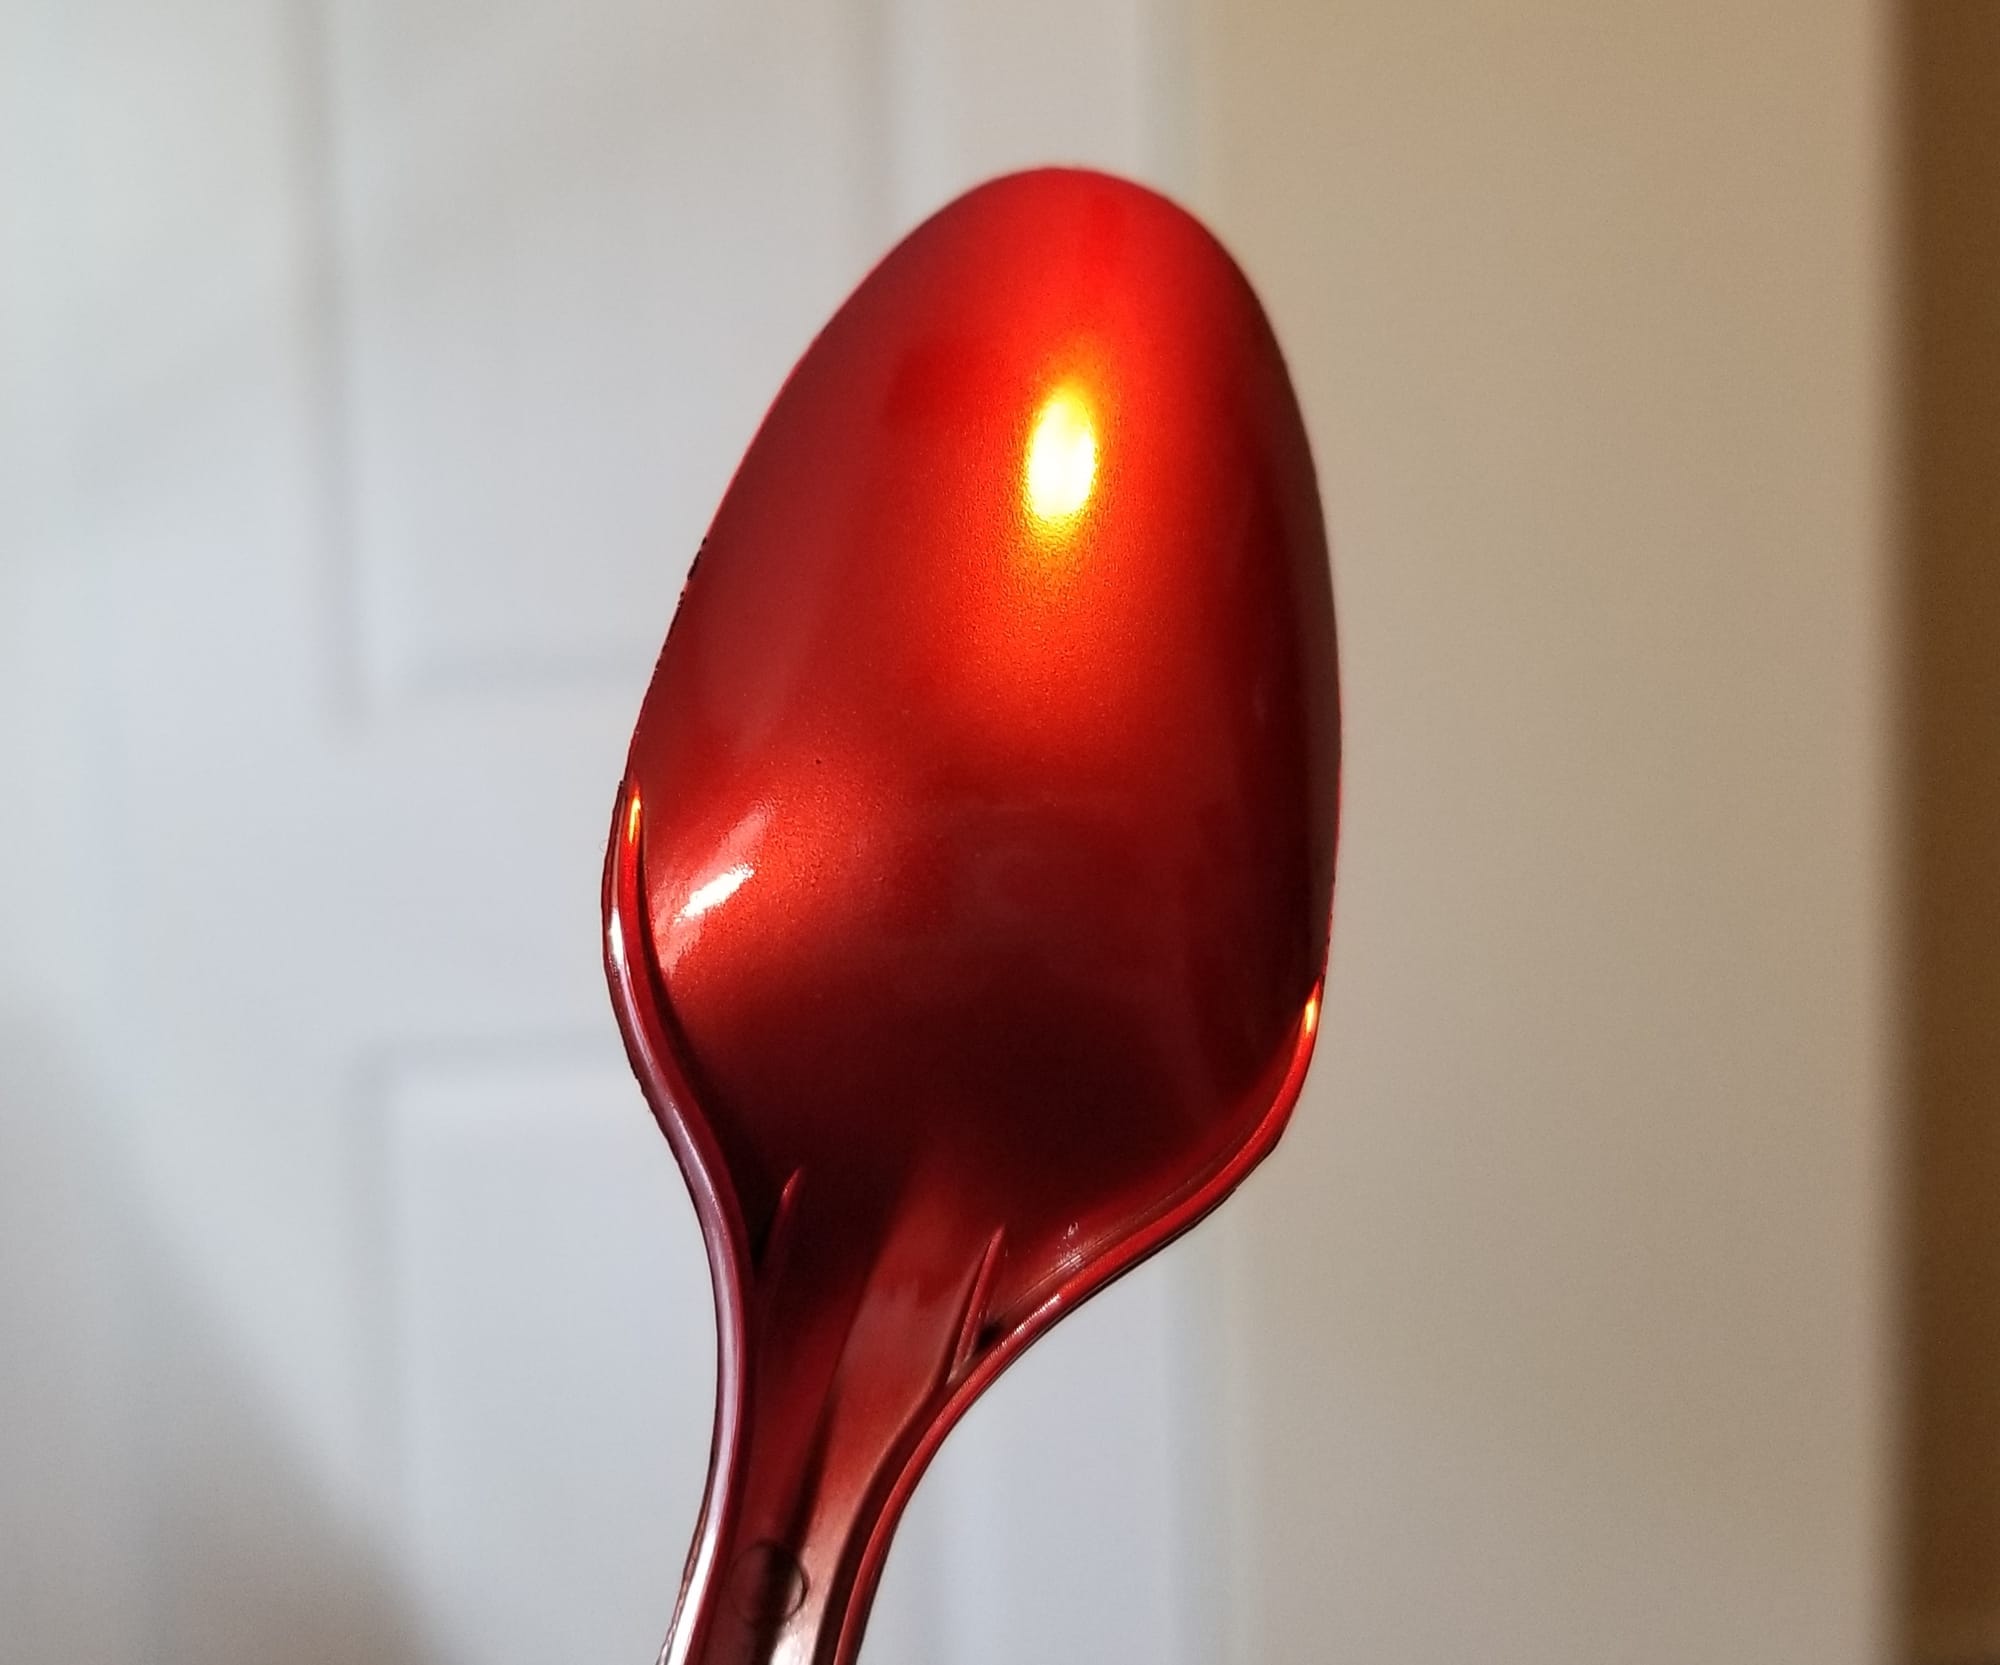
The technique was fairly simple, but required some patience. Layer 1 was gloss black, followed by a layer of gold:
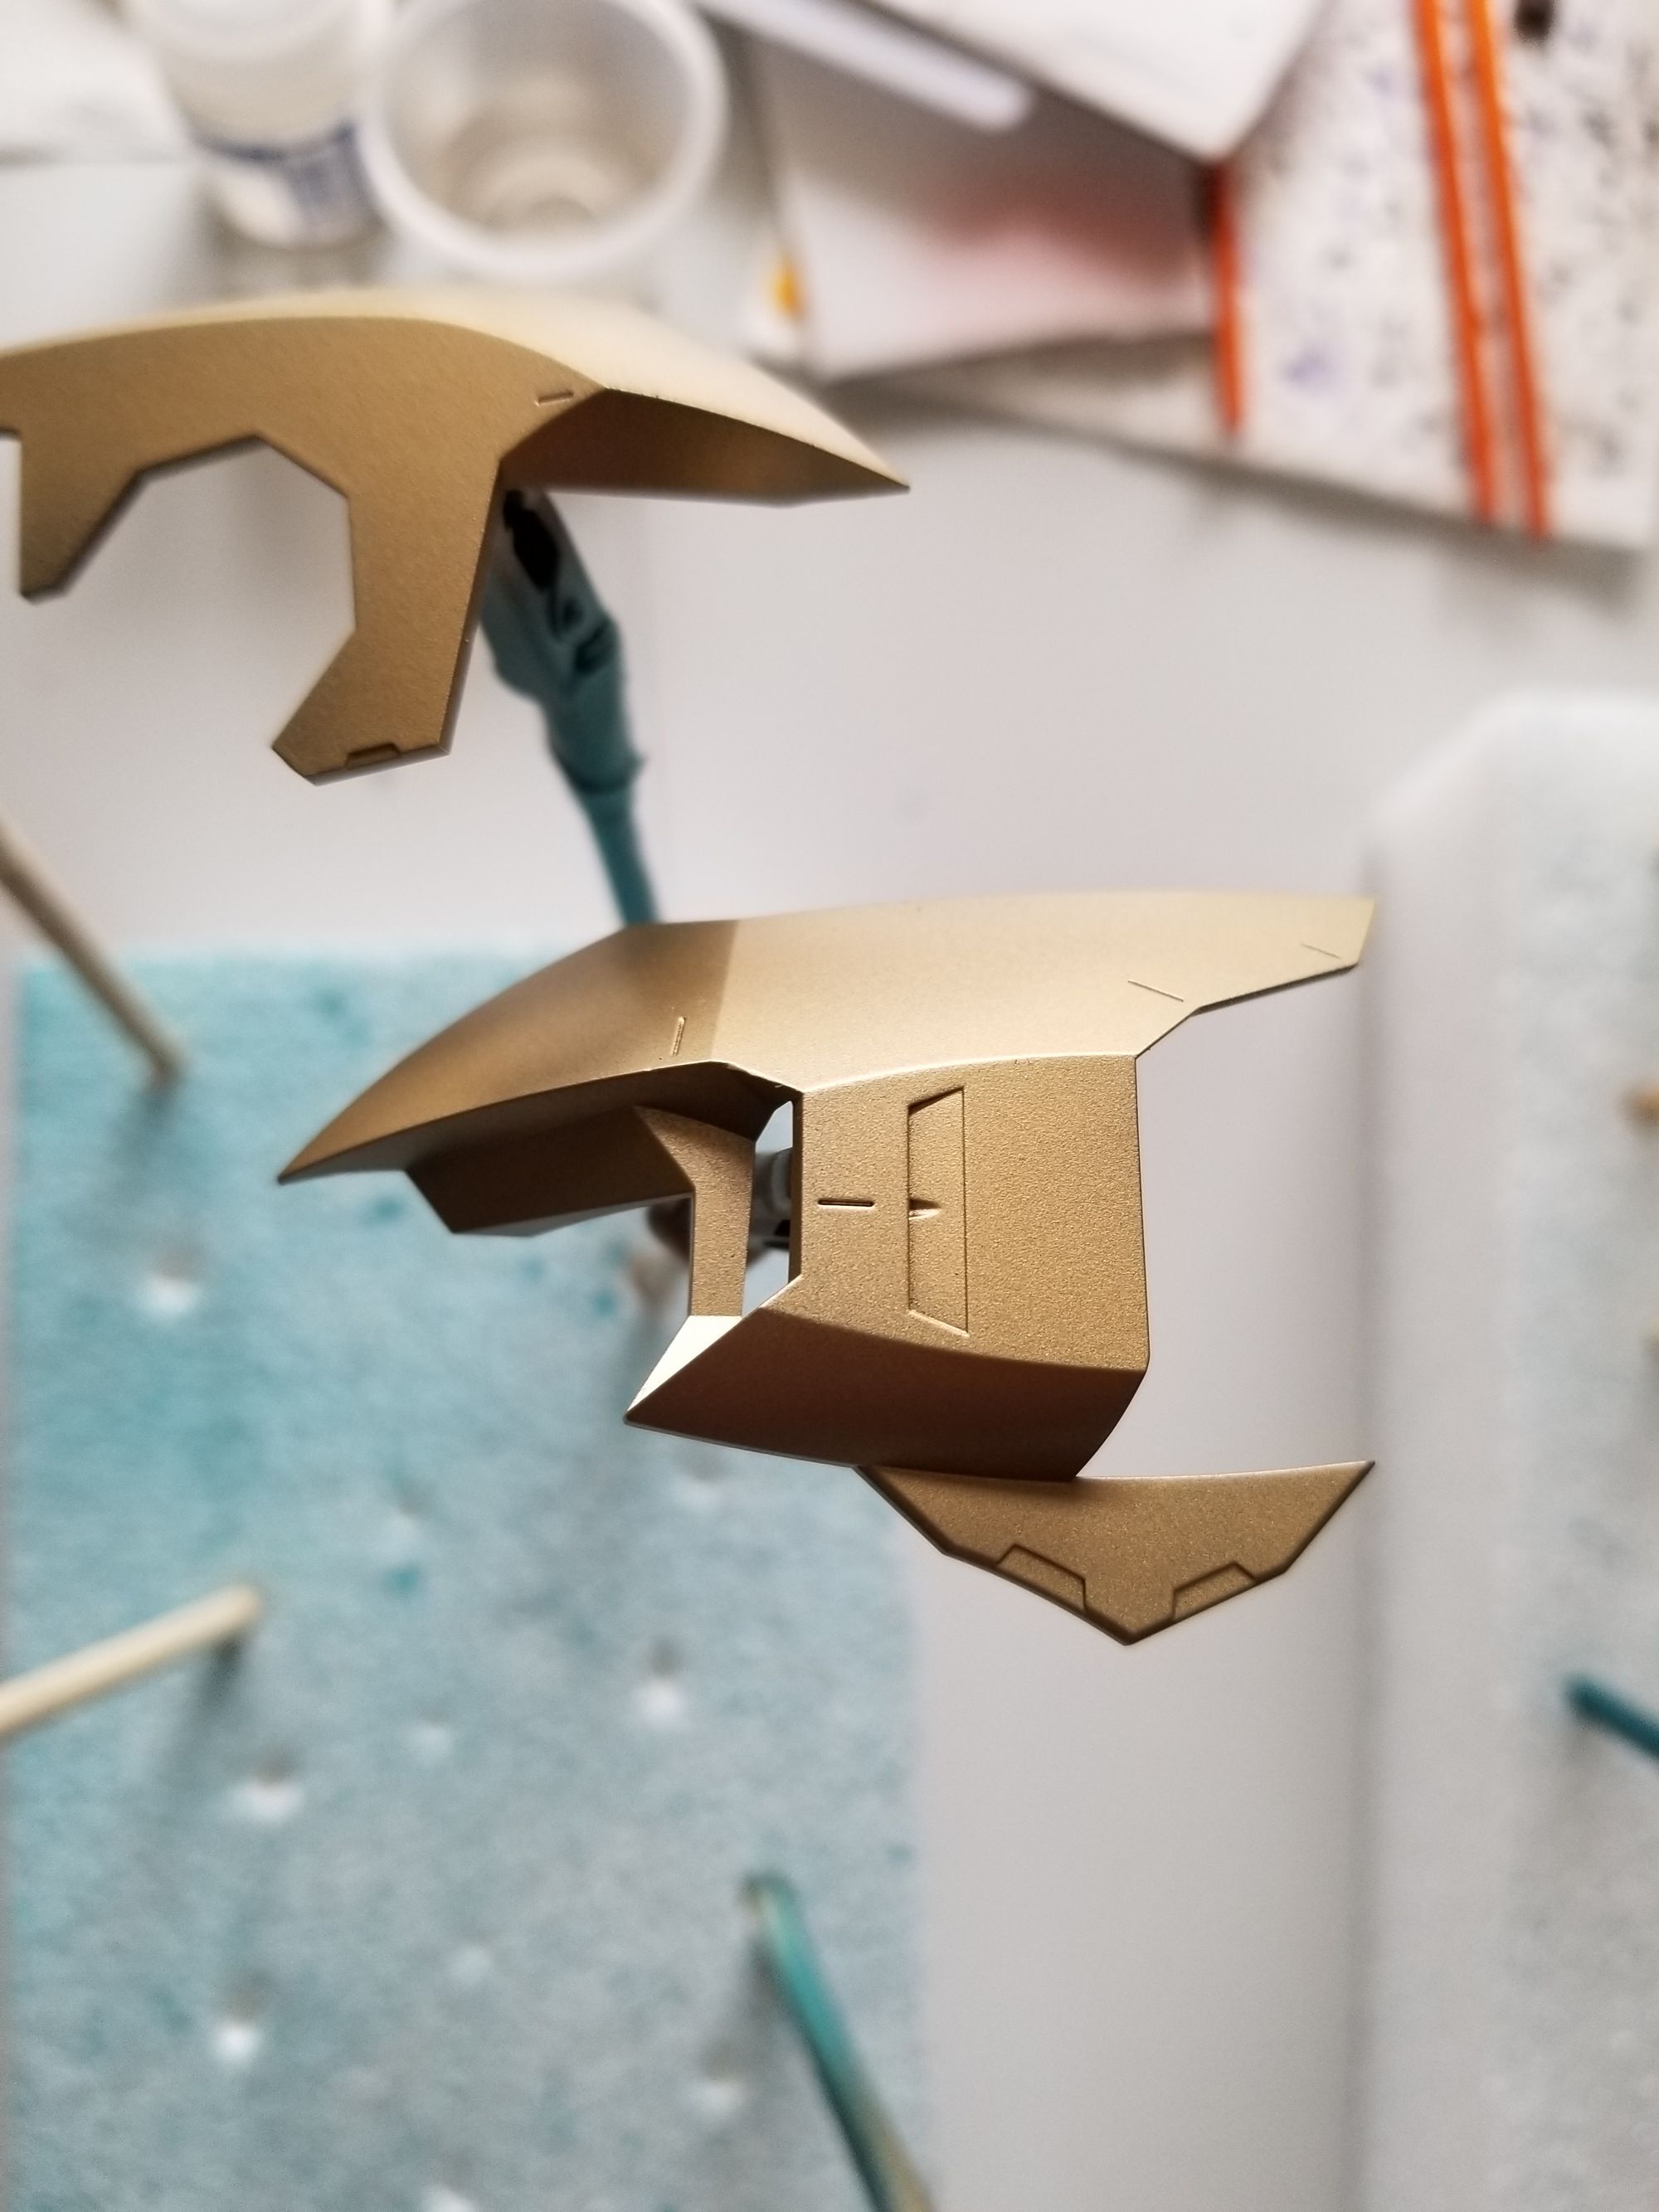
Then, blood...
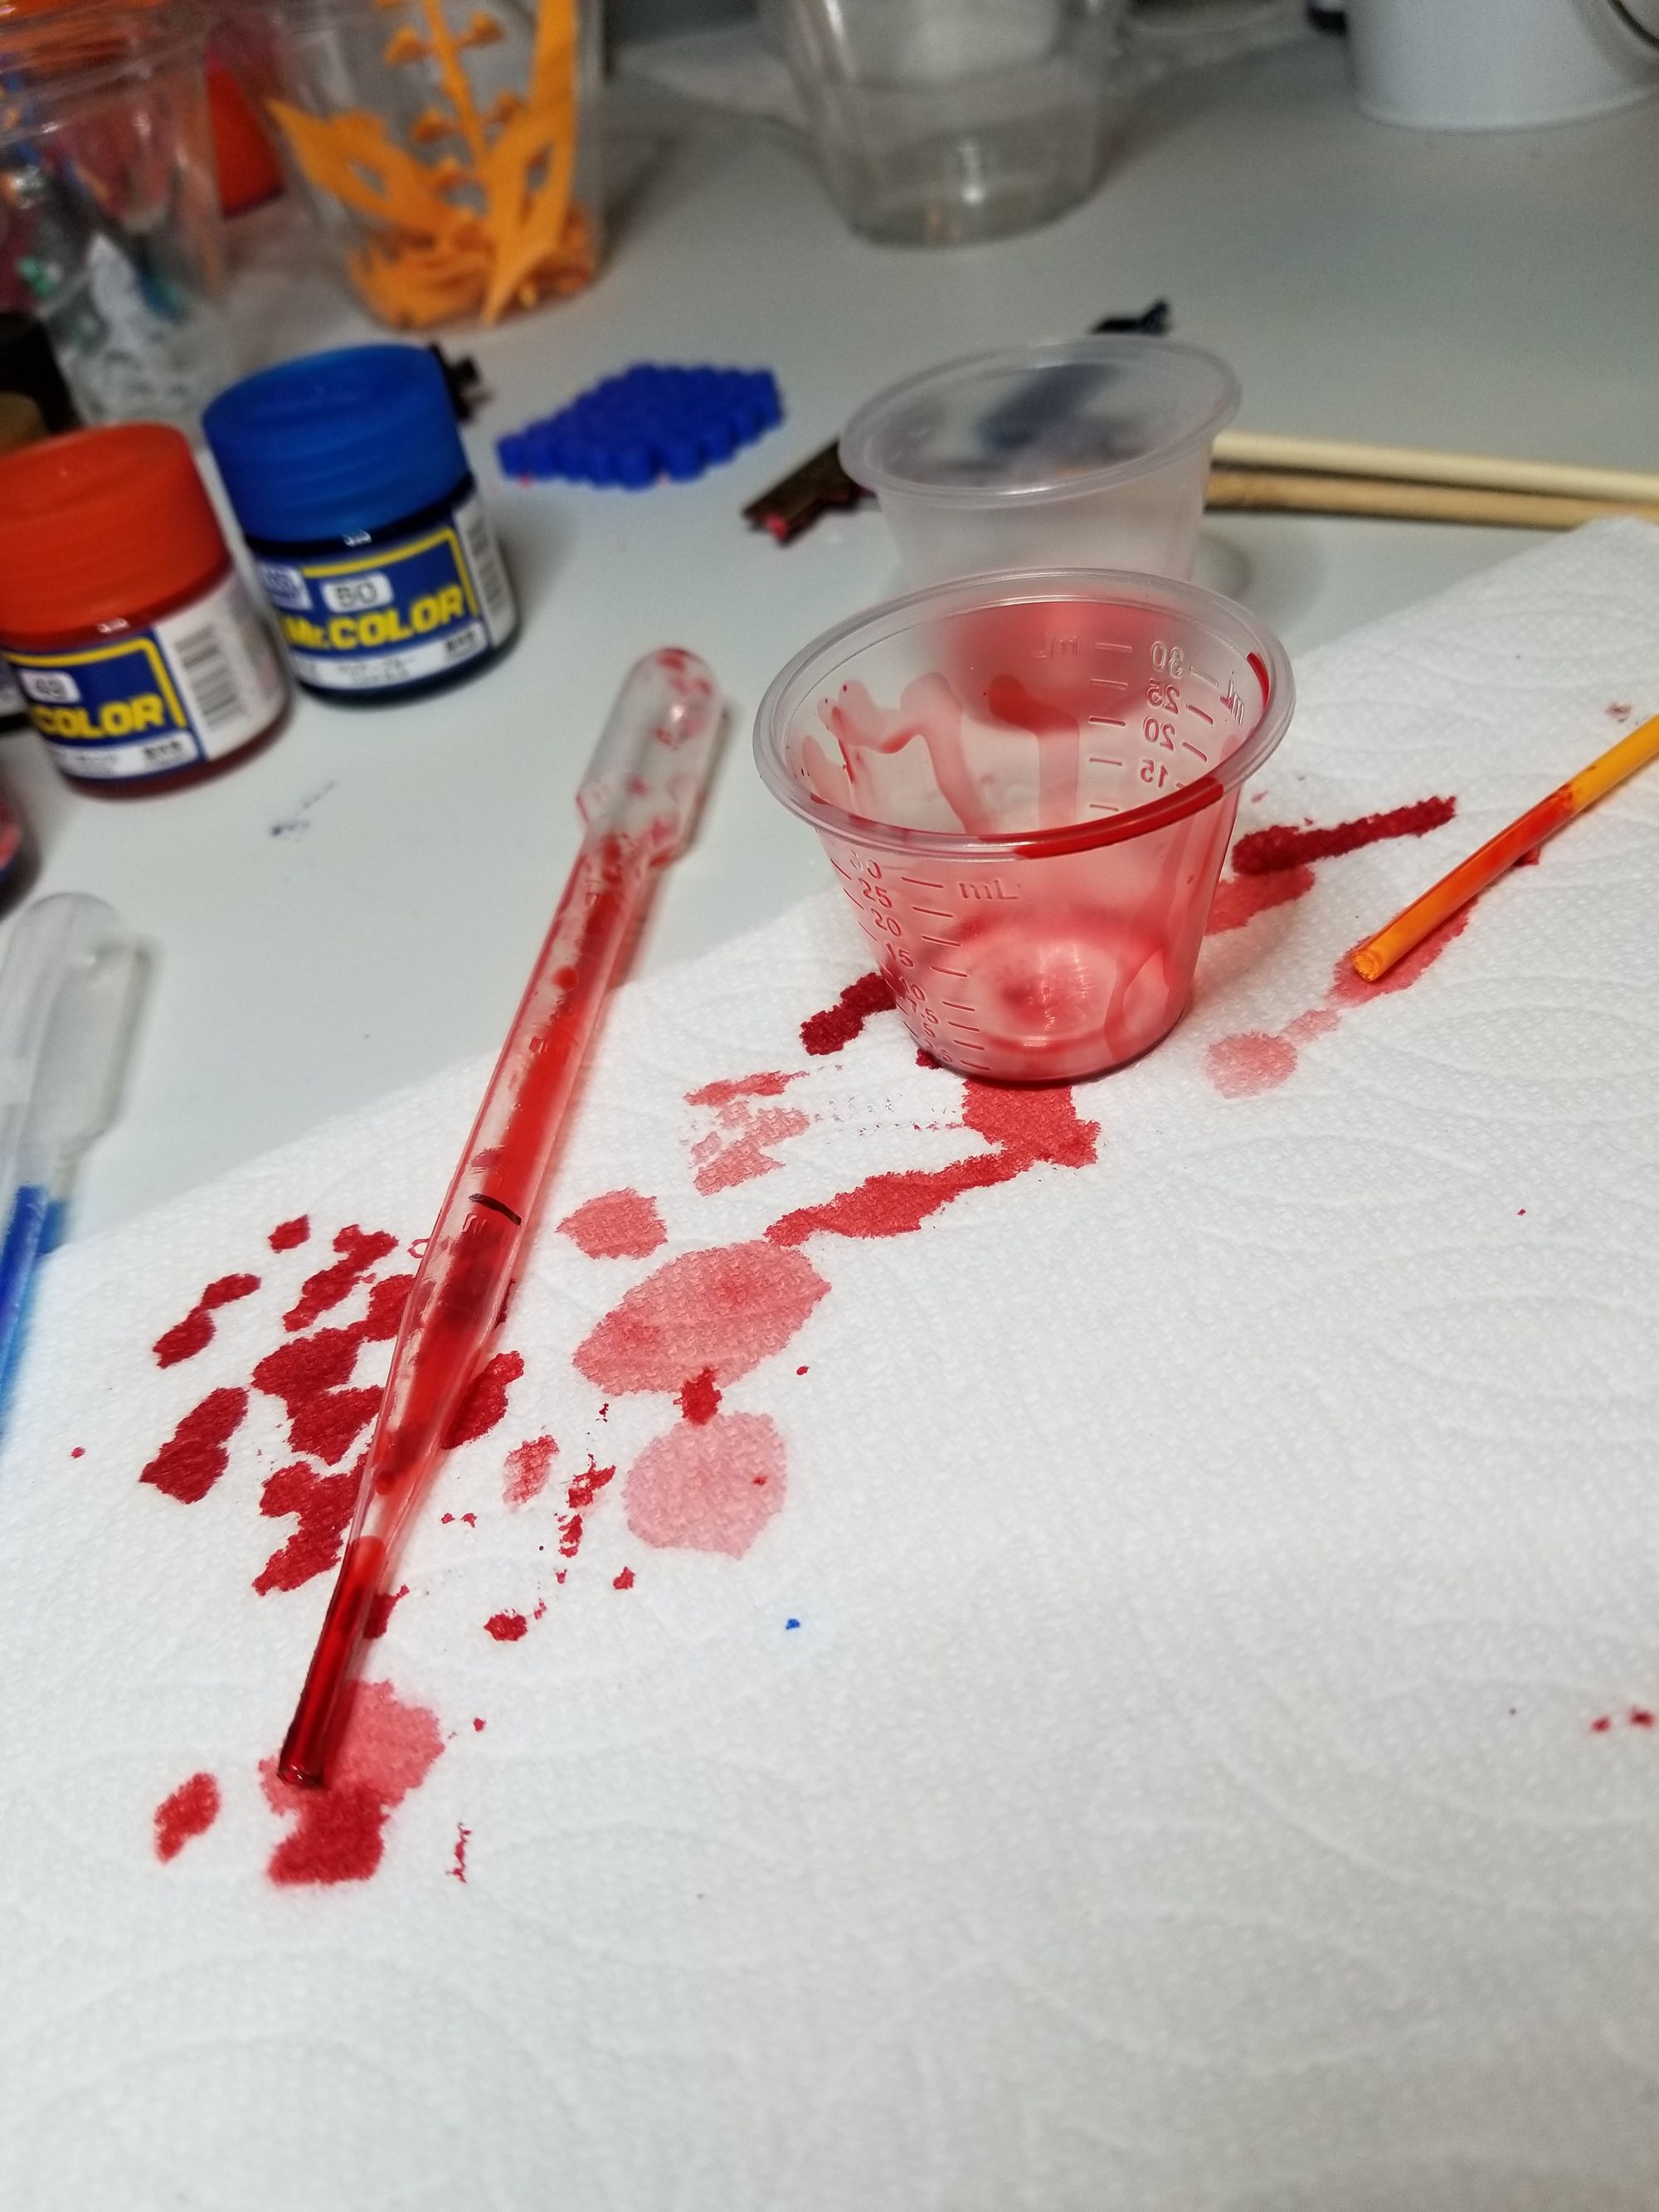
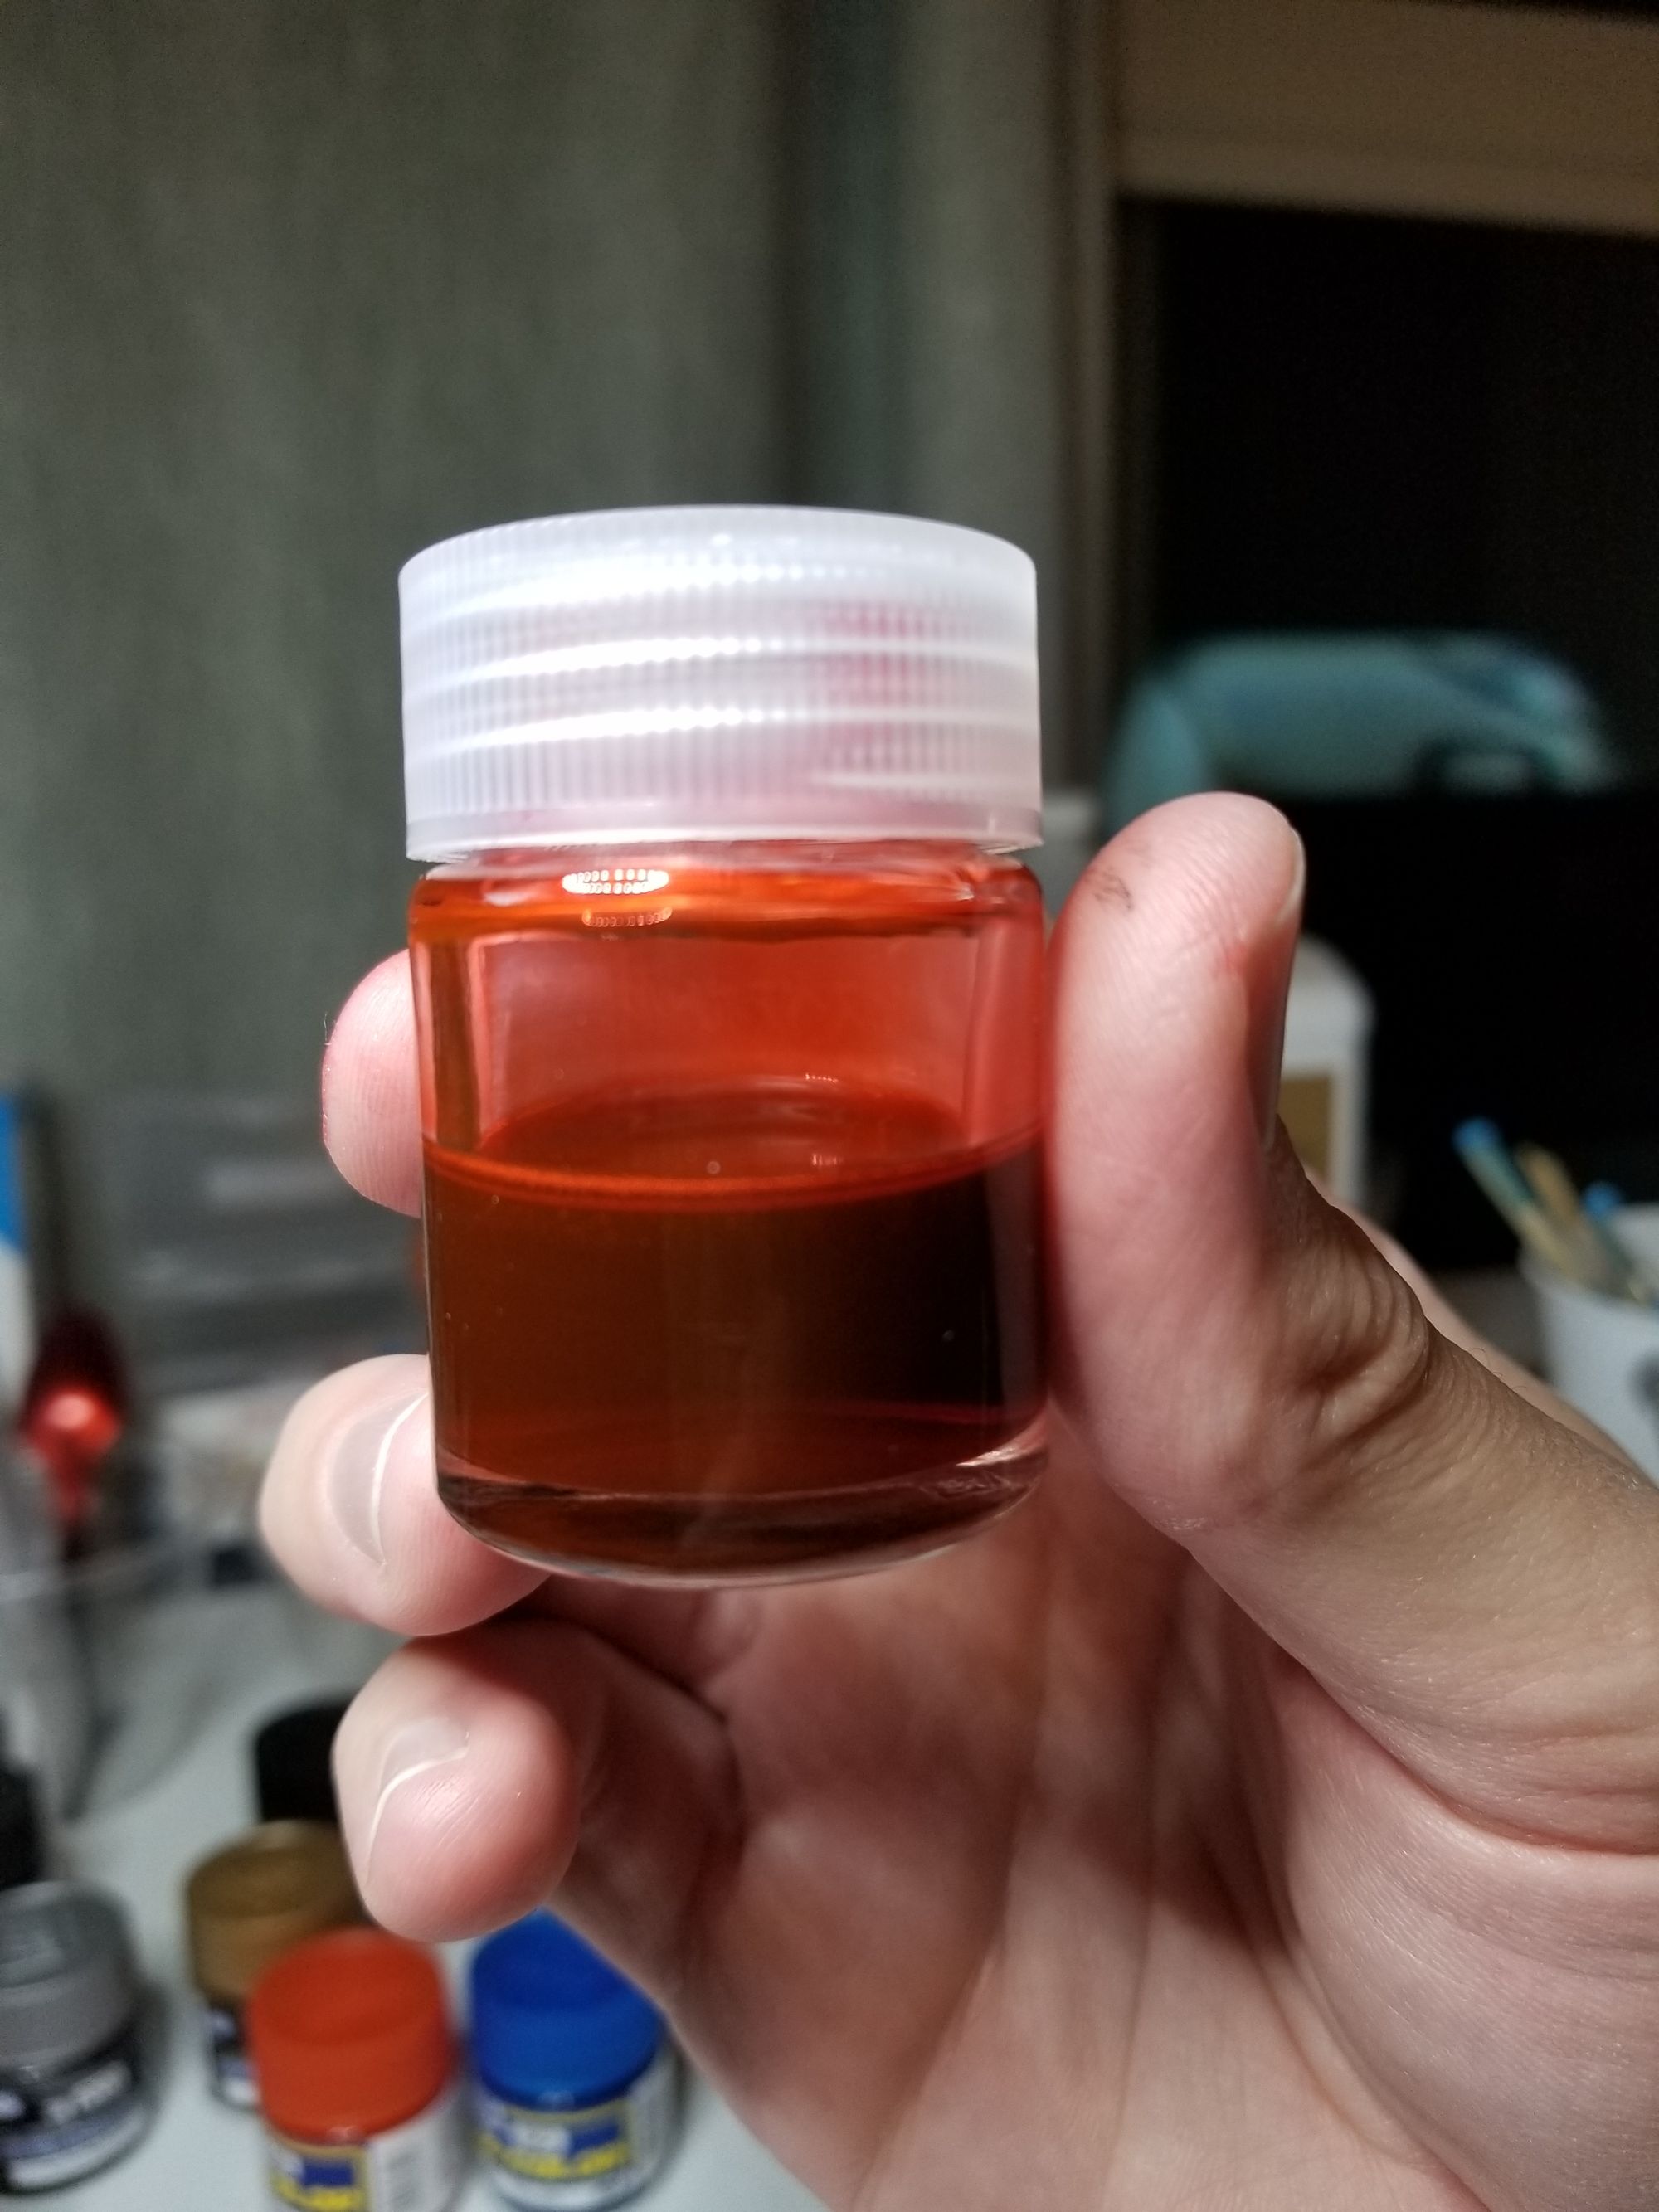
Or in this case, Tamiya X-27 Clear Red thinned with Mr. Leveling Thinner. Through experimentation on spoons, I found that making this fairly thin and spraying about 4 VERY light coats worked best. Otherwise it would pool up and fail to produce a consistent, smooth look. The best approach was to lightly spray one piece, then put it down, and work through the rest one-by-one. By the time I got back around to the first, it had dried enough for the next coat. On the 3rd or 4th coat, the color started to pop and by coat 6, they were done.
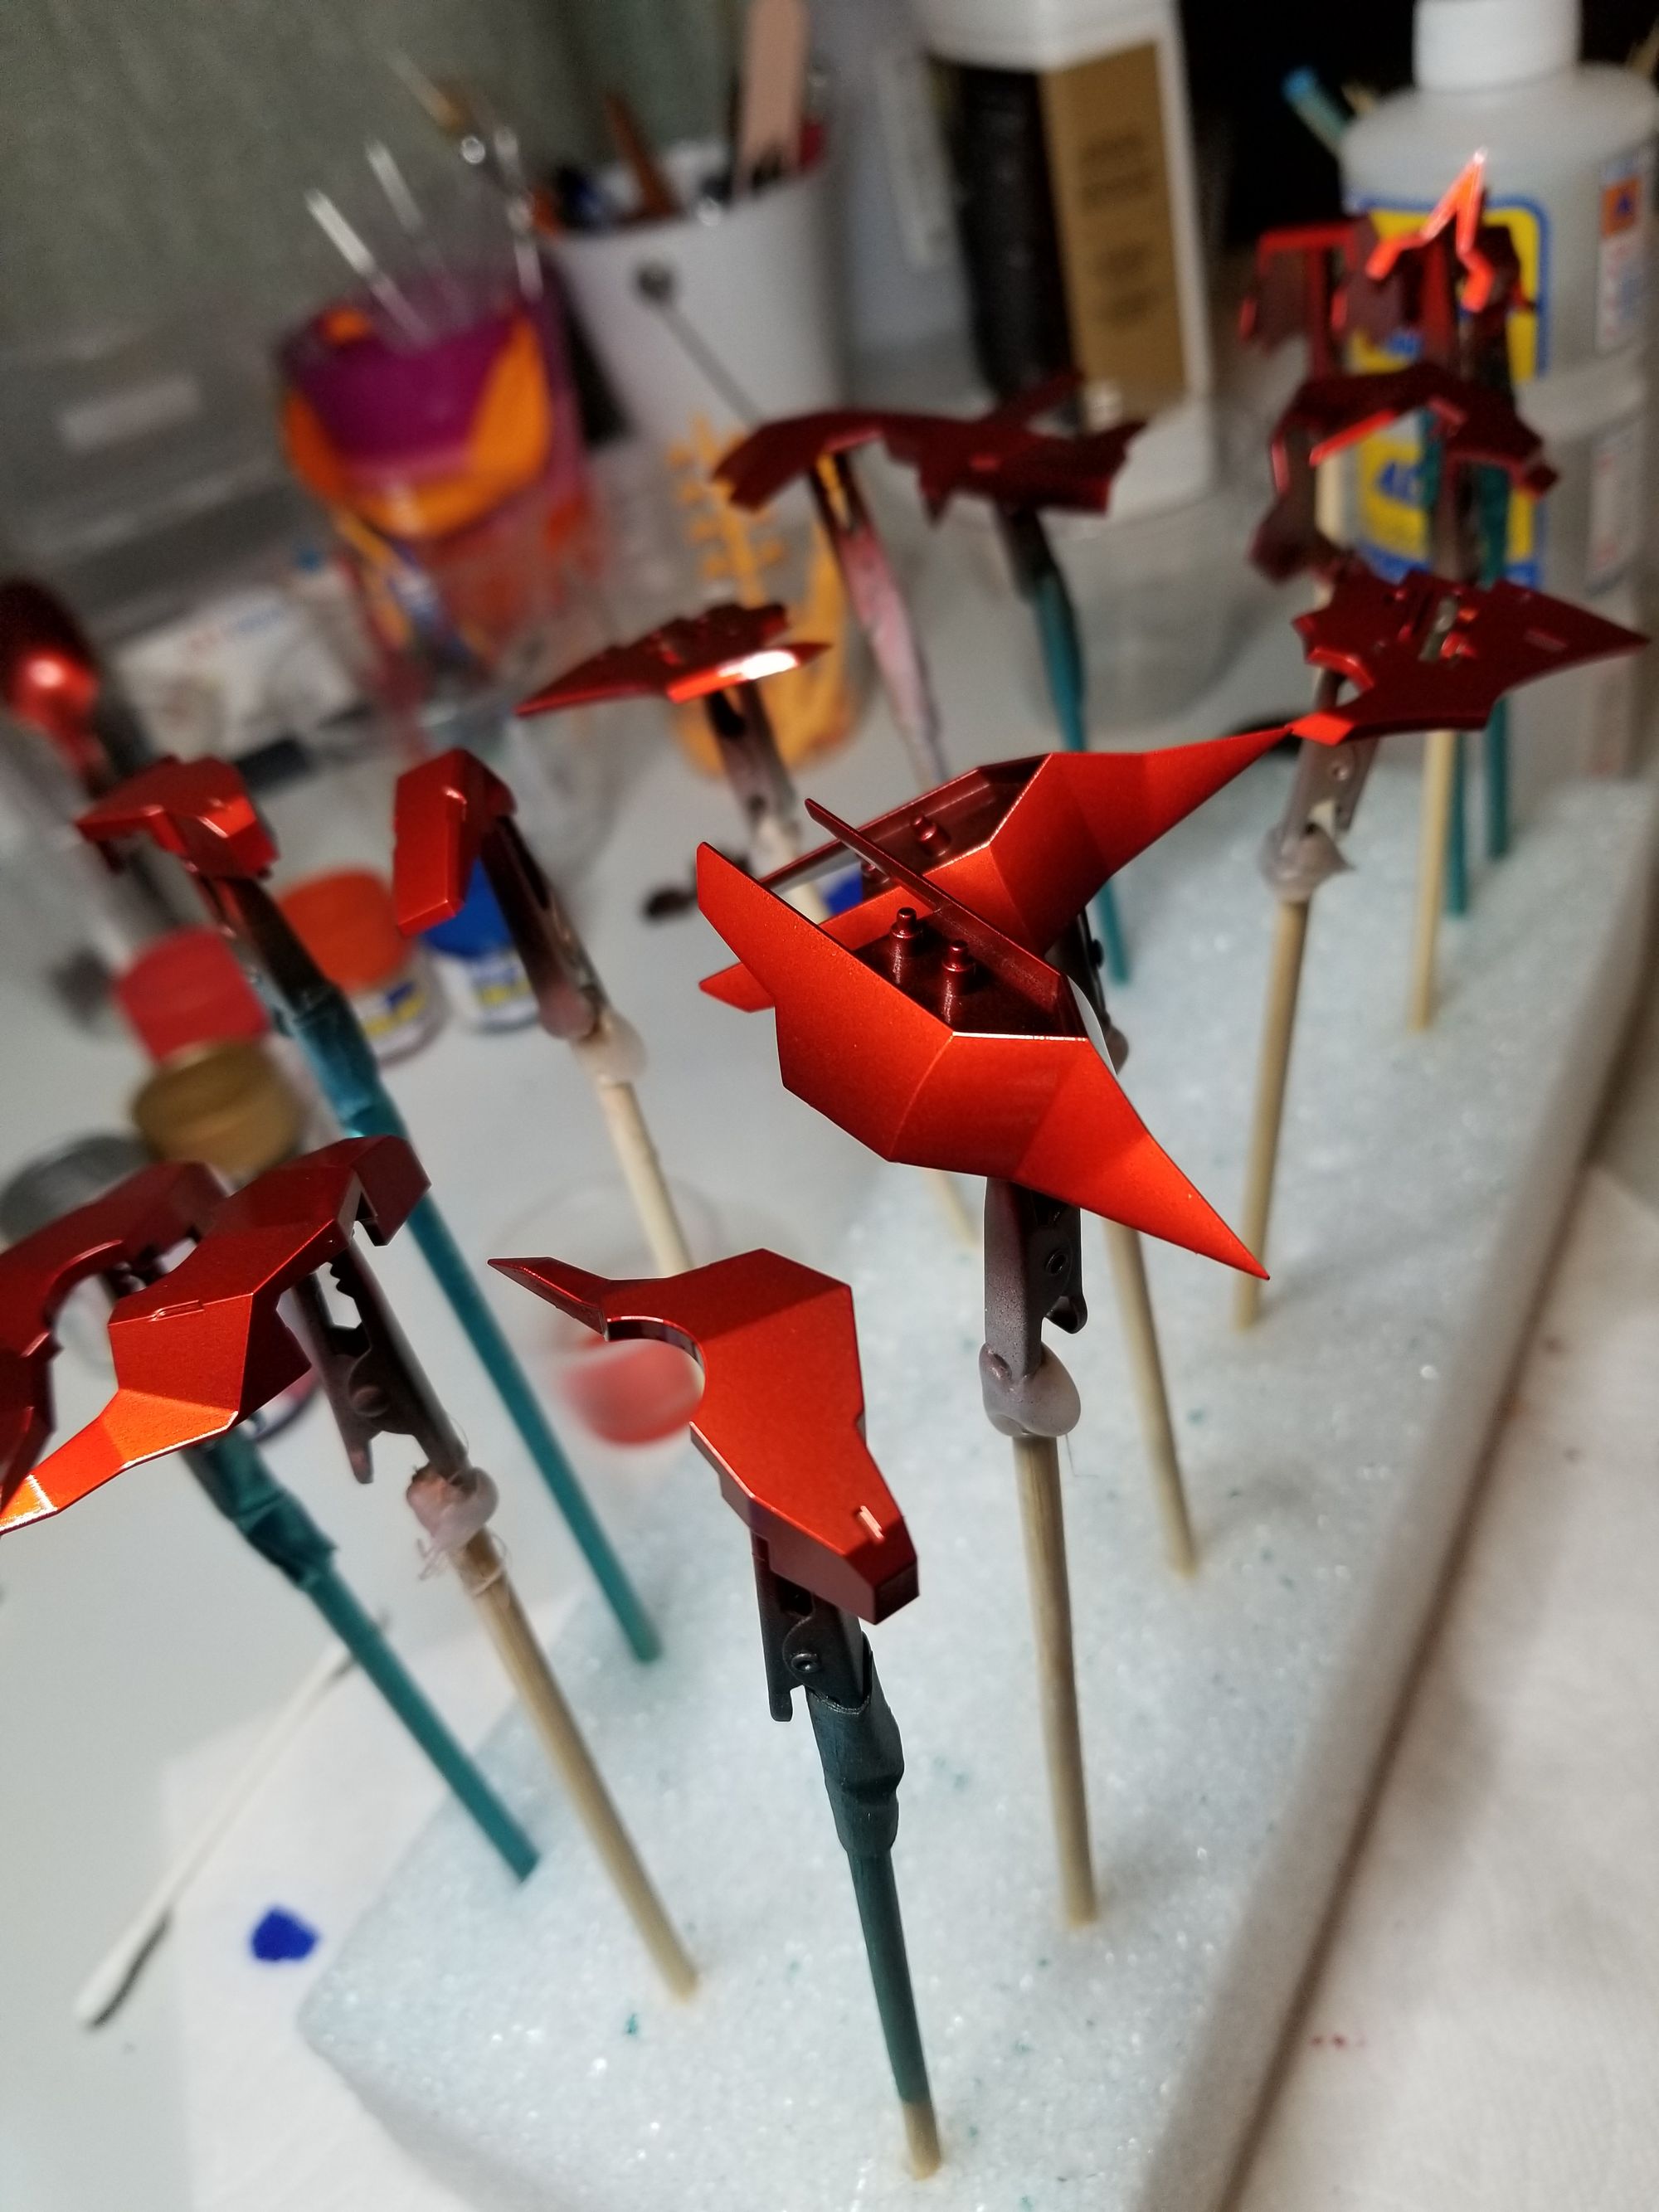
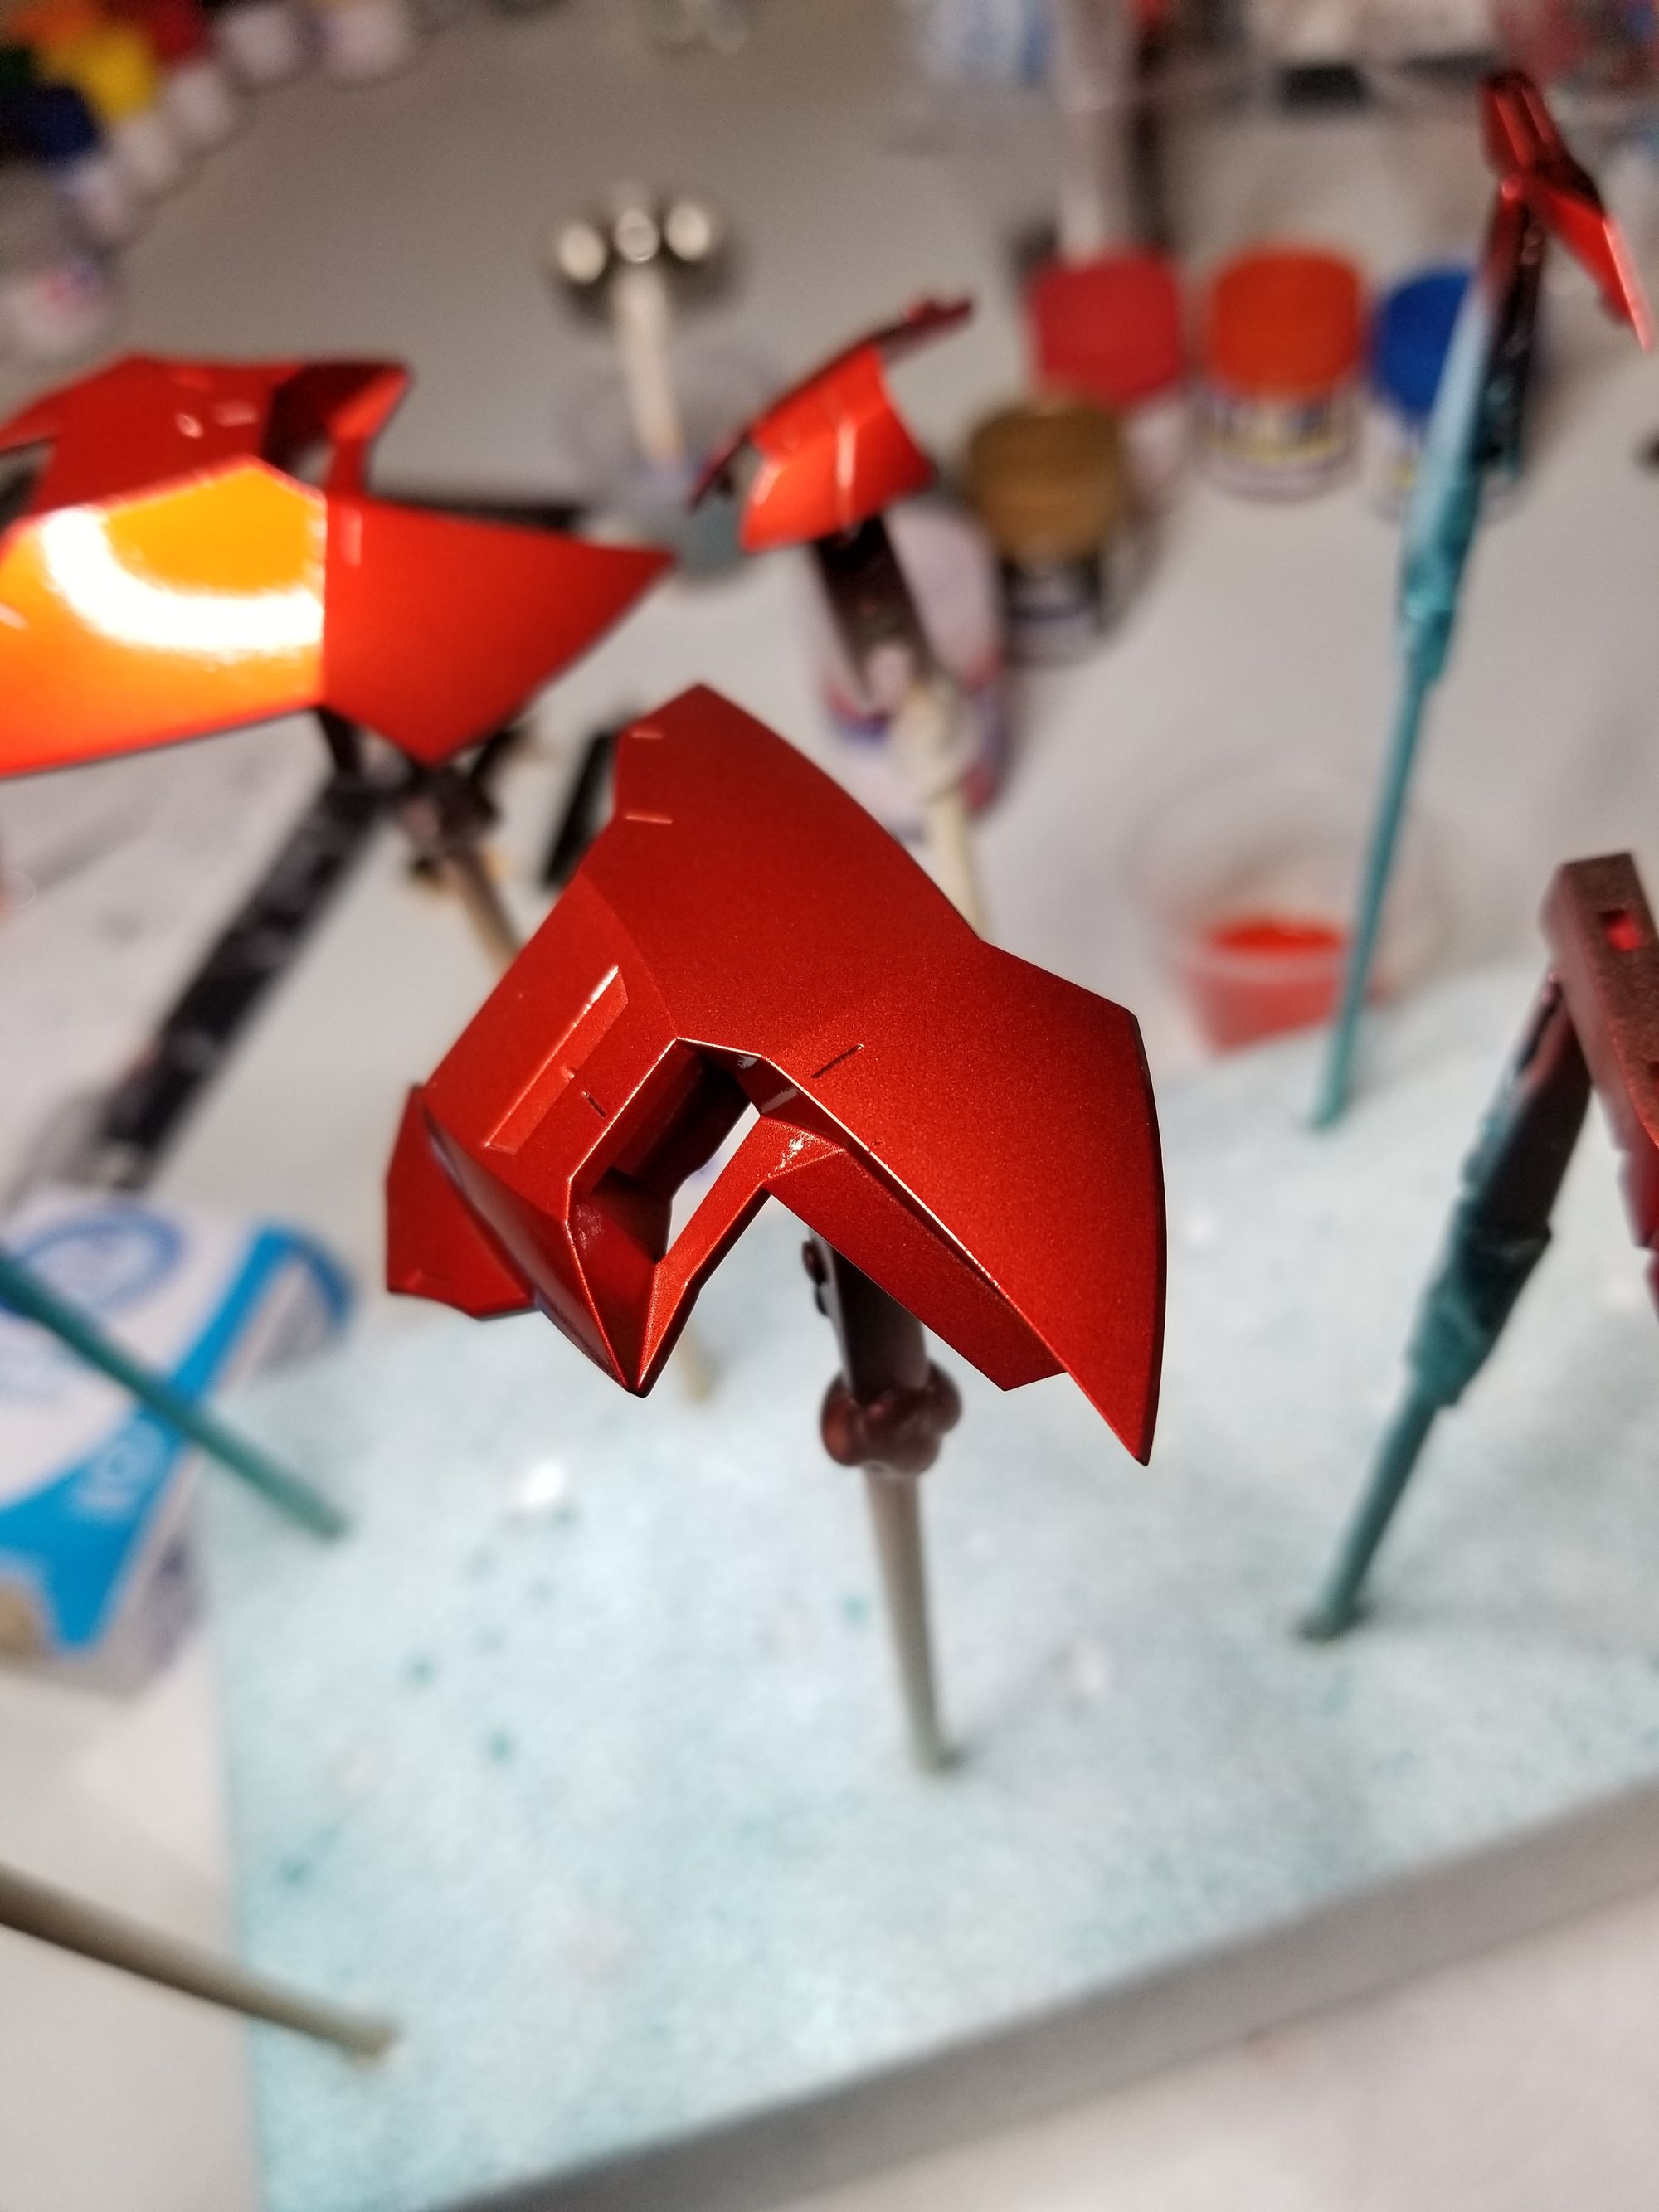
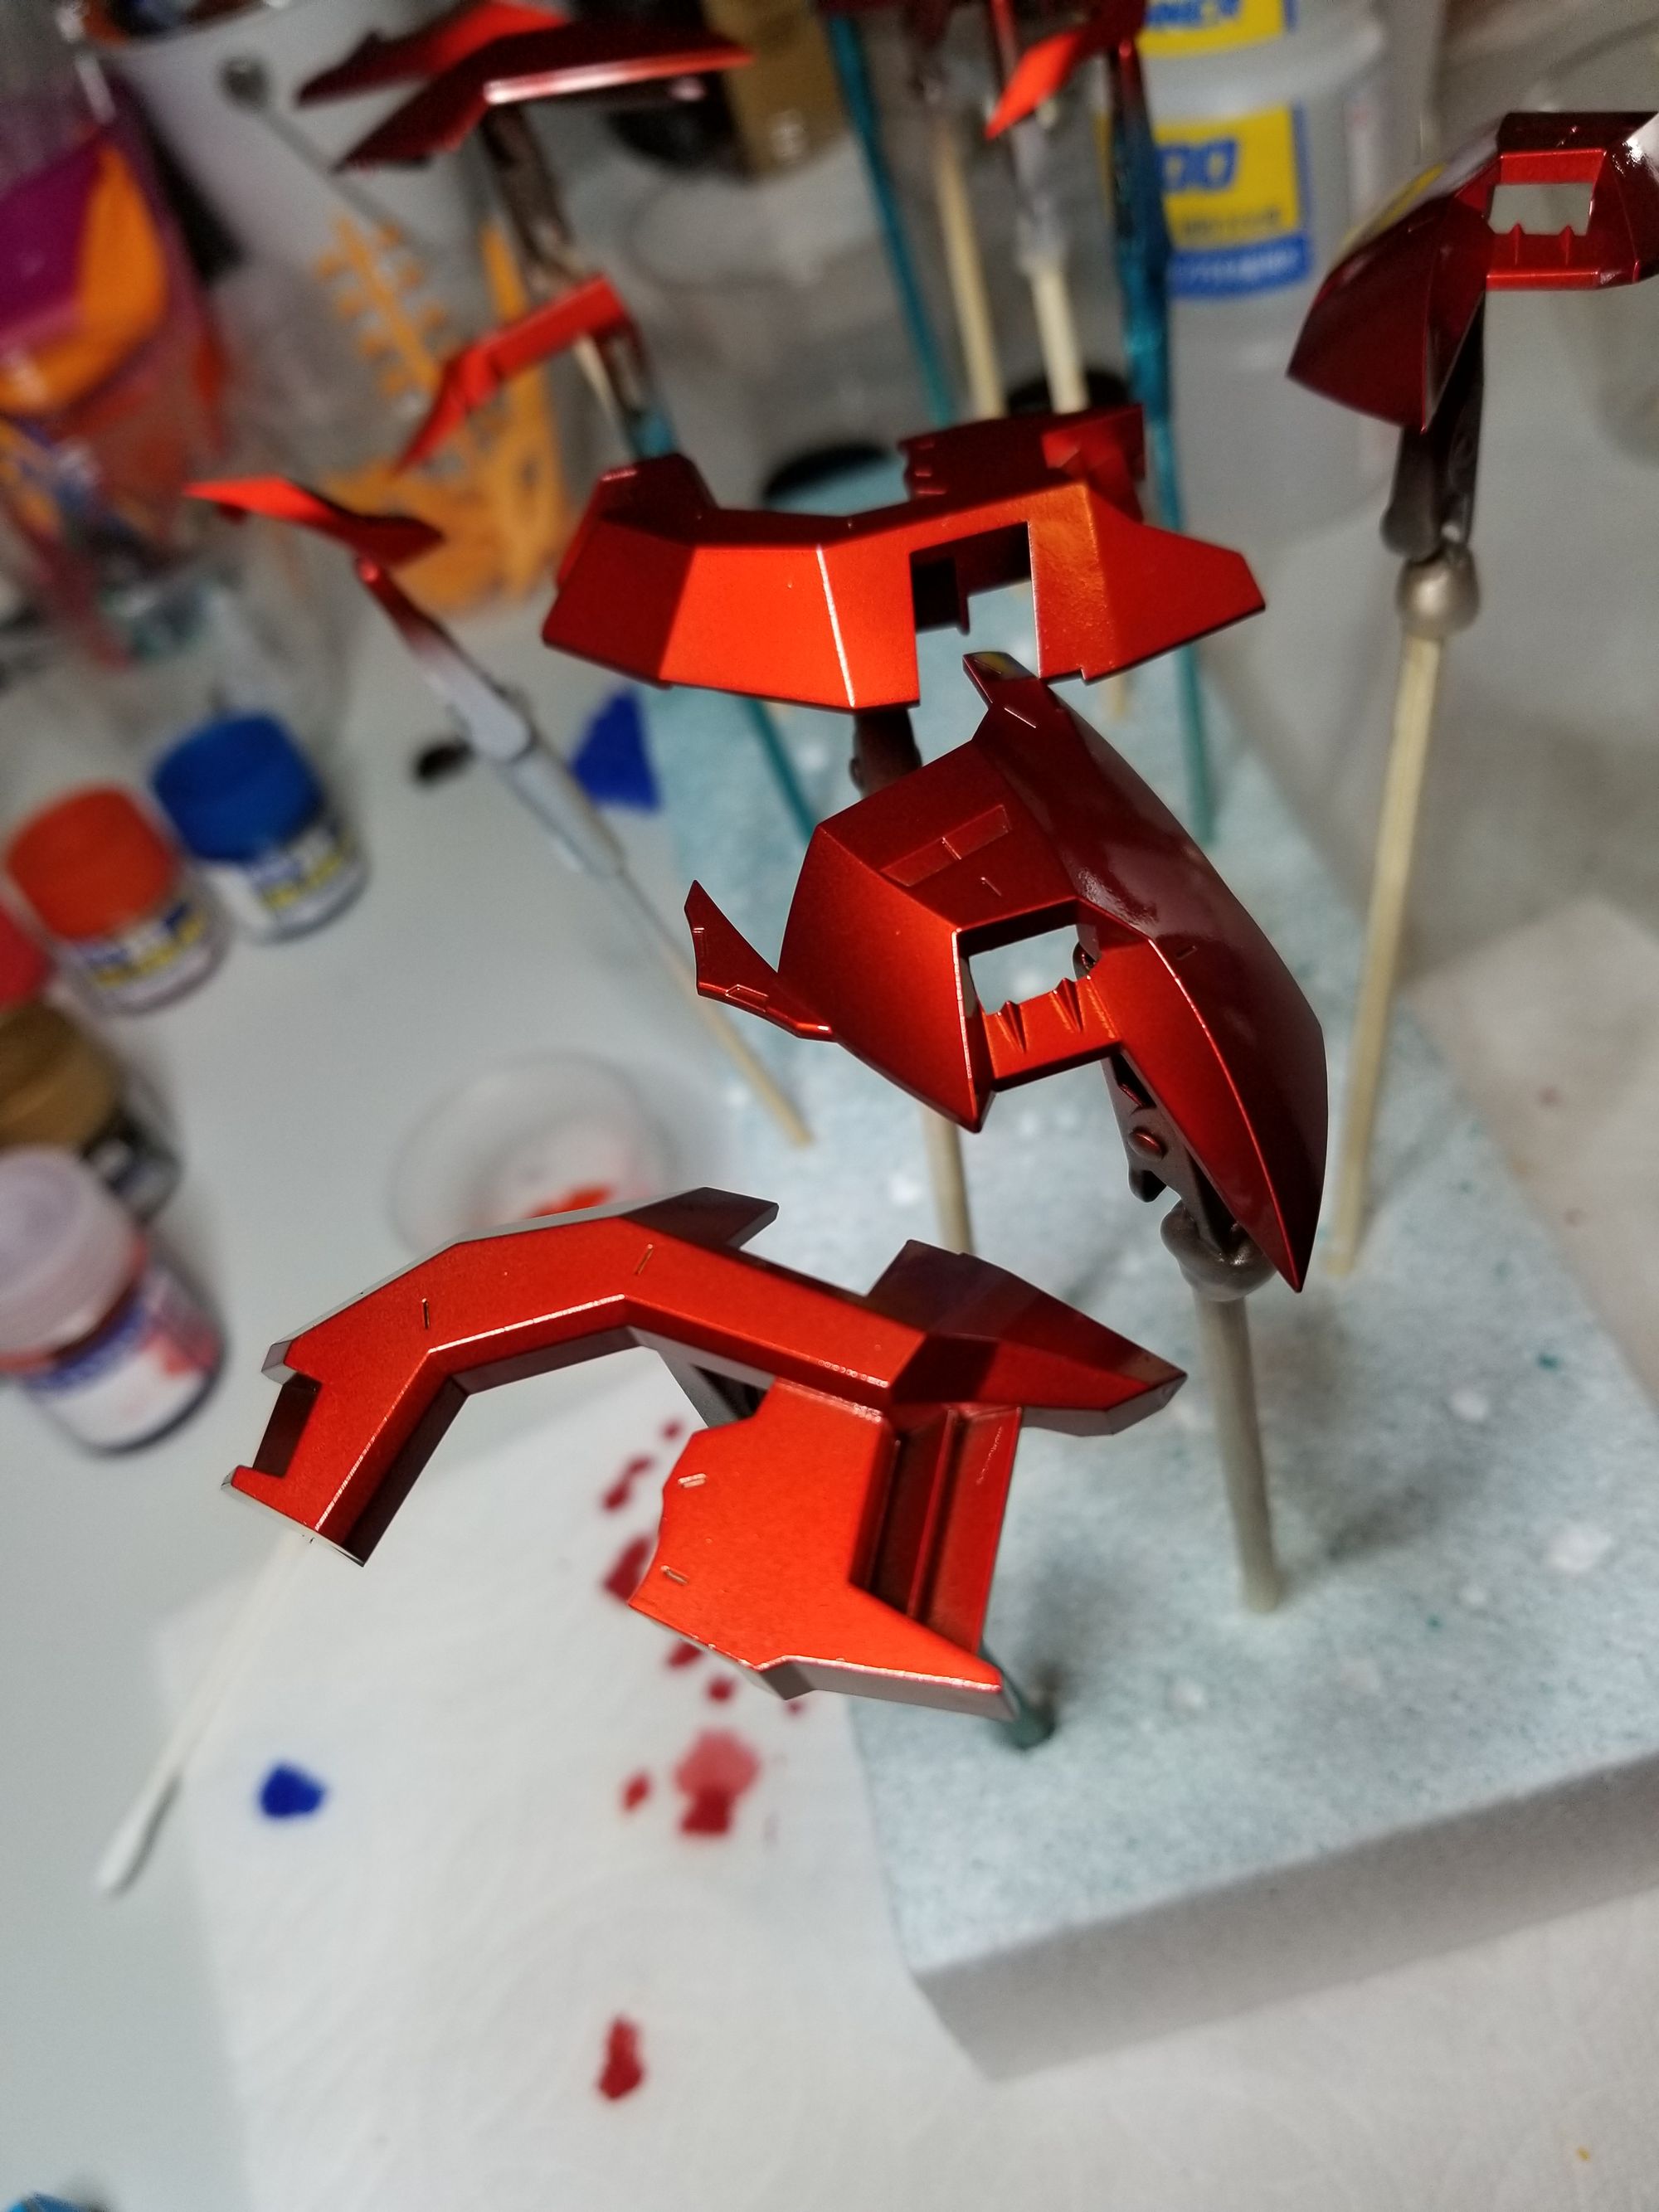
The gold base under the clear red gives the impression of a golden-orange glow when the light hits it just right.
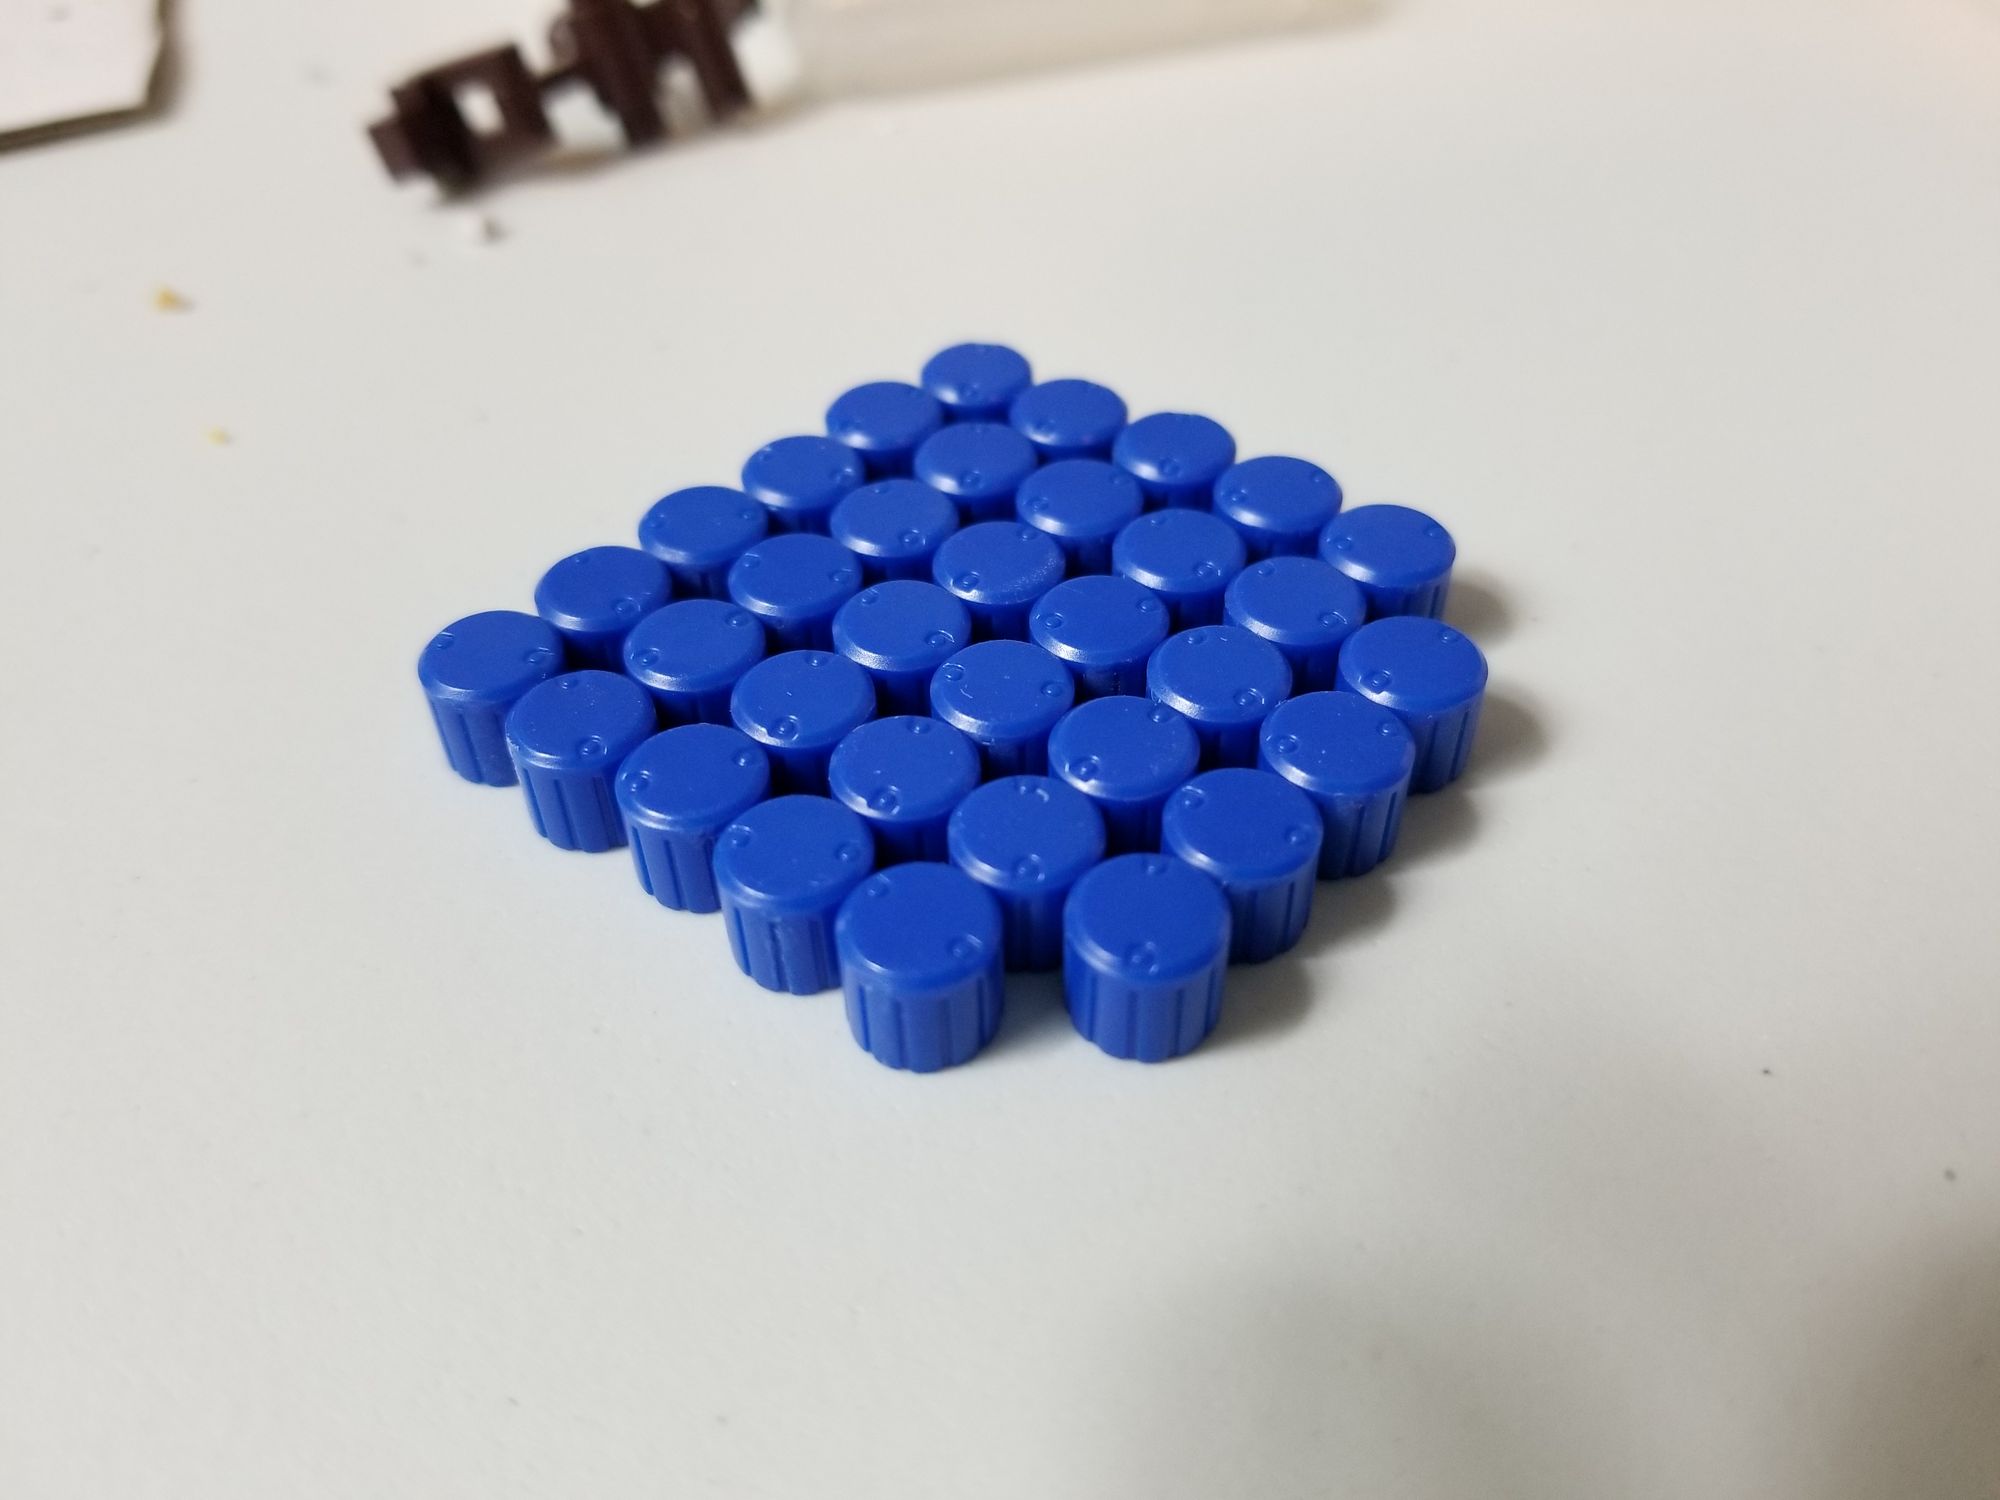
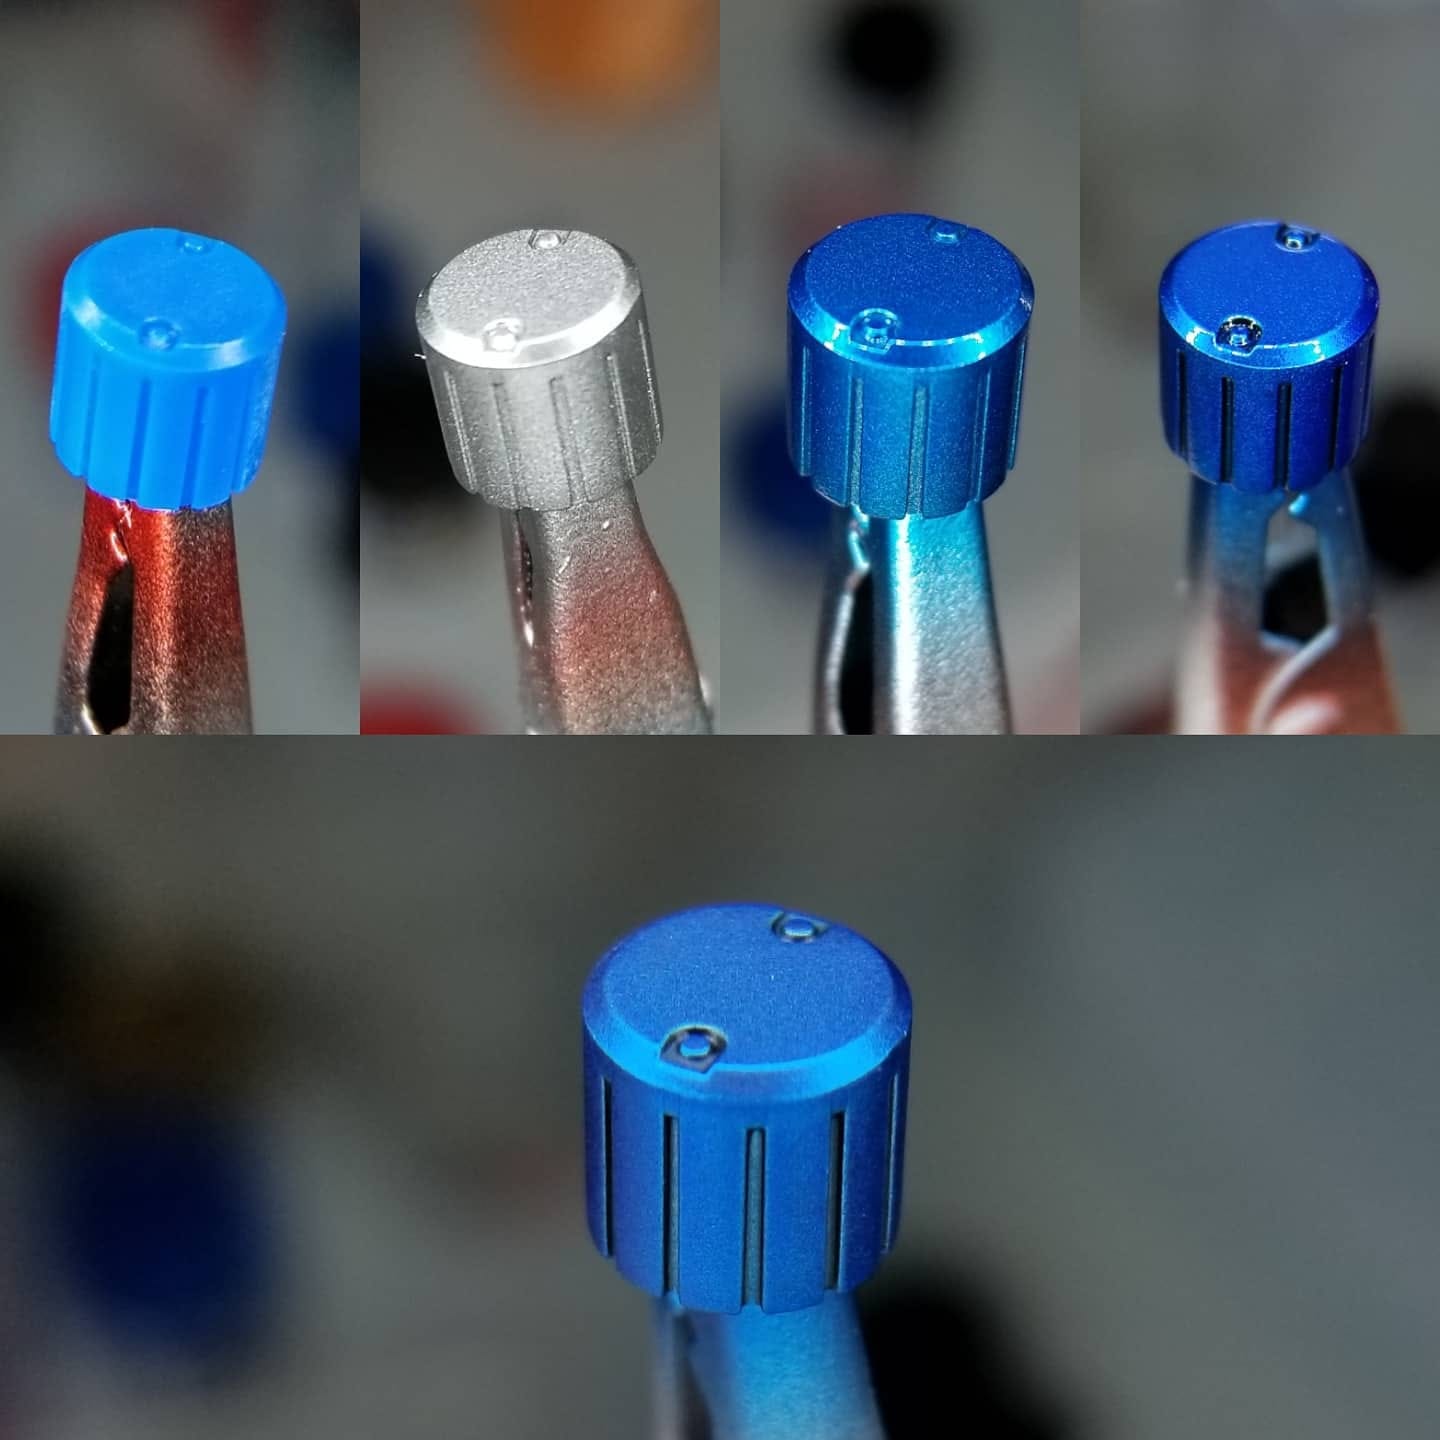
For the nubbins, I applied a very similar technique. I skipped the gloss black and instead started with Mr. Color Super Iron directly on the blue plastic. Over that, I sprayed Mr. Color Clear Blue, then panel lined with Tamiya black. These looked pretty good at that point, but I felt they were too glossy and distracted from the smooth amber glow of the armor. So I top coated with Alclad 2 Flat which turned these candied nubbins into something resembling the anodized aluminum rails of an iPhone.
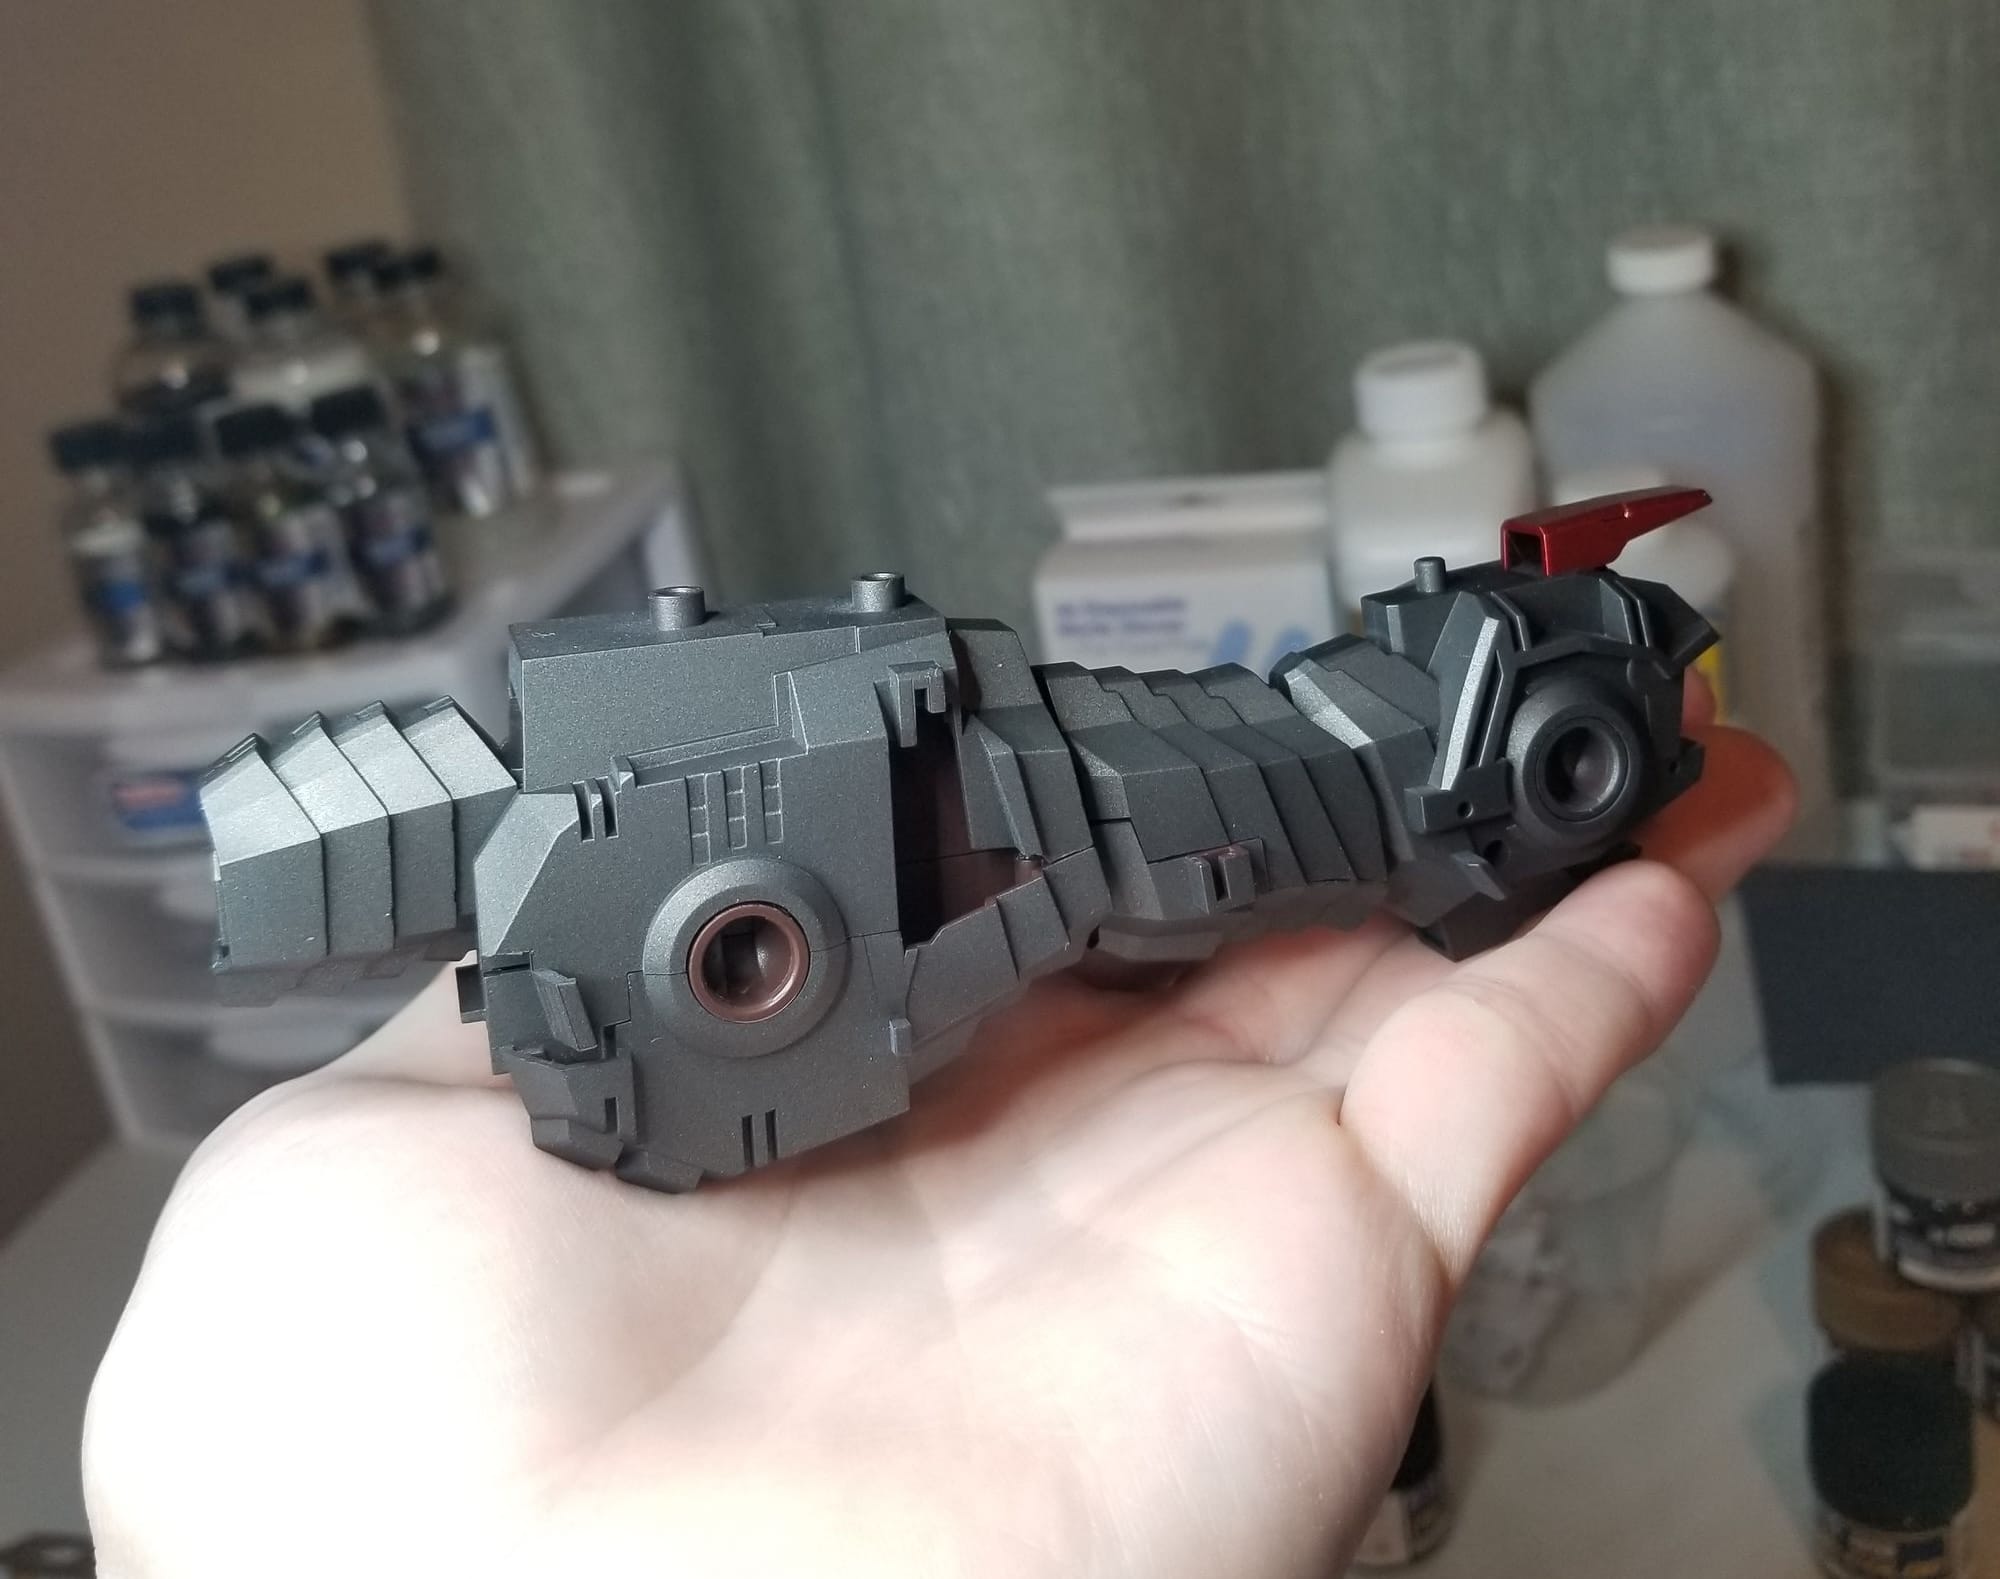
The chocolate brown body didn't seem to match the vibes.
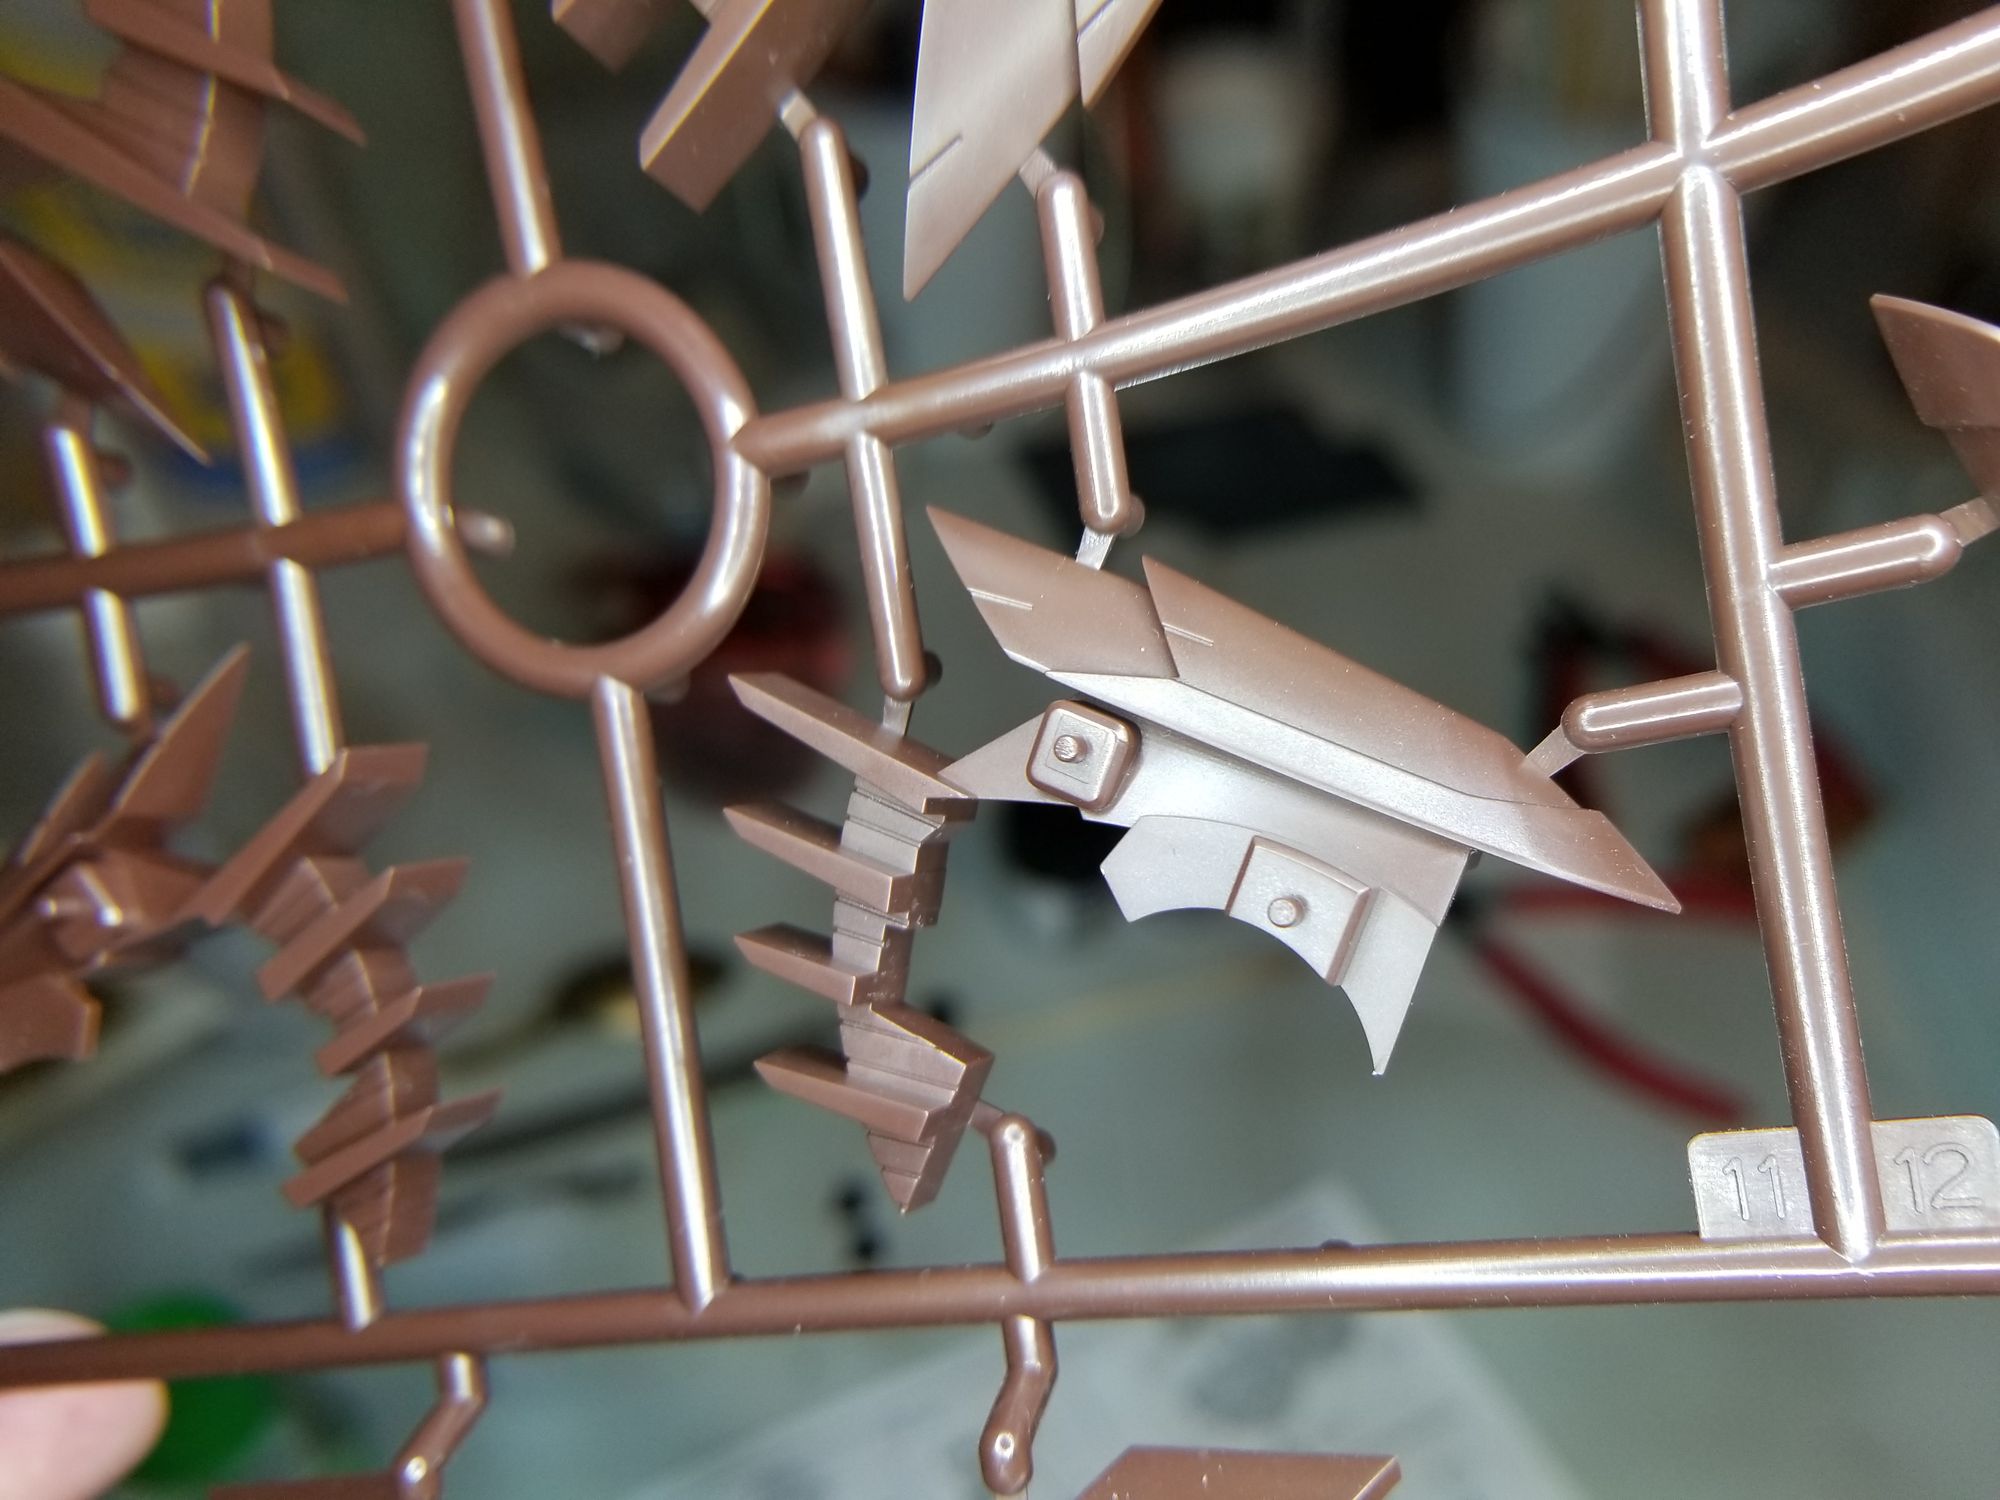
It needed something more... Steel.
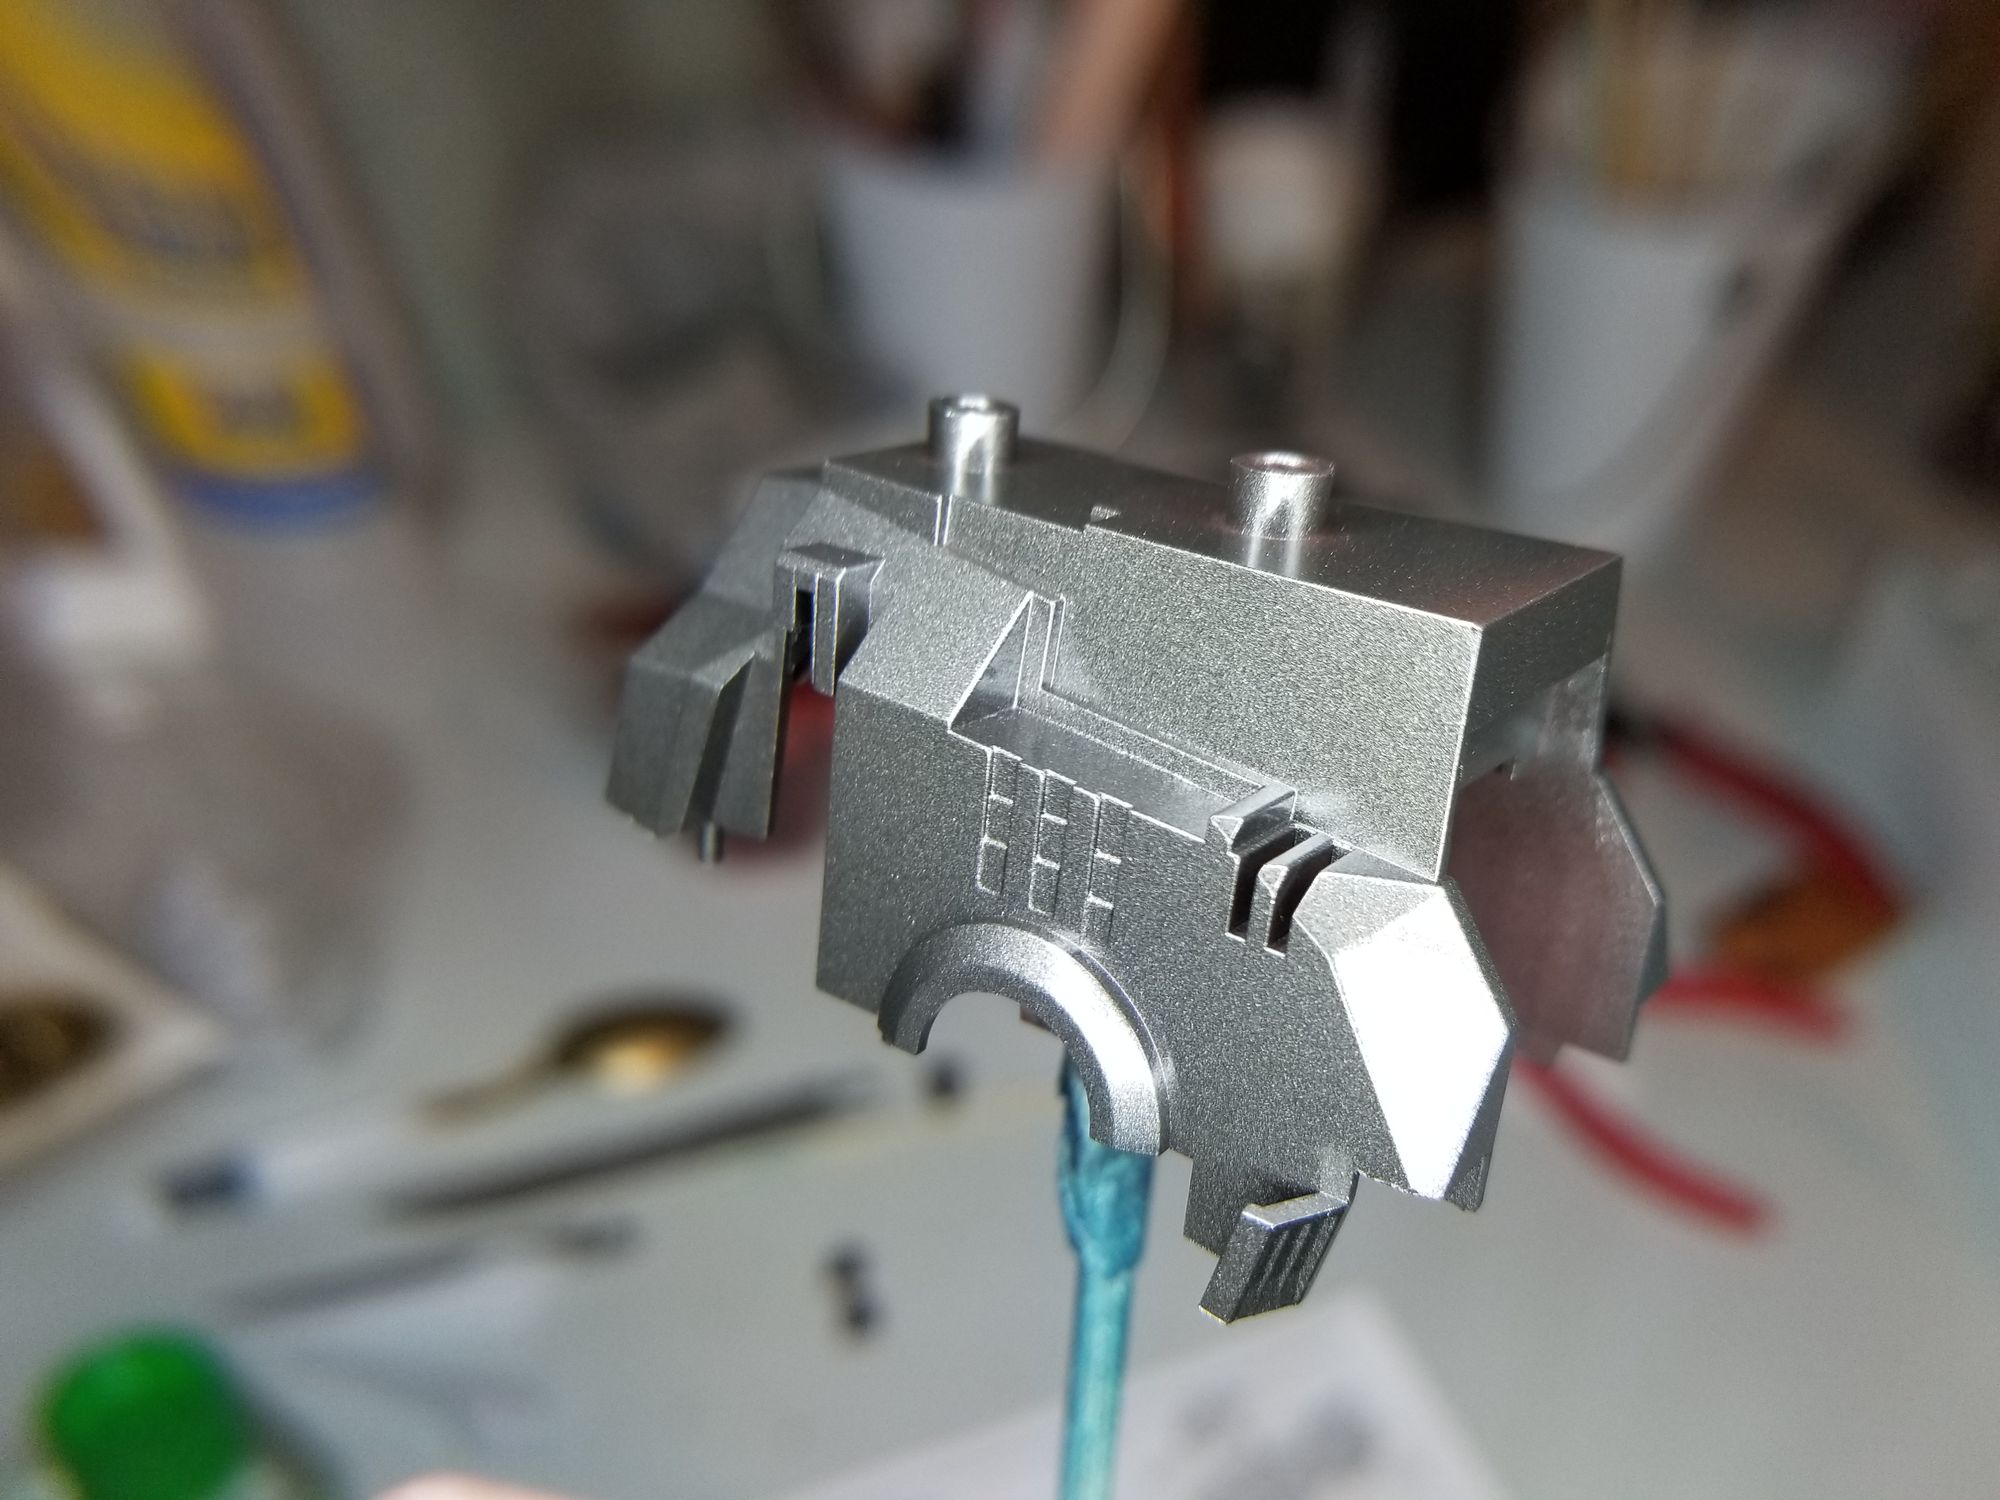
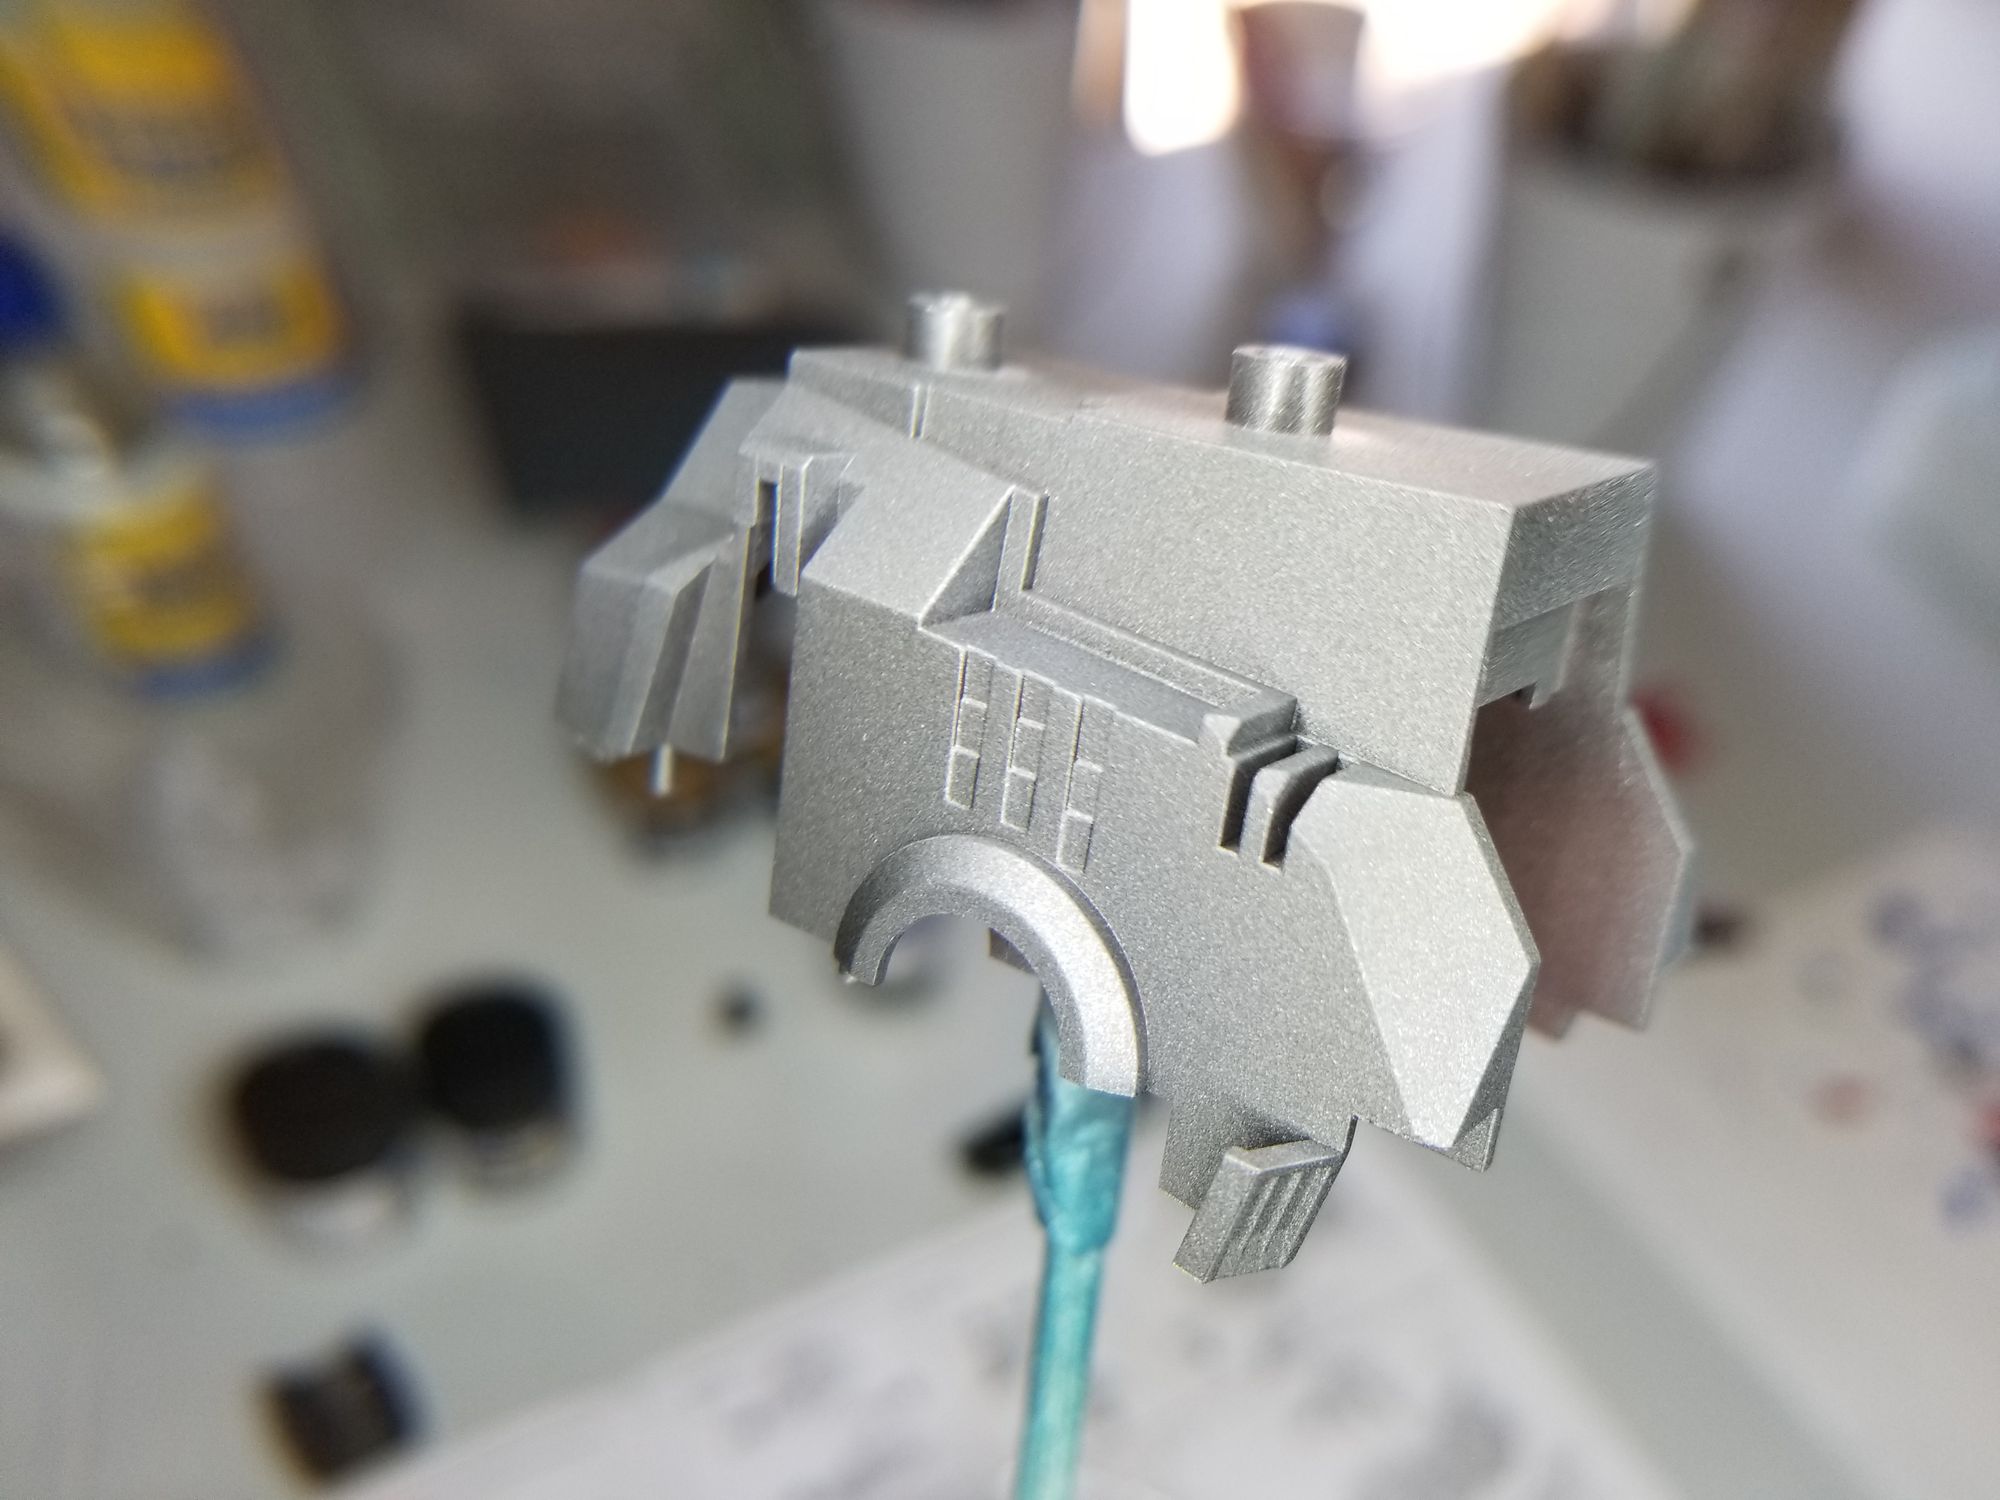
Left: Pure Steel | Right: Flat top coated
Mr. Color #28: Steel, to be exact. One of the best colors to have in your arsenal. Leave it smooth, or top coat it with flat. Both are great.
The blades come coated in a decent looking metallic color, but they lacked that real steel feel. Here are the stock blades:
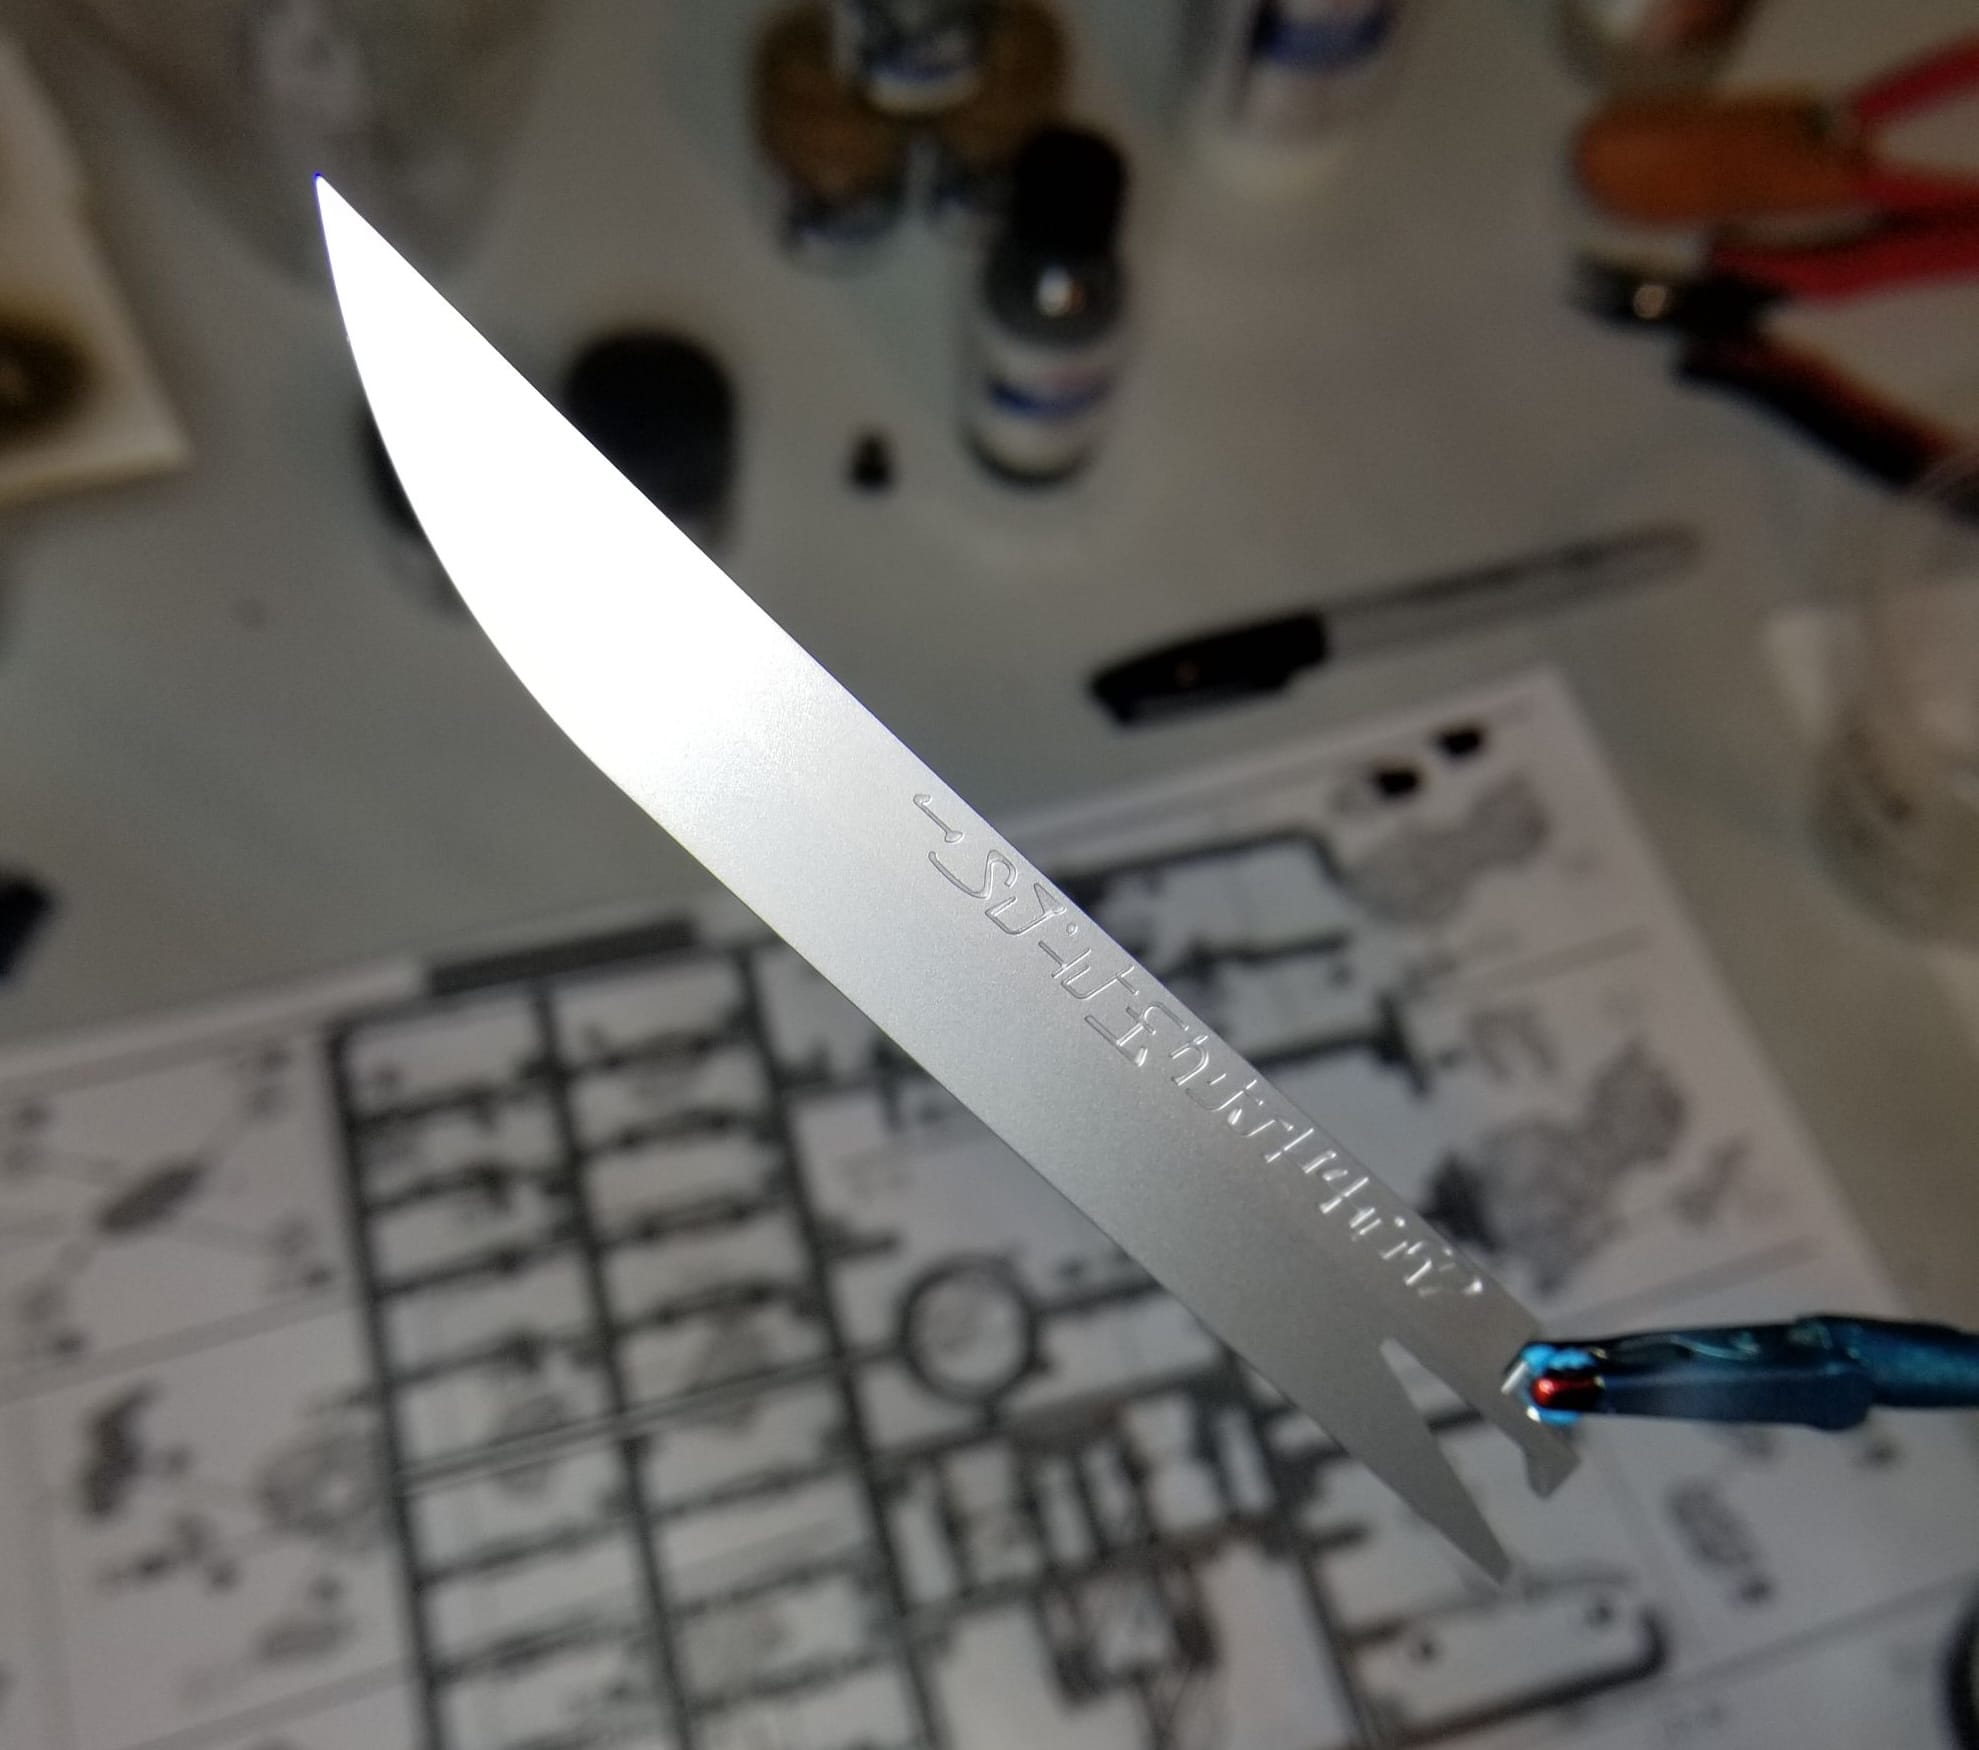
Time to chrome. Like all good chromes, this process starts with a super glossy black. It's Alclad all the way down here. Gloss black, followed by their chrome.
I think I went a little too heavy. This stuff apparently requires an extremely light coat in order to make it mad reflective. My results turned out more iron than chrome, but either way, the blades looked sharp.
Then...
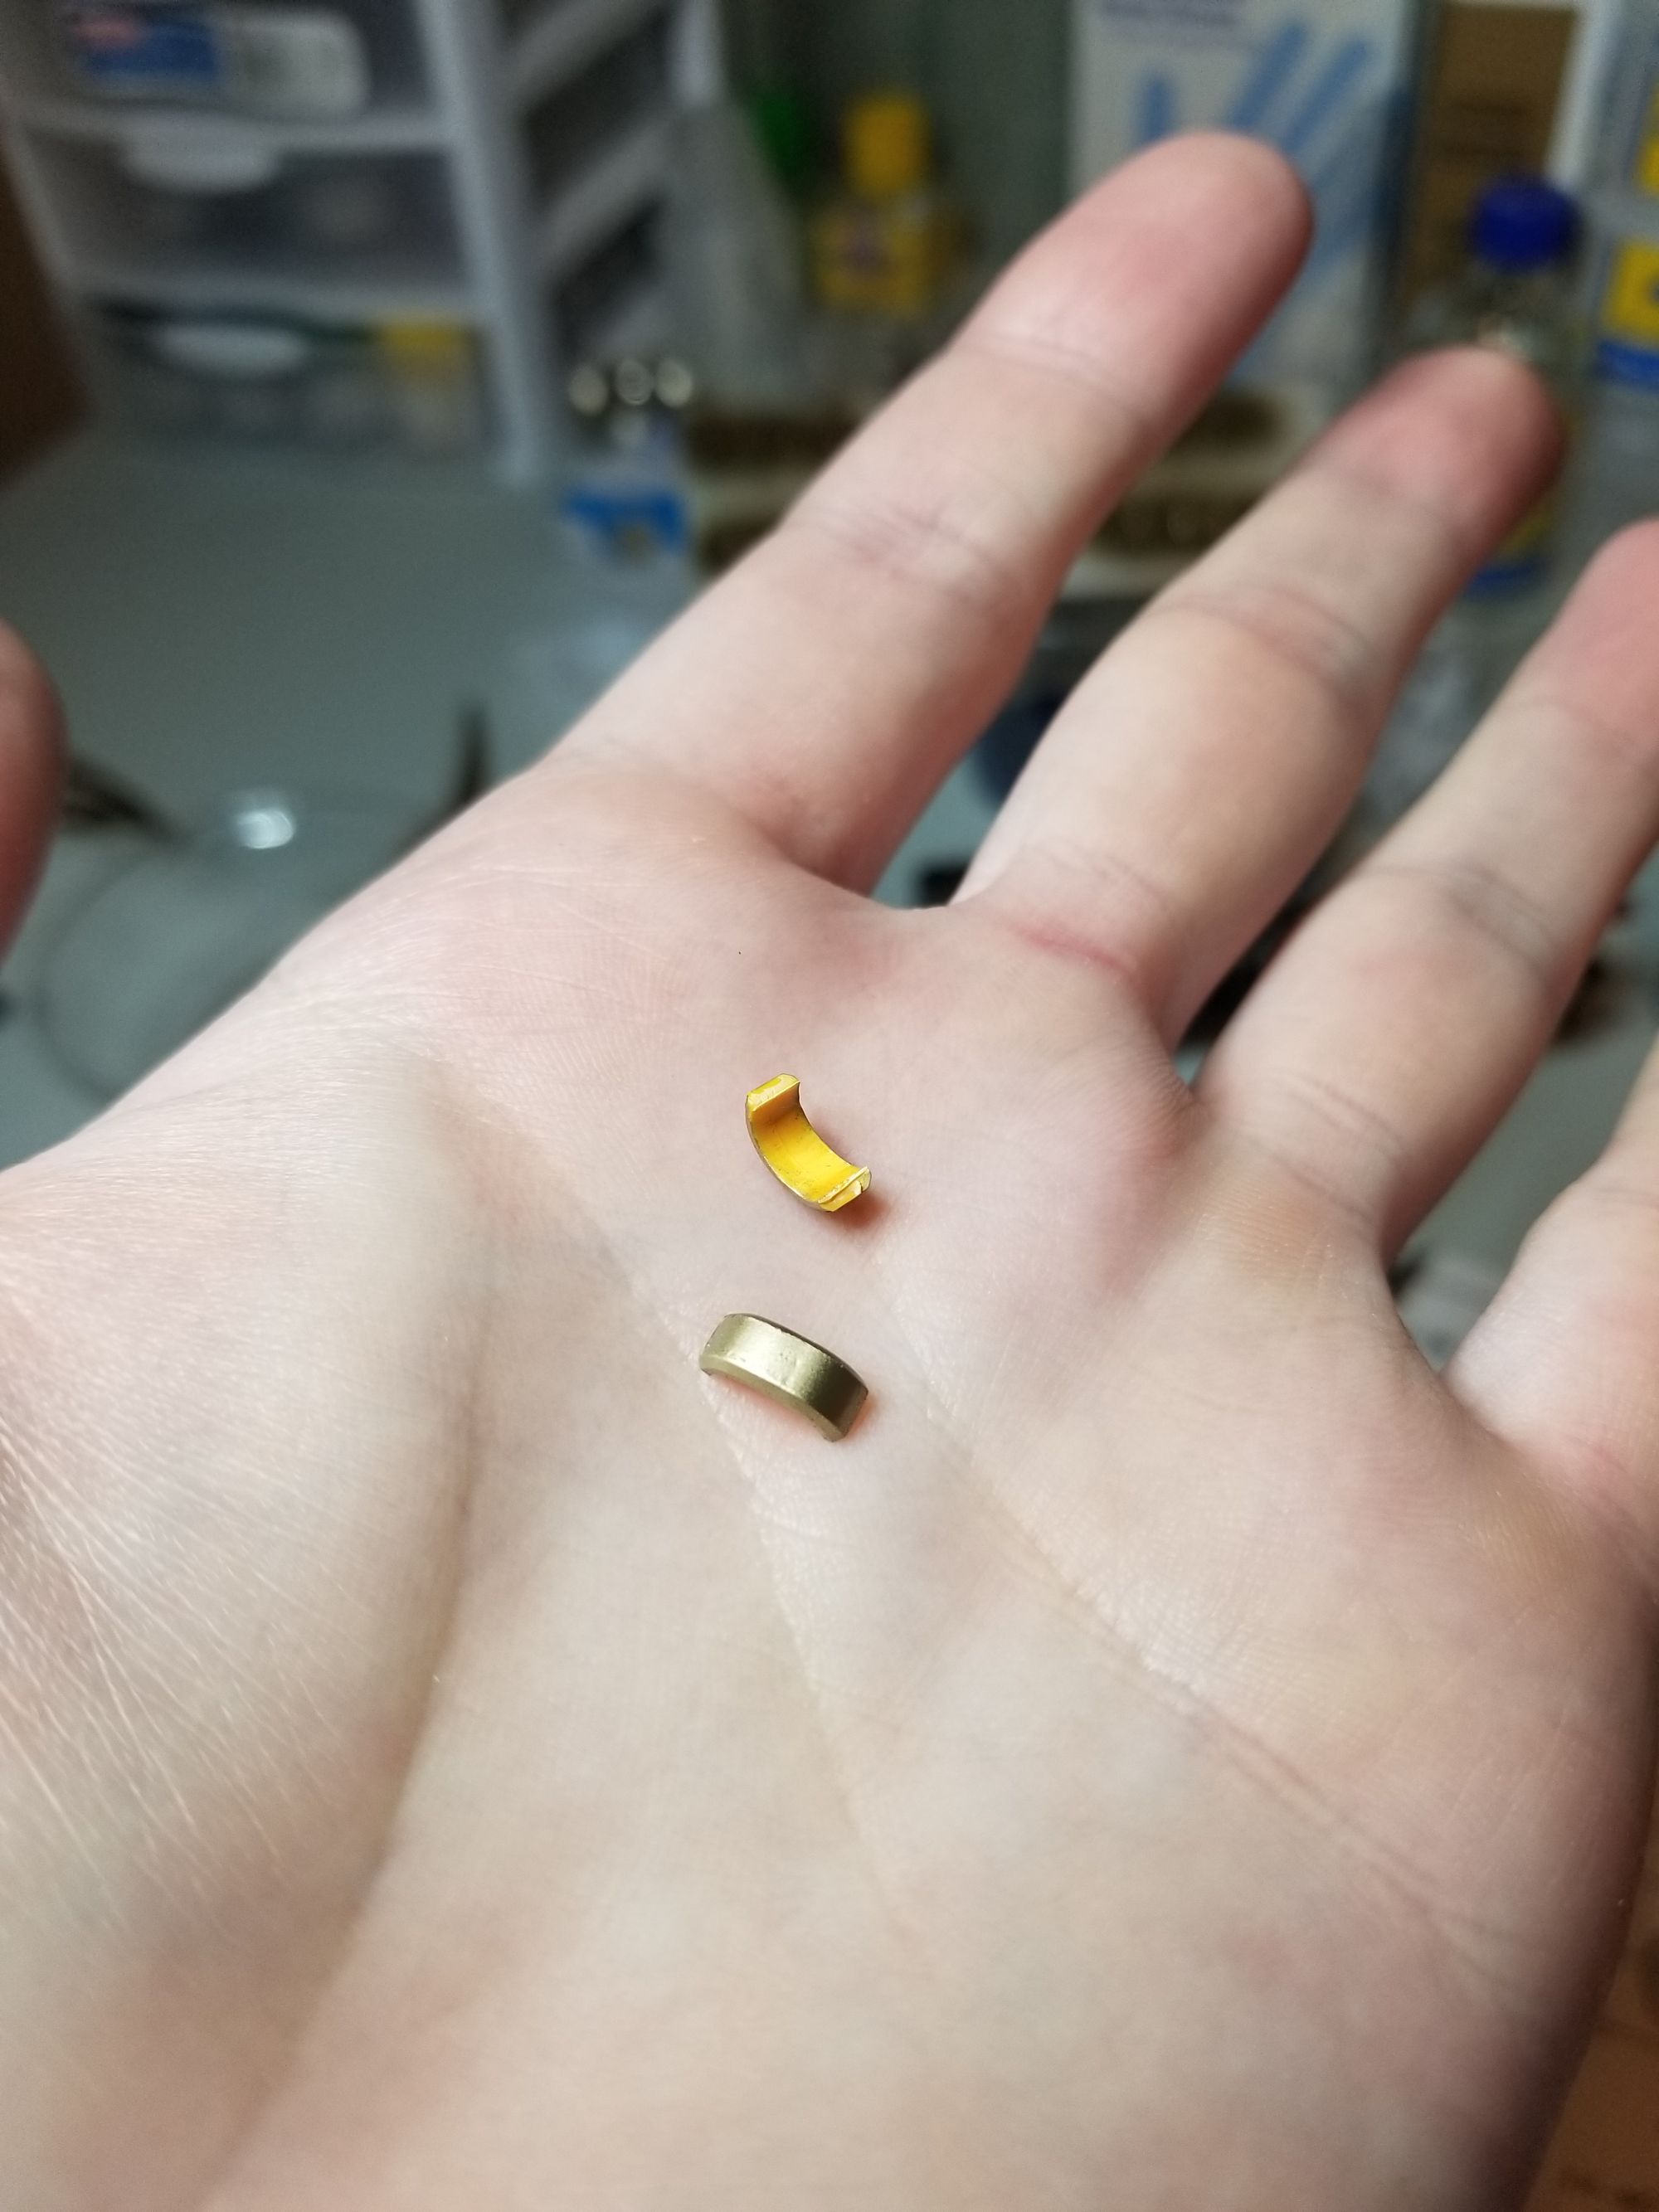
I crushed a gold ring trying to assemble the tail piece.
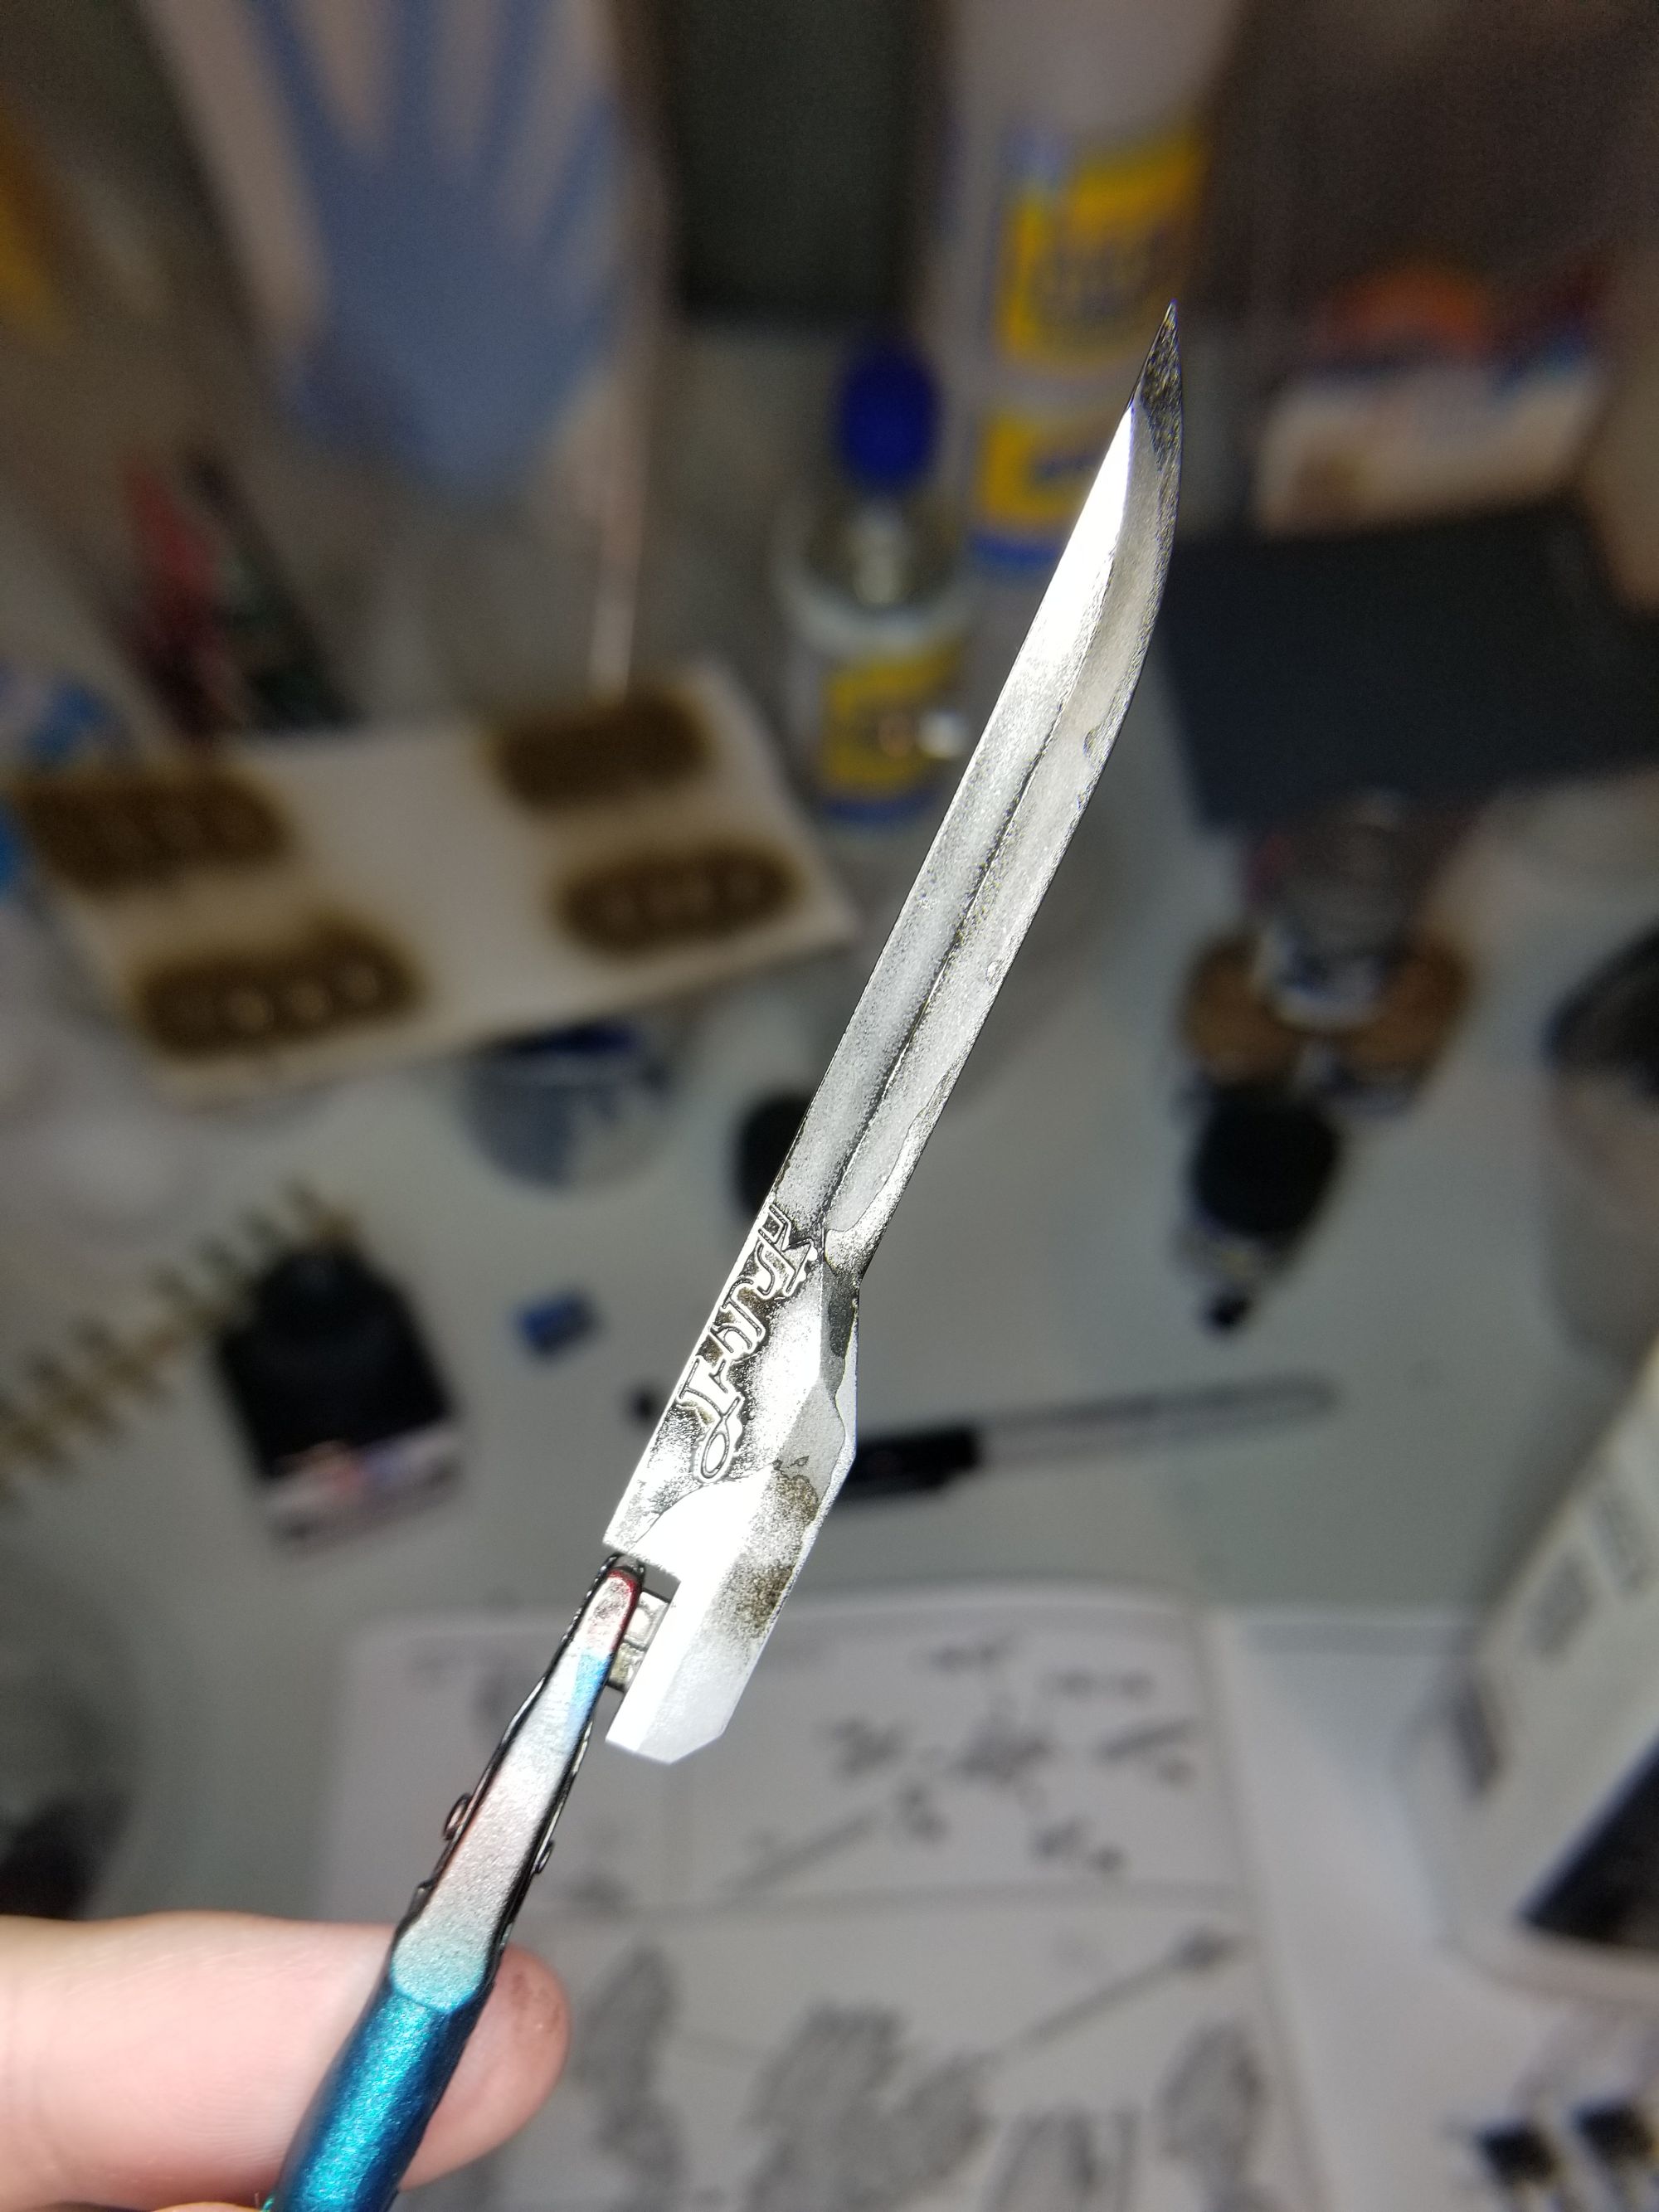
Alclad Chrome may look like Mr. Super Metallic Iron when sprayed too heavily, but it is not as forgiving. It did not like me panel lining directly on it... The mineral spirits ate away the finish.
Many minutes, and many many dirty q-tips later, I stripped it down and did it all over again. This time, top coating the chrome with Alclad Aqua Gloss before panel lining.
During final assembly, I realized I was missing a piece needed to connect the foreleg armor to the front legs... It must have still been on one of the runners that was tossed in the trash weeks prior.
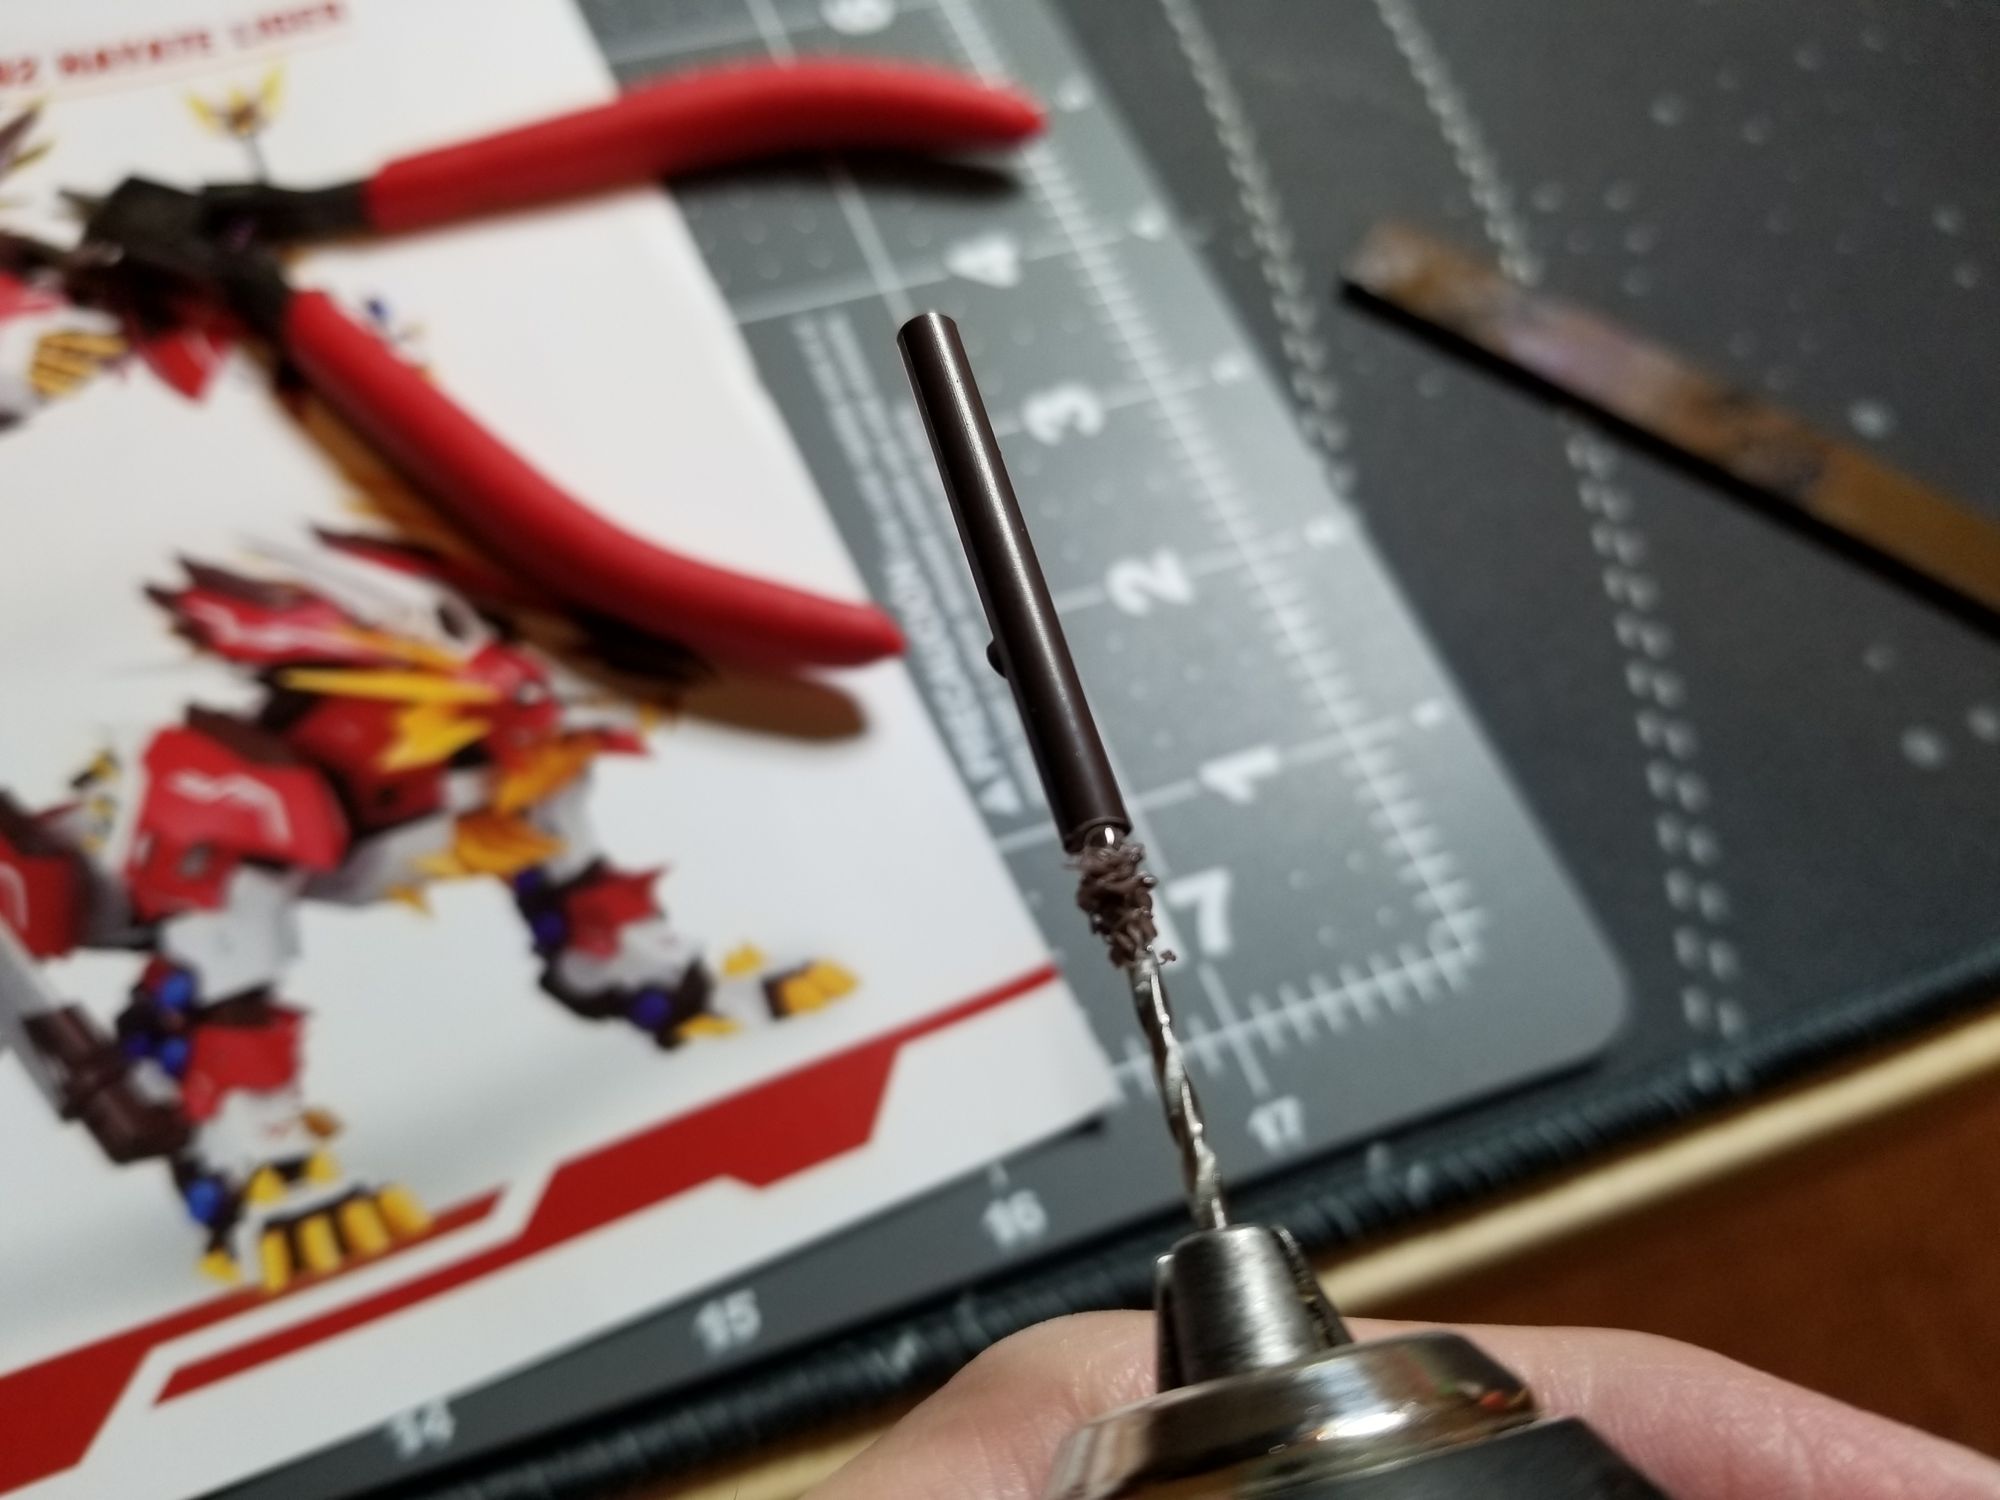
I tried to fashion a replacement piece out of some junk plastic. This probably could have worked, but I gave up on this idea. The armor was able to grip the leg well enough on its own, at least for display purposes. Posing was a problem, but I rarely pose my kits... especially this one.
While assembling, I also broke 2 additional pieces. The white booster fin thing on the head snapped and needed some superglue, and the rear right leg joint cracked. Ugh. These SuperNova kits don't fit together quite as well as Kotobukiya's or Bandai's do and the plastic is much more brittle.
Snap Back to Reality
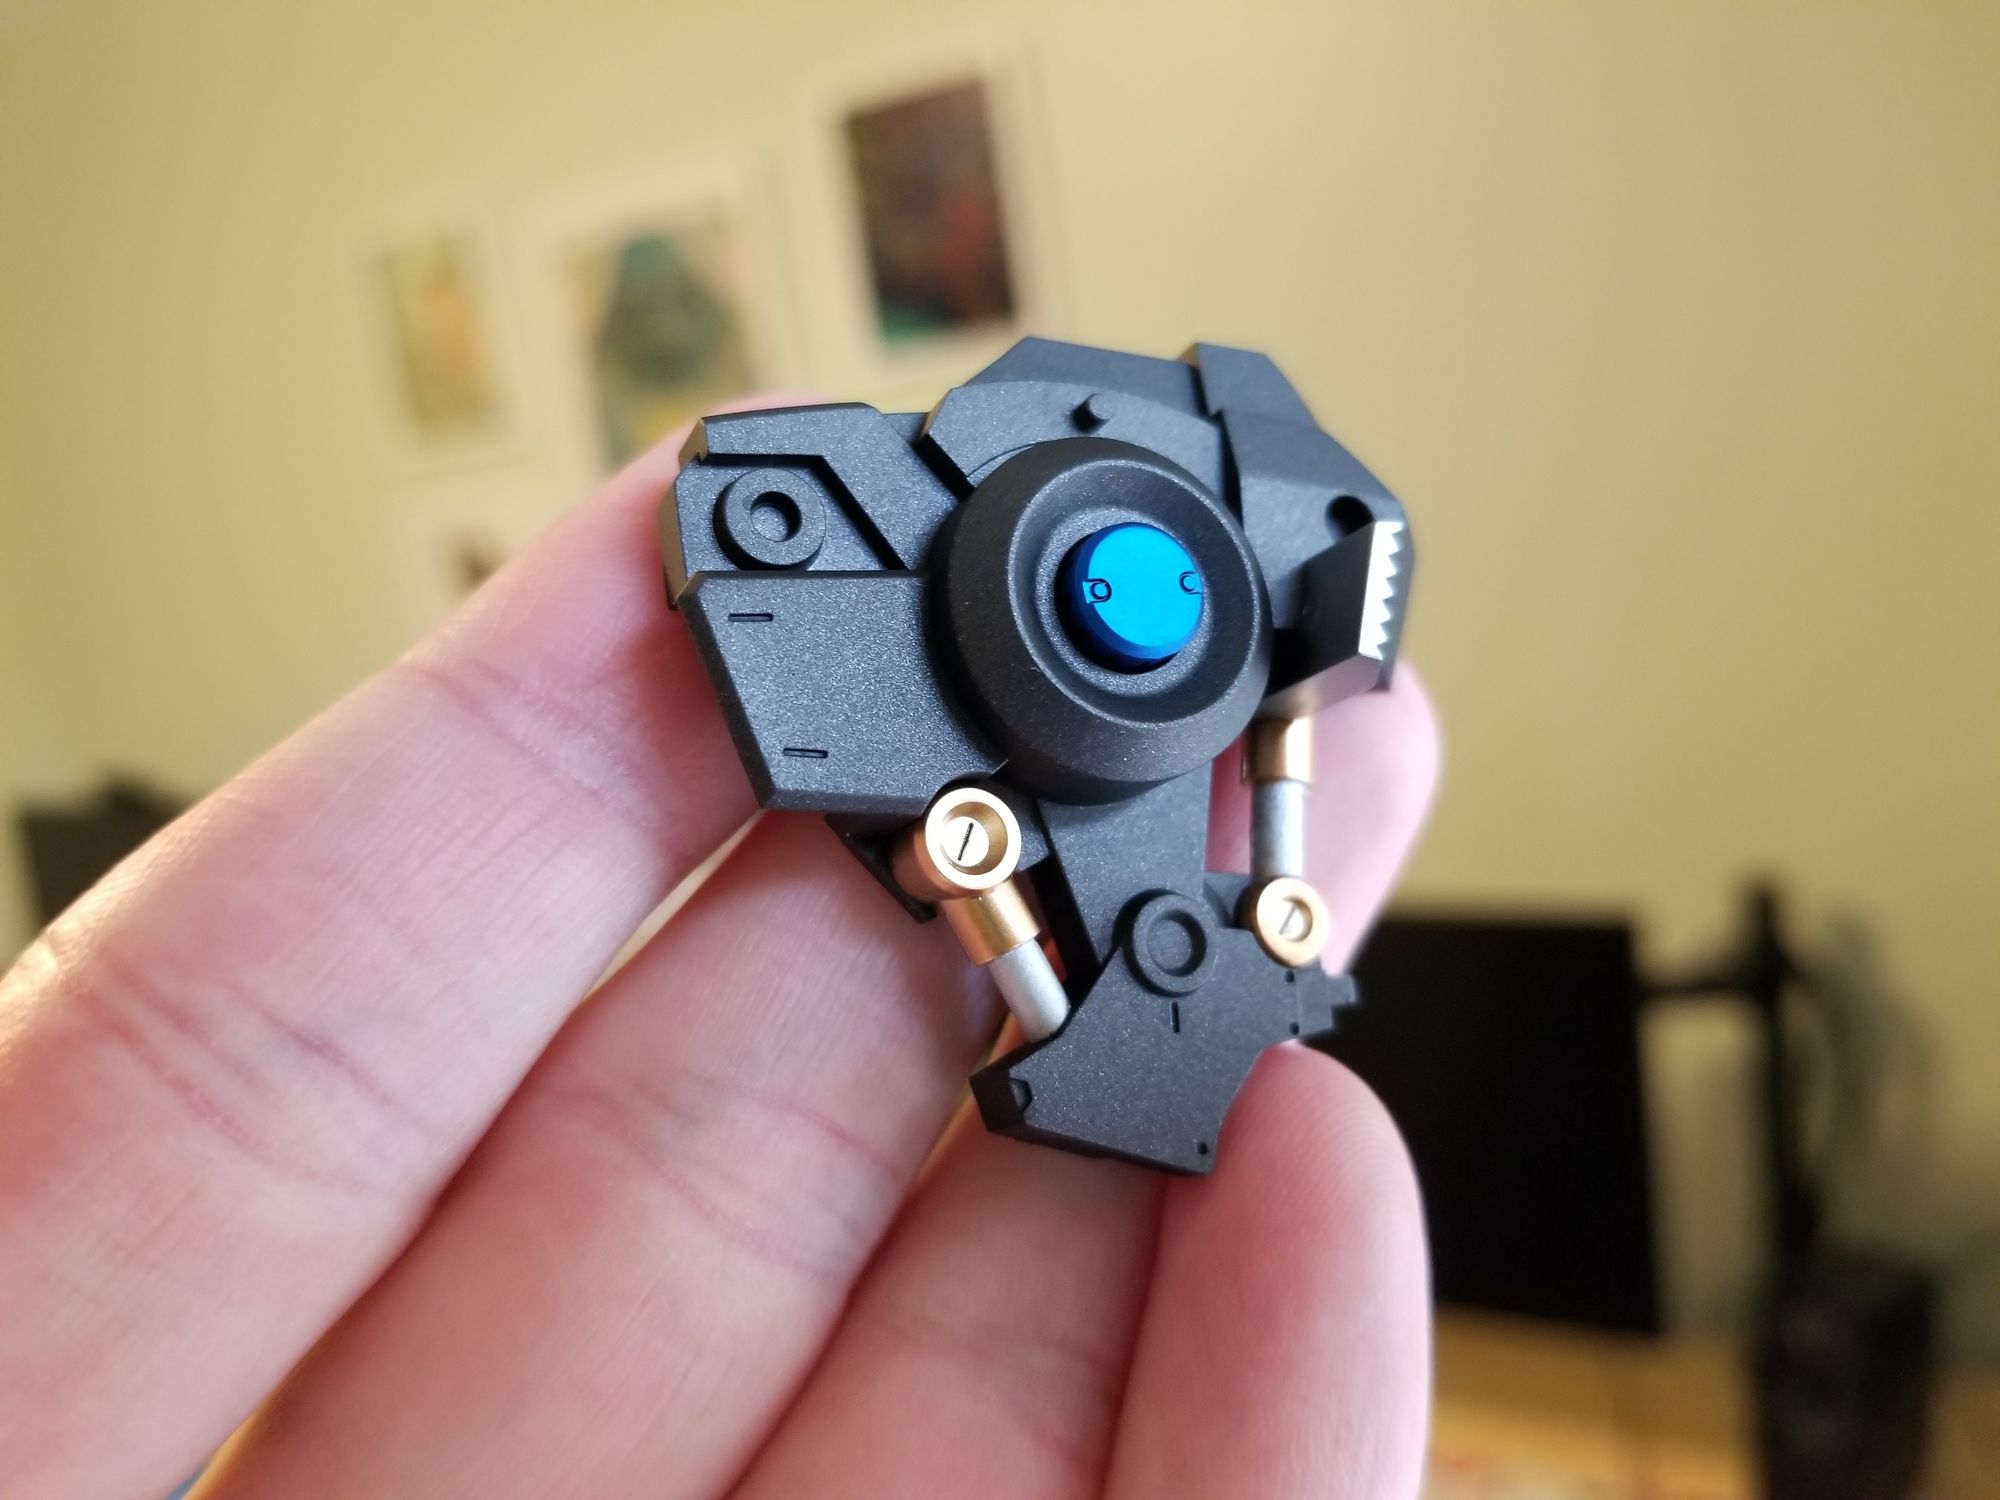
The included pistony bits came in an unappealing gray color. I spiced them up with Dspiae's newly launched bronze metallic.
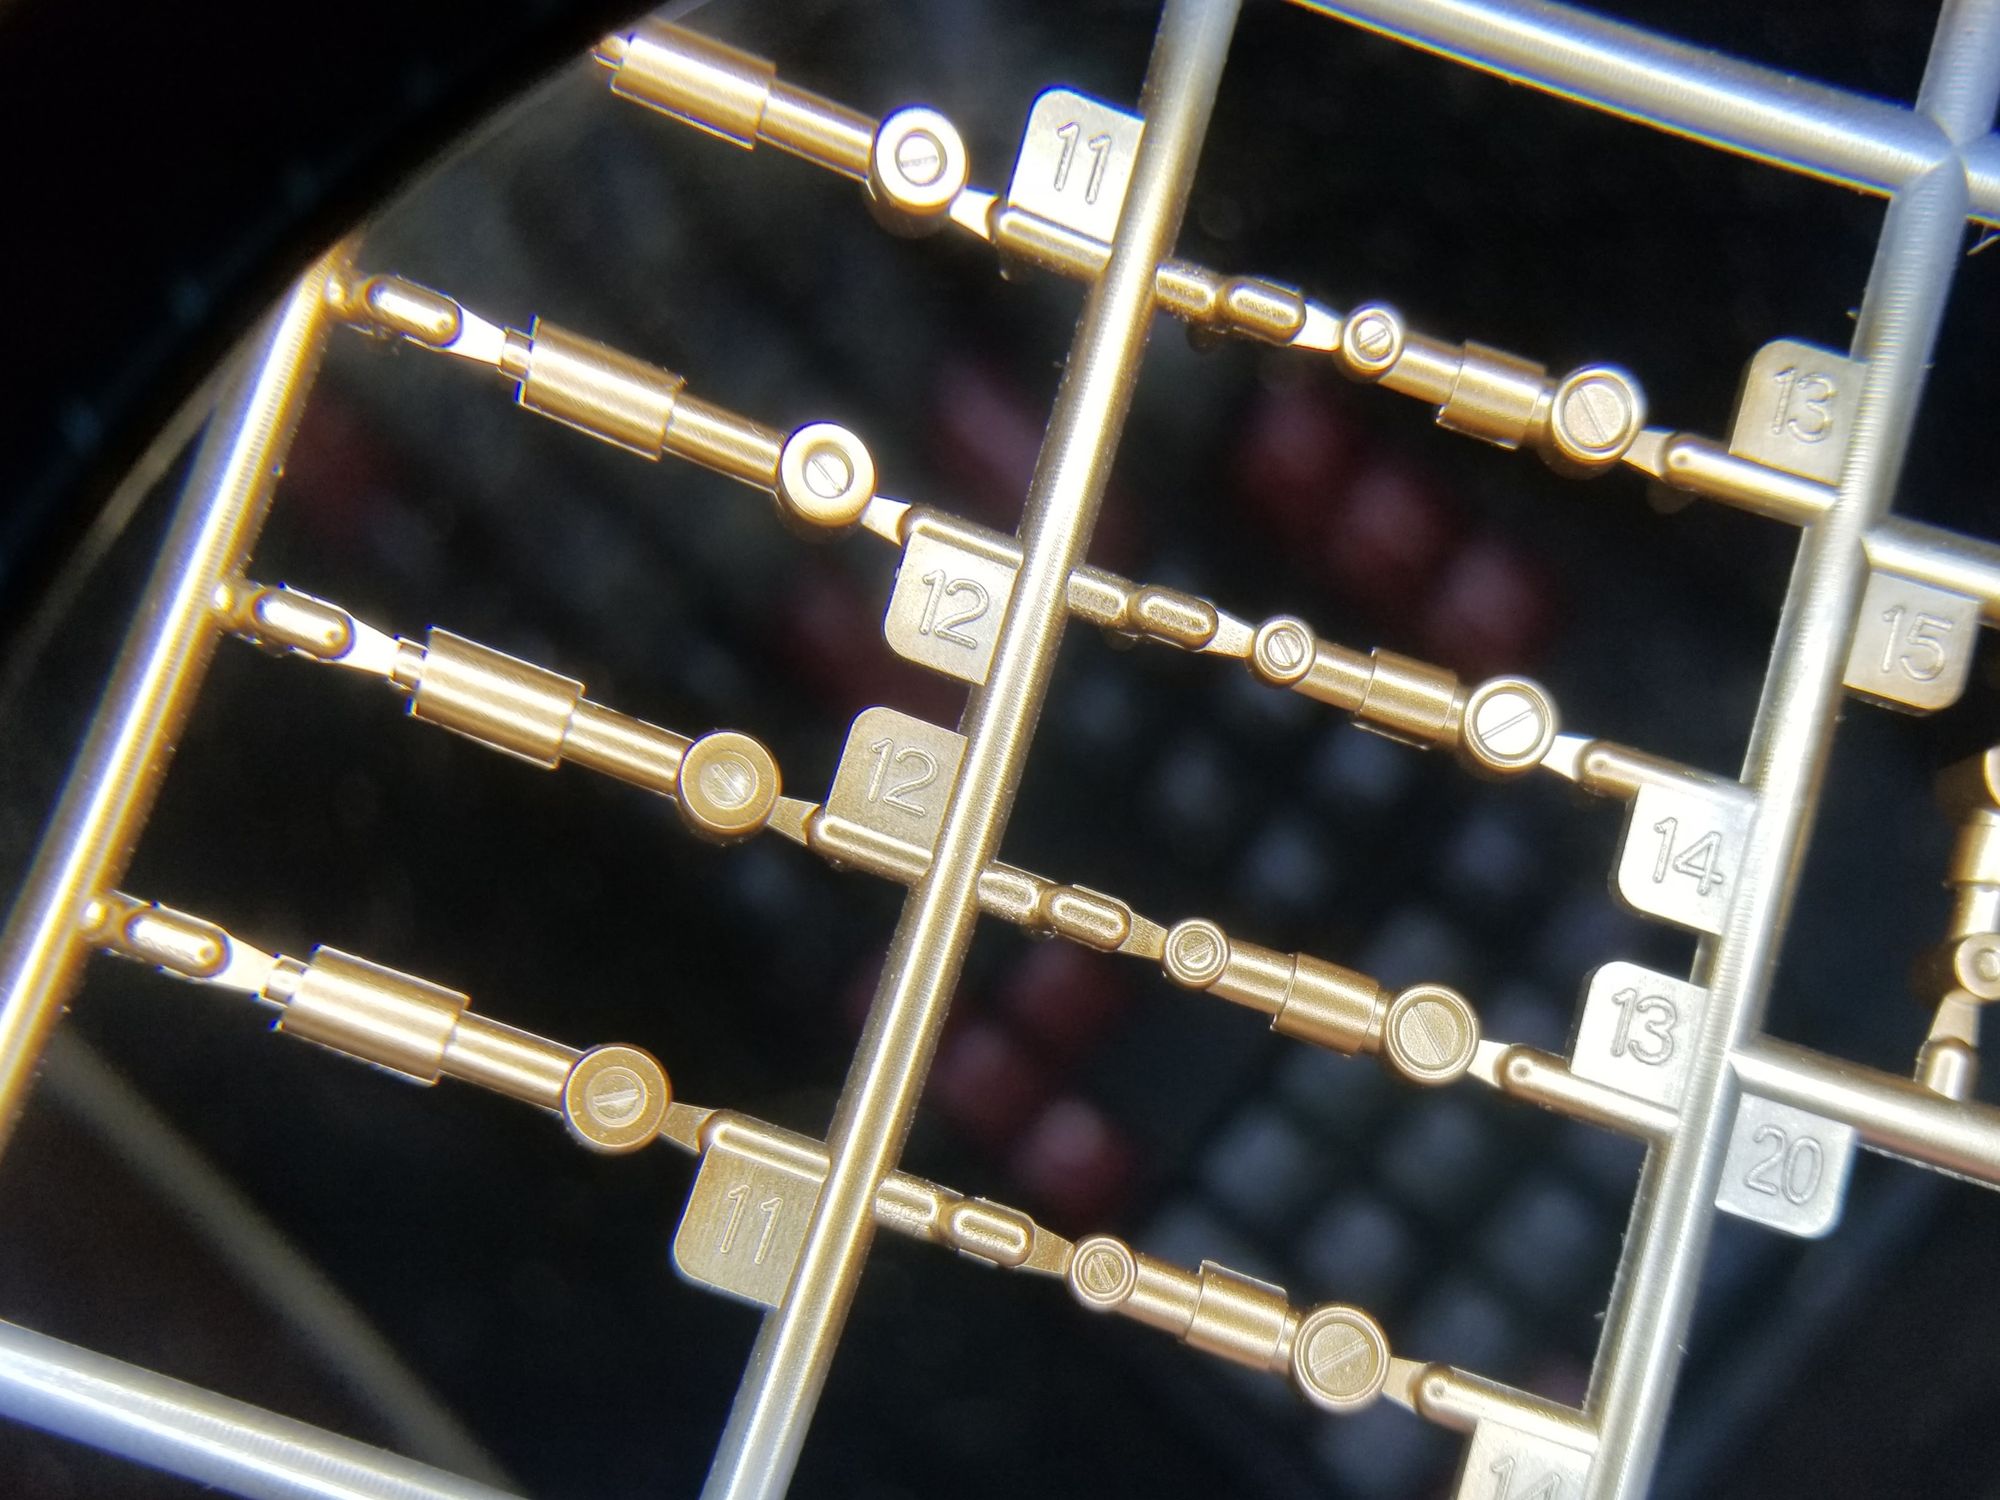
I hand painted the interior bit with Tamiya flat aluminum, and bingo bango, this robot kitty was finally starting to come together!
The thigh and shoulder armor were giving off some serious McDonalds french fry vibes... That wasn't gonna fry. I mean fly. Even if they were painted gold, I wouldn't be able to get over that.
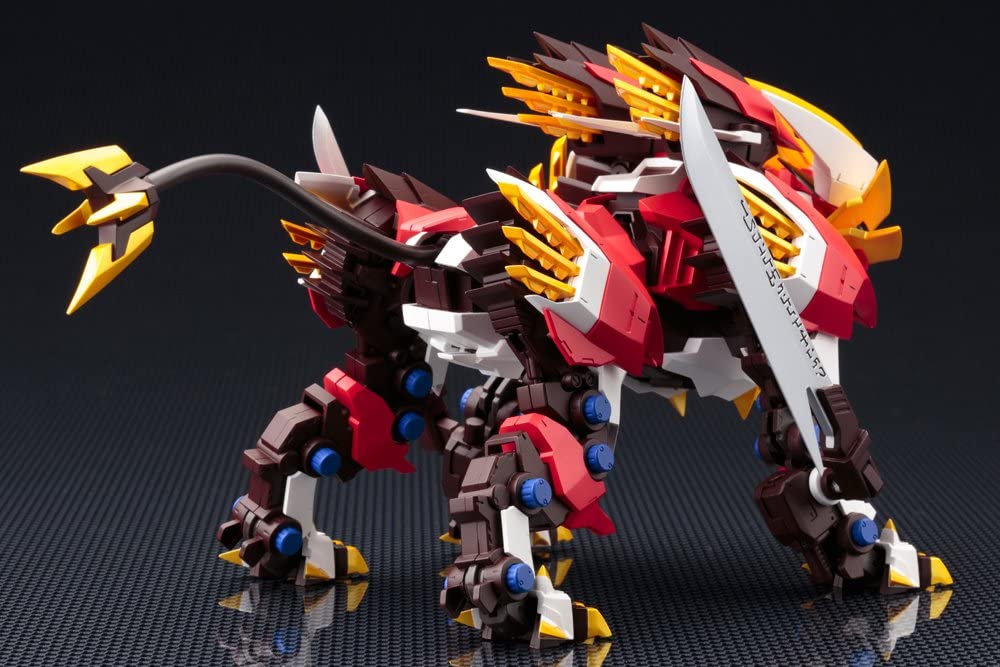

Cannot unsee.
Mr. Color Iron swooped in to save us from this unfortunate color combo. I also painted a few of the white fins on the boosters in this iron color.
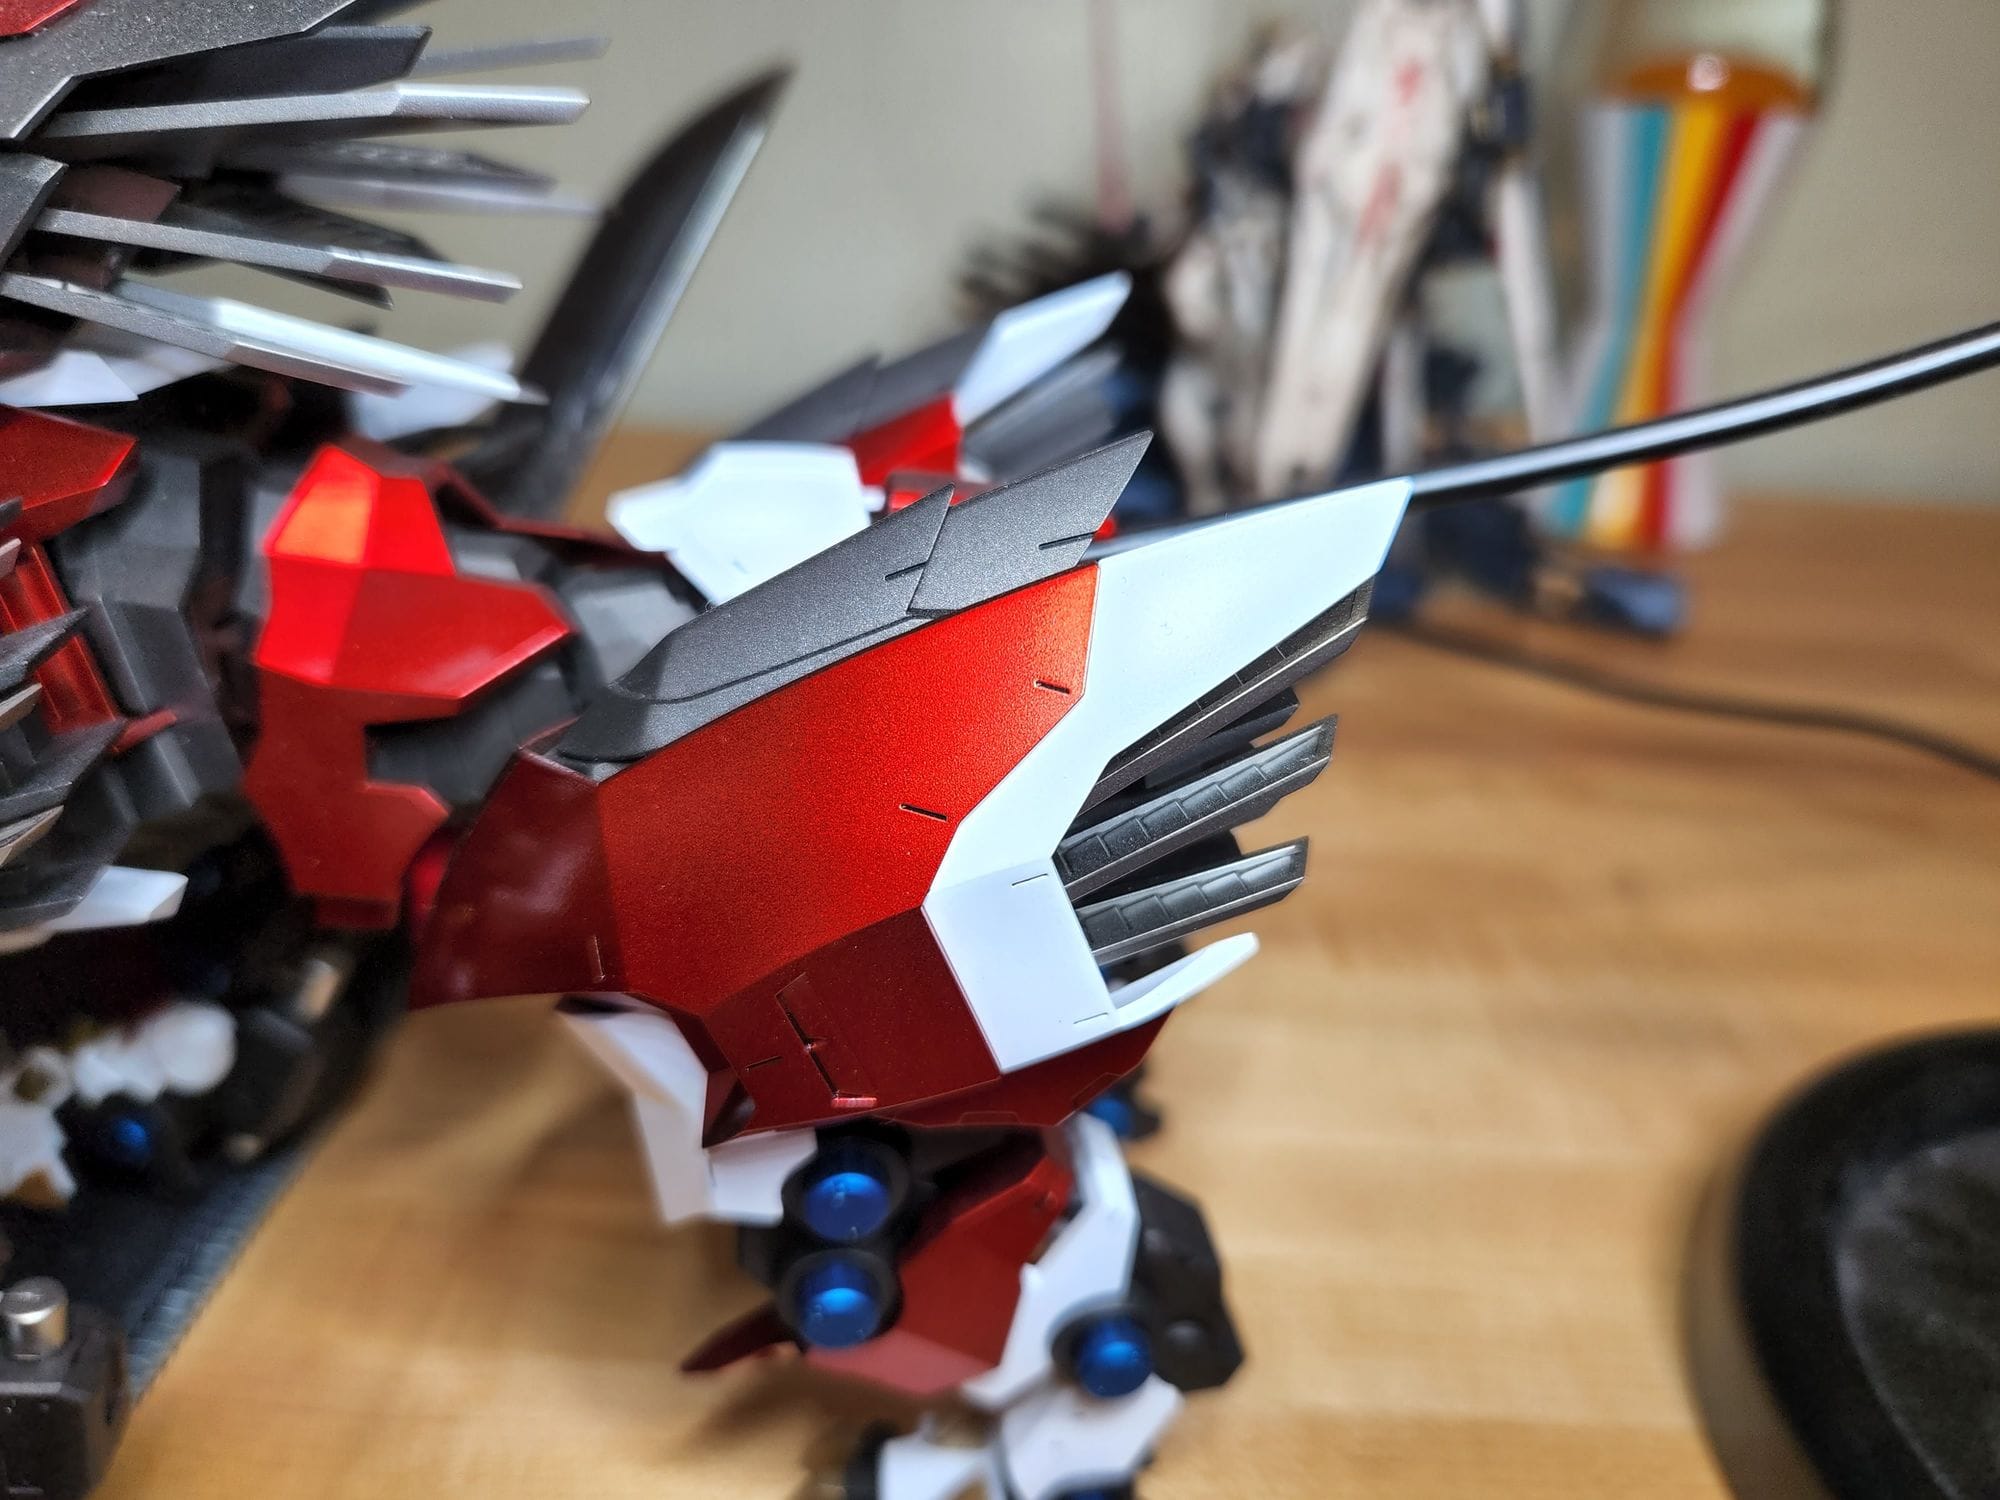
Last, and definitely least, the white pieces were painted whiter, and top coated with Alclad Semi-Matte. In hindsight, I should have done Alclad Matte or Flat because Semi-Matte is just as glossy as the plastic. I find their lineup kinda confusing. They have Flat, Matte, Semi-Matte, Light Sheen, and Gloss. Matte is more like satin, flat is flat, and Semi-Matte is sorta glossy. This is why I try new things on the cheap kits.
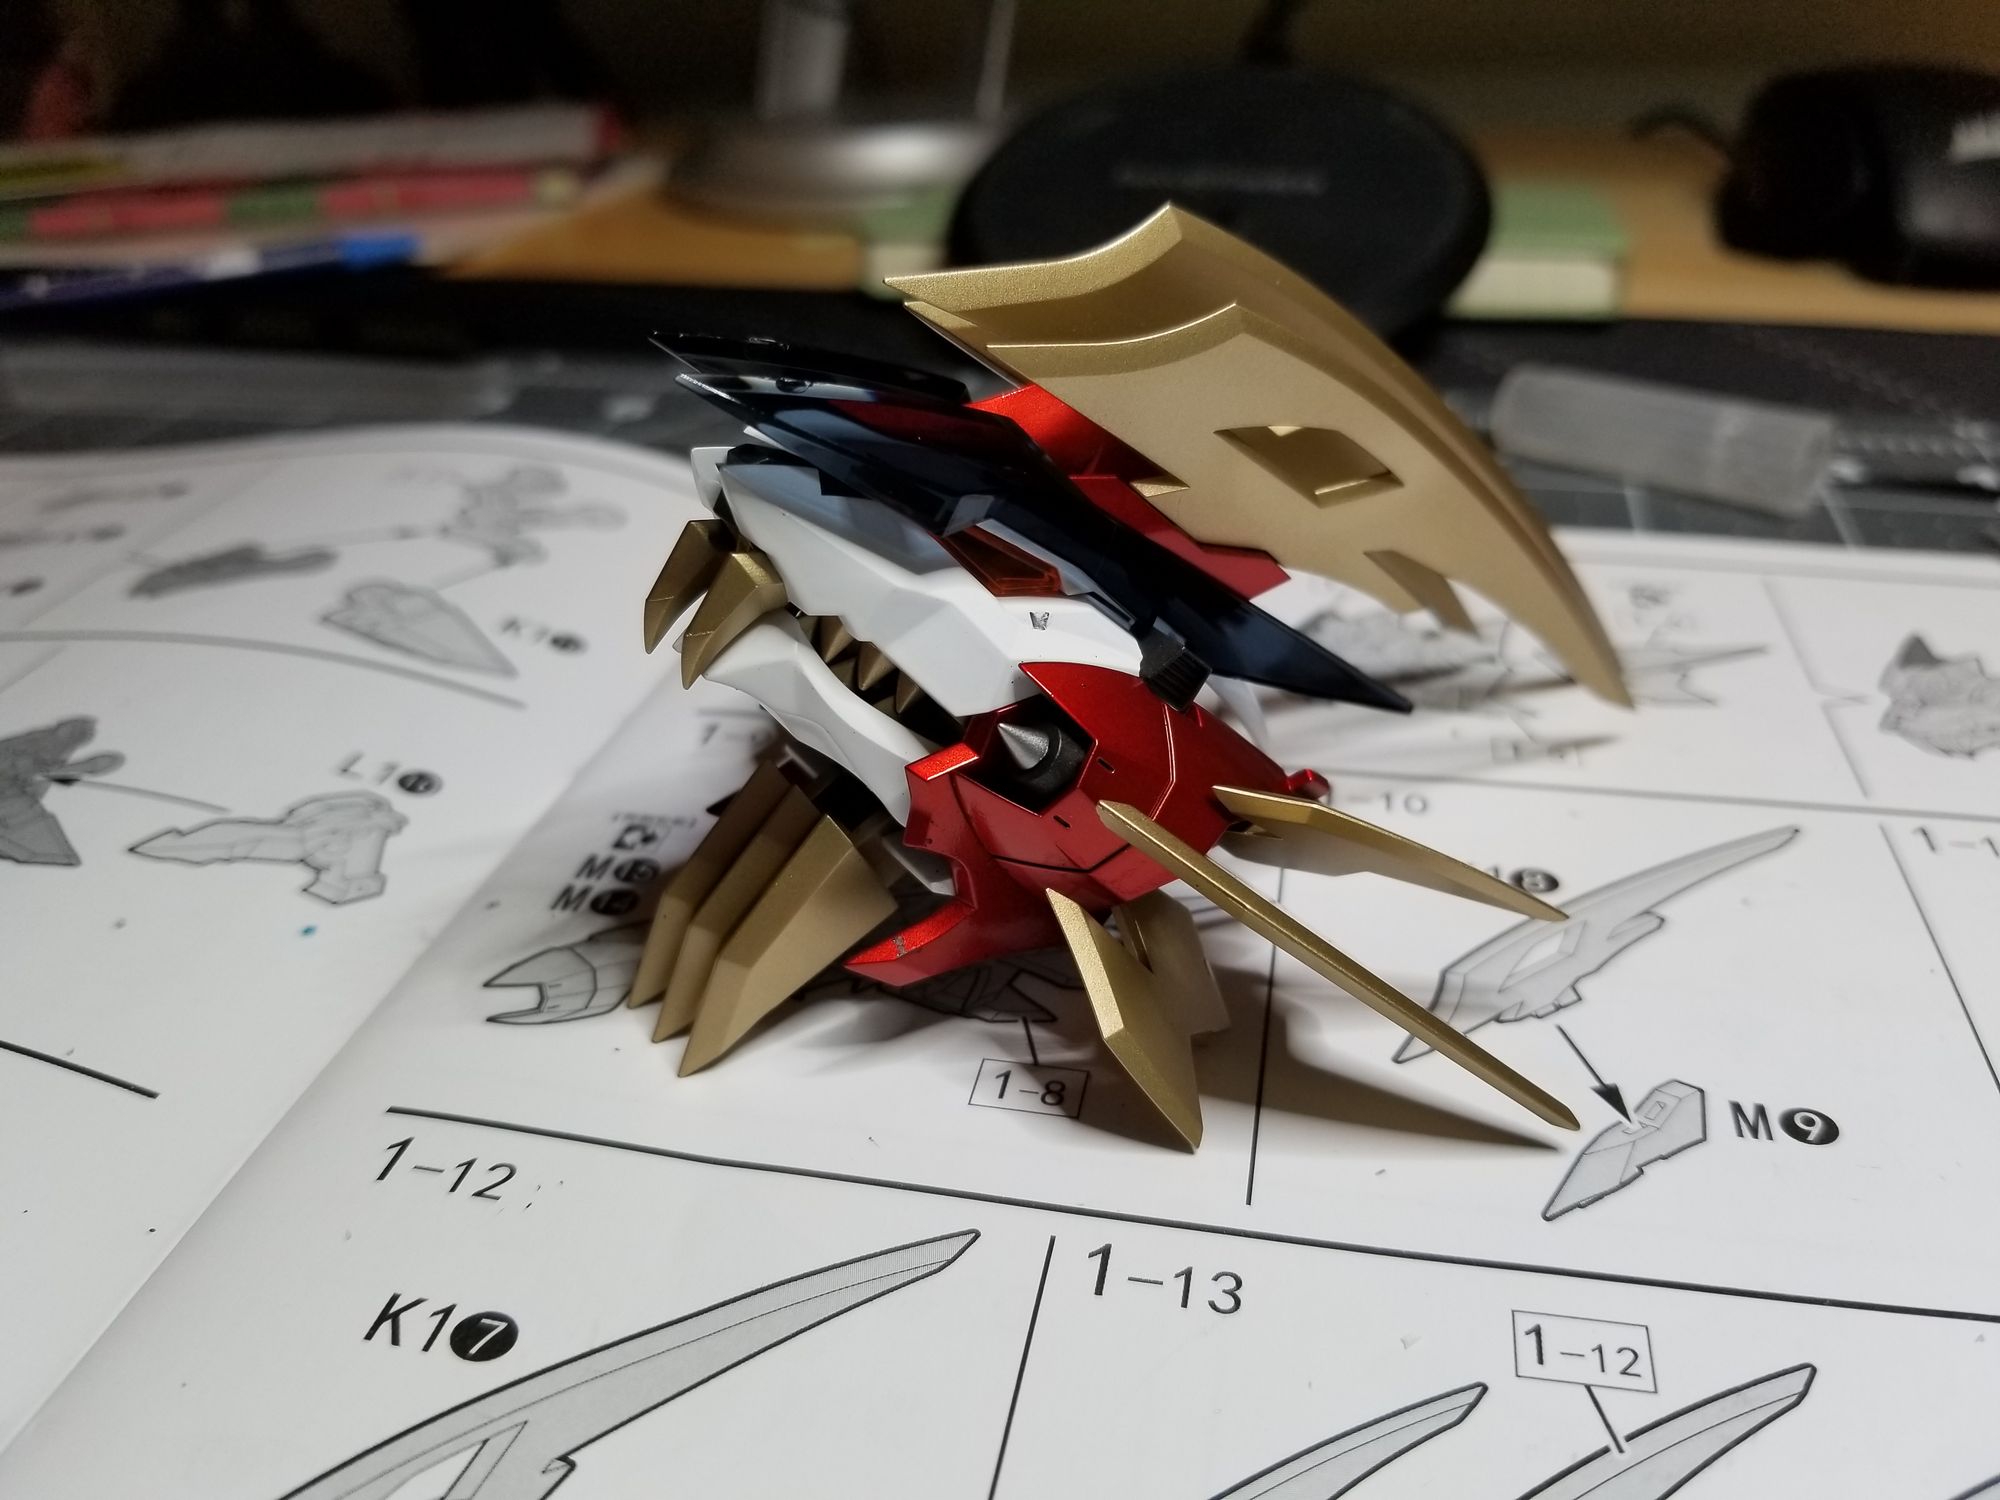
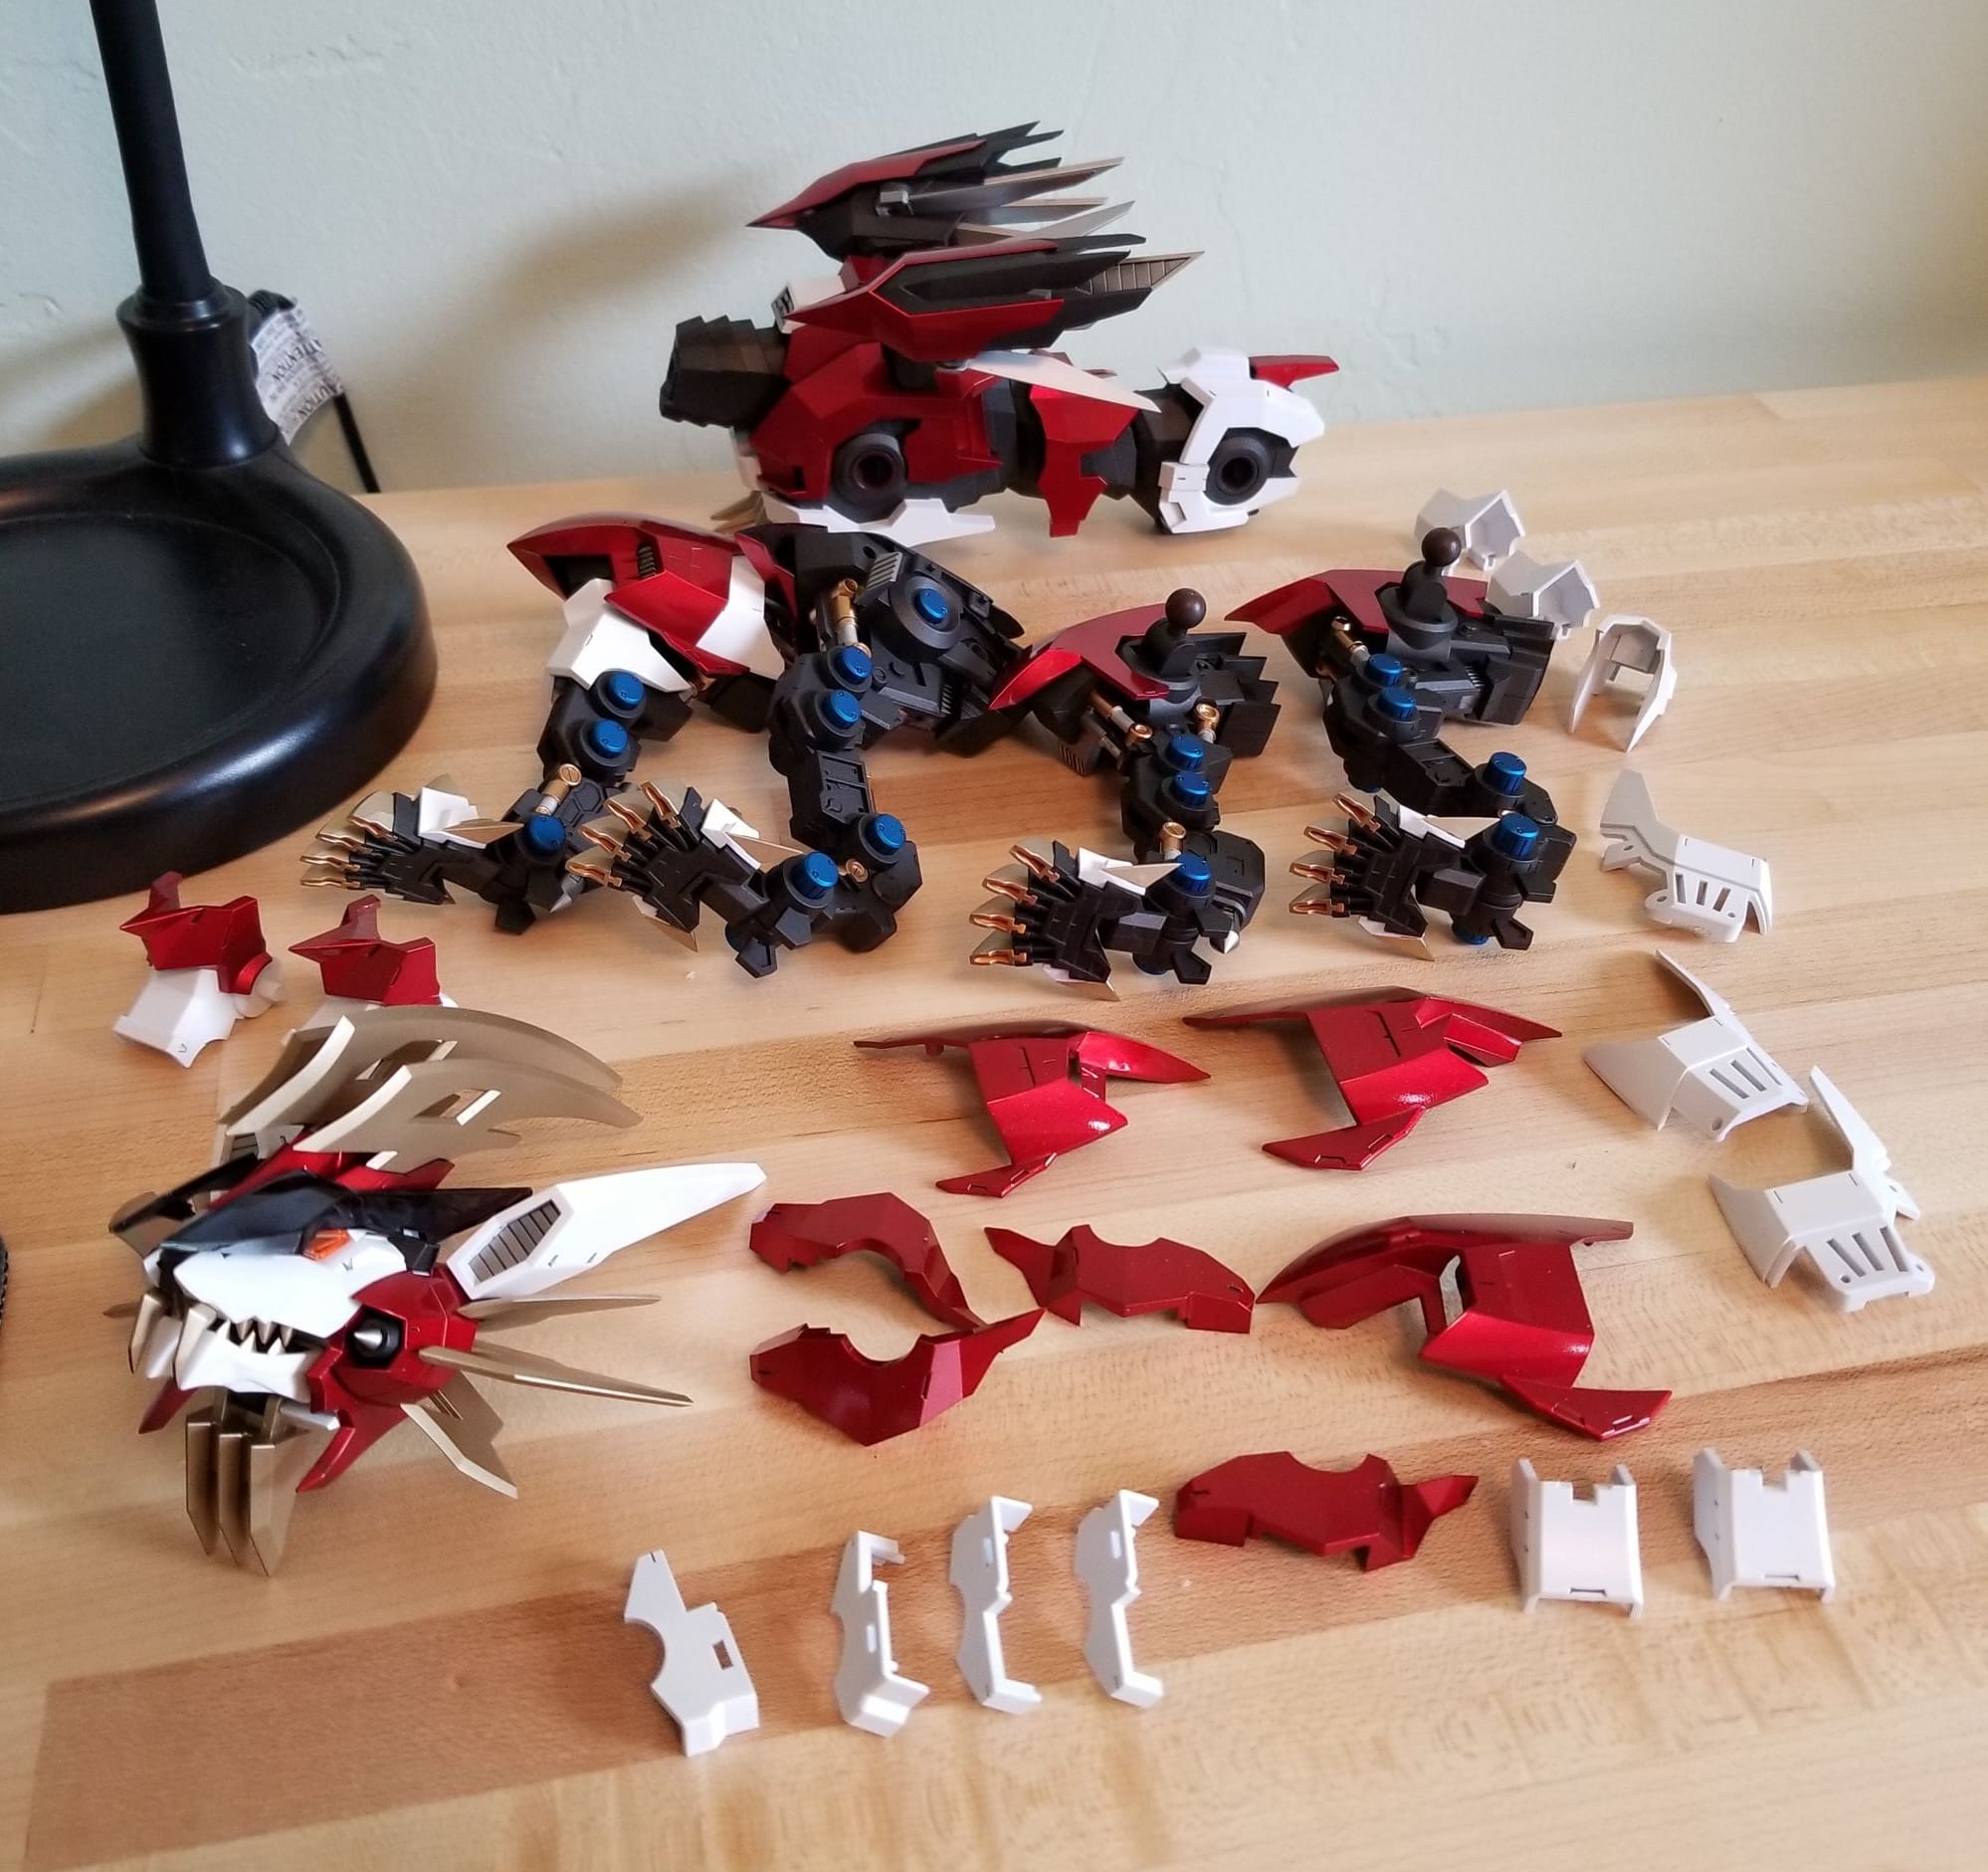
Assembly was painful. Some parts are held on by super glue, others by a prayer. Many pieces overlap so much that any amount of posing risks scratching the paint. People who say these are fun to pose just because the body has a half-neat extend-and-bend gimmick are out of their minds. There's so much overlap with the head fins, legs, and boosters, that it's really annoying to move anything at all.
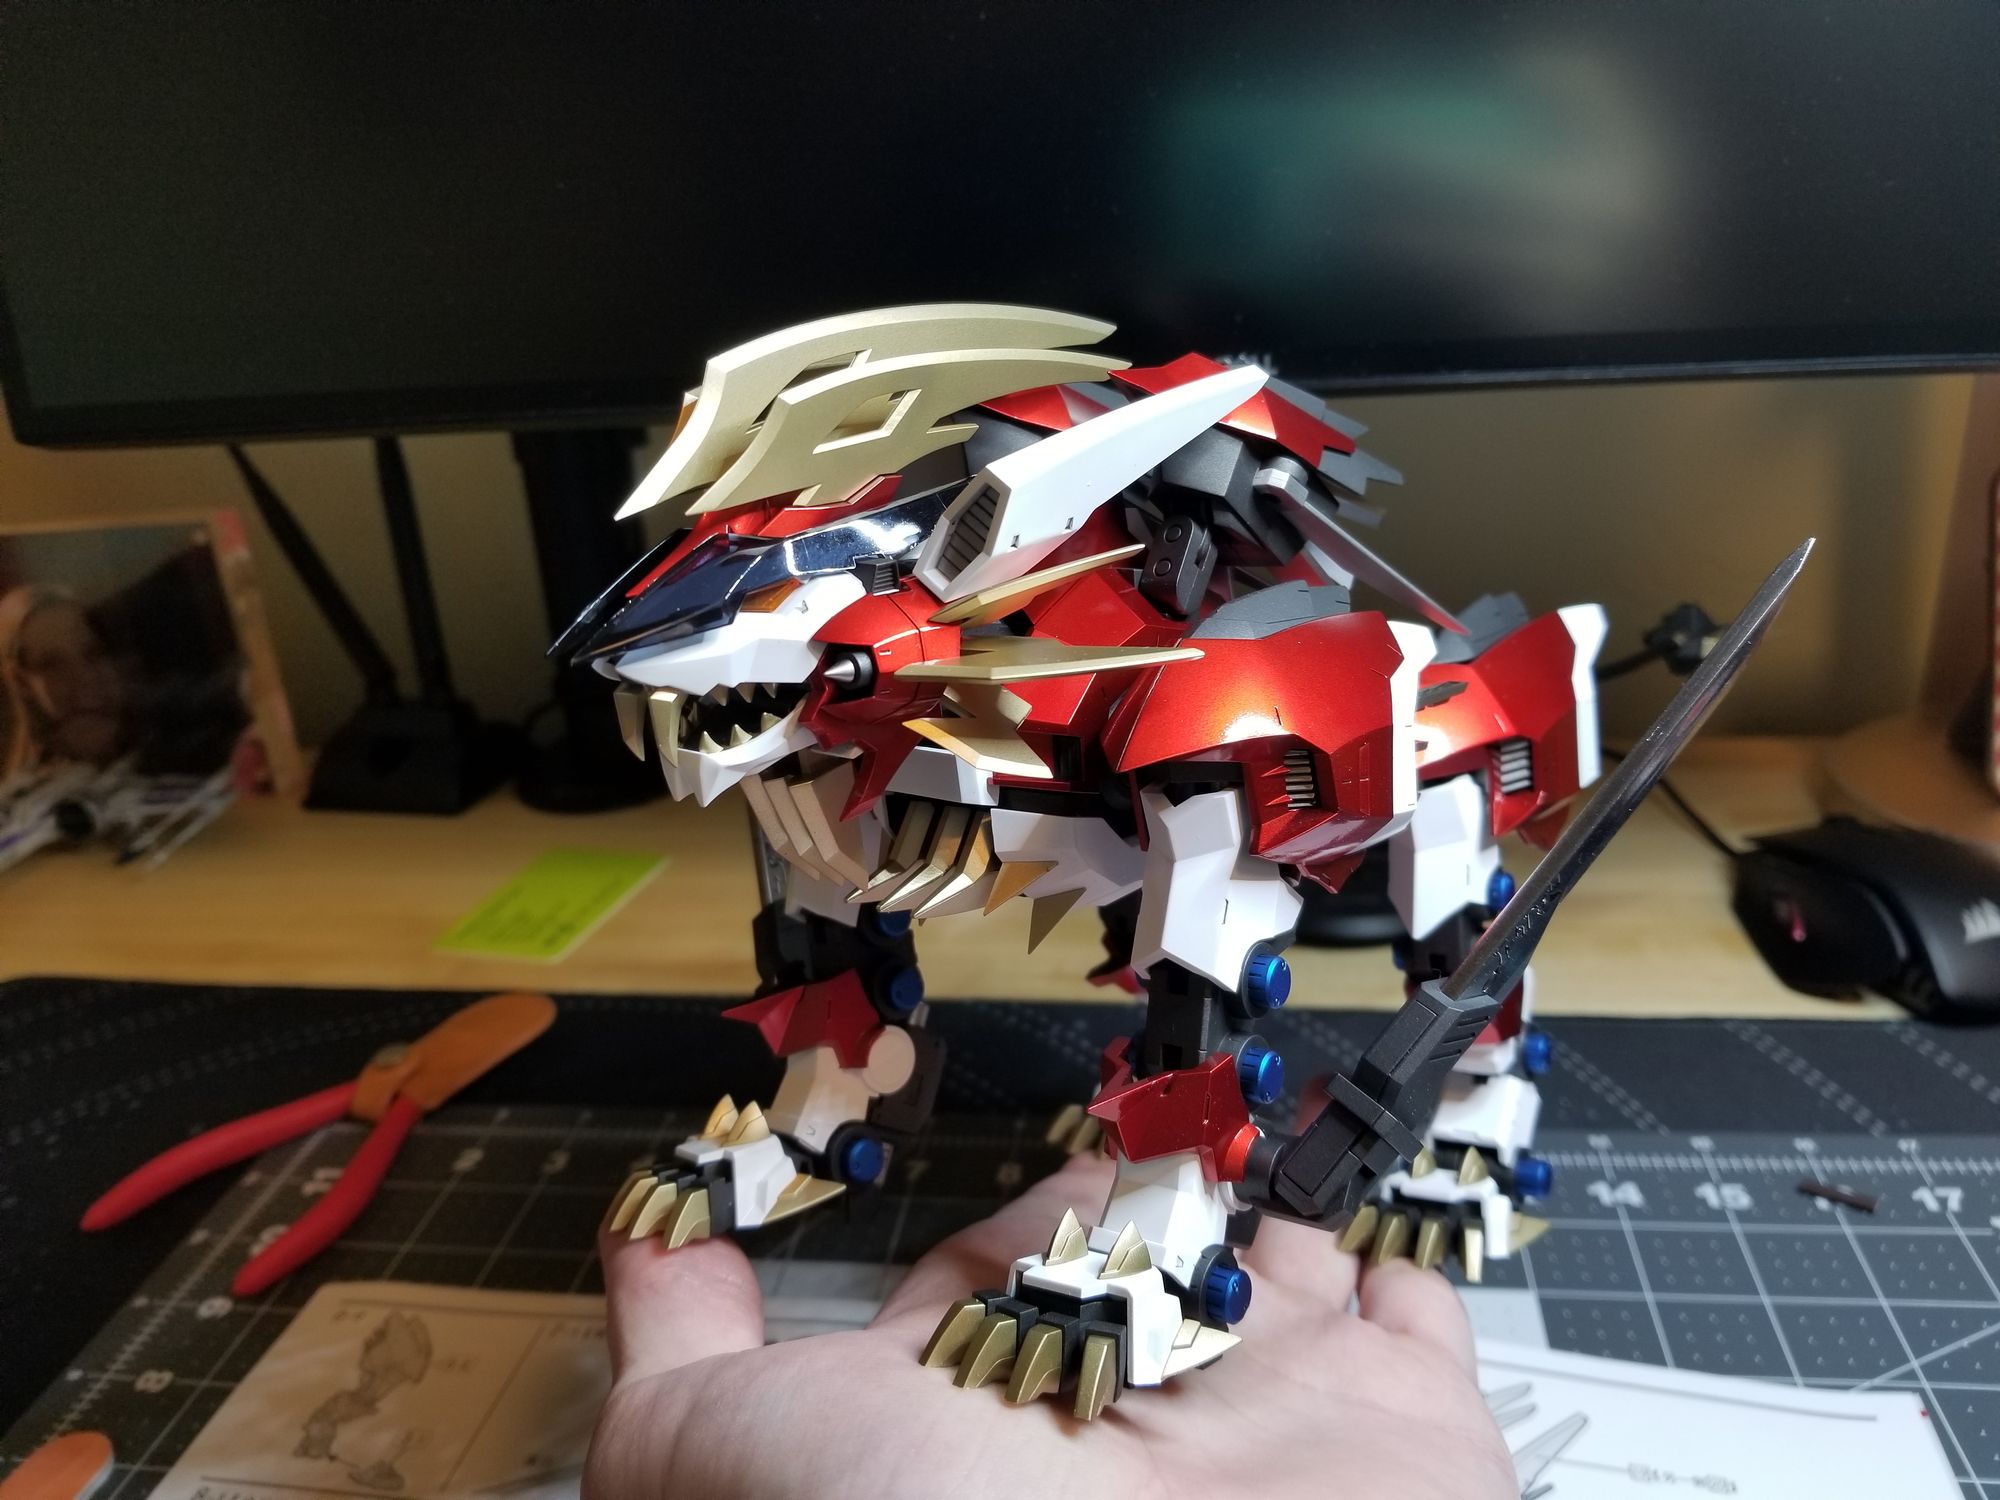
Seriously, the boosters are touching those white ear things and will get scratched by the gold head fins if you move anything at all. Compared to the Murasame, this one is extremely annoying to adjust. The Hayate will be locked in this pose for all eternity.
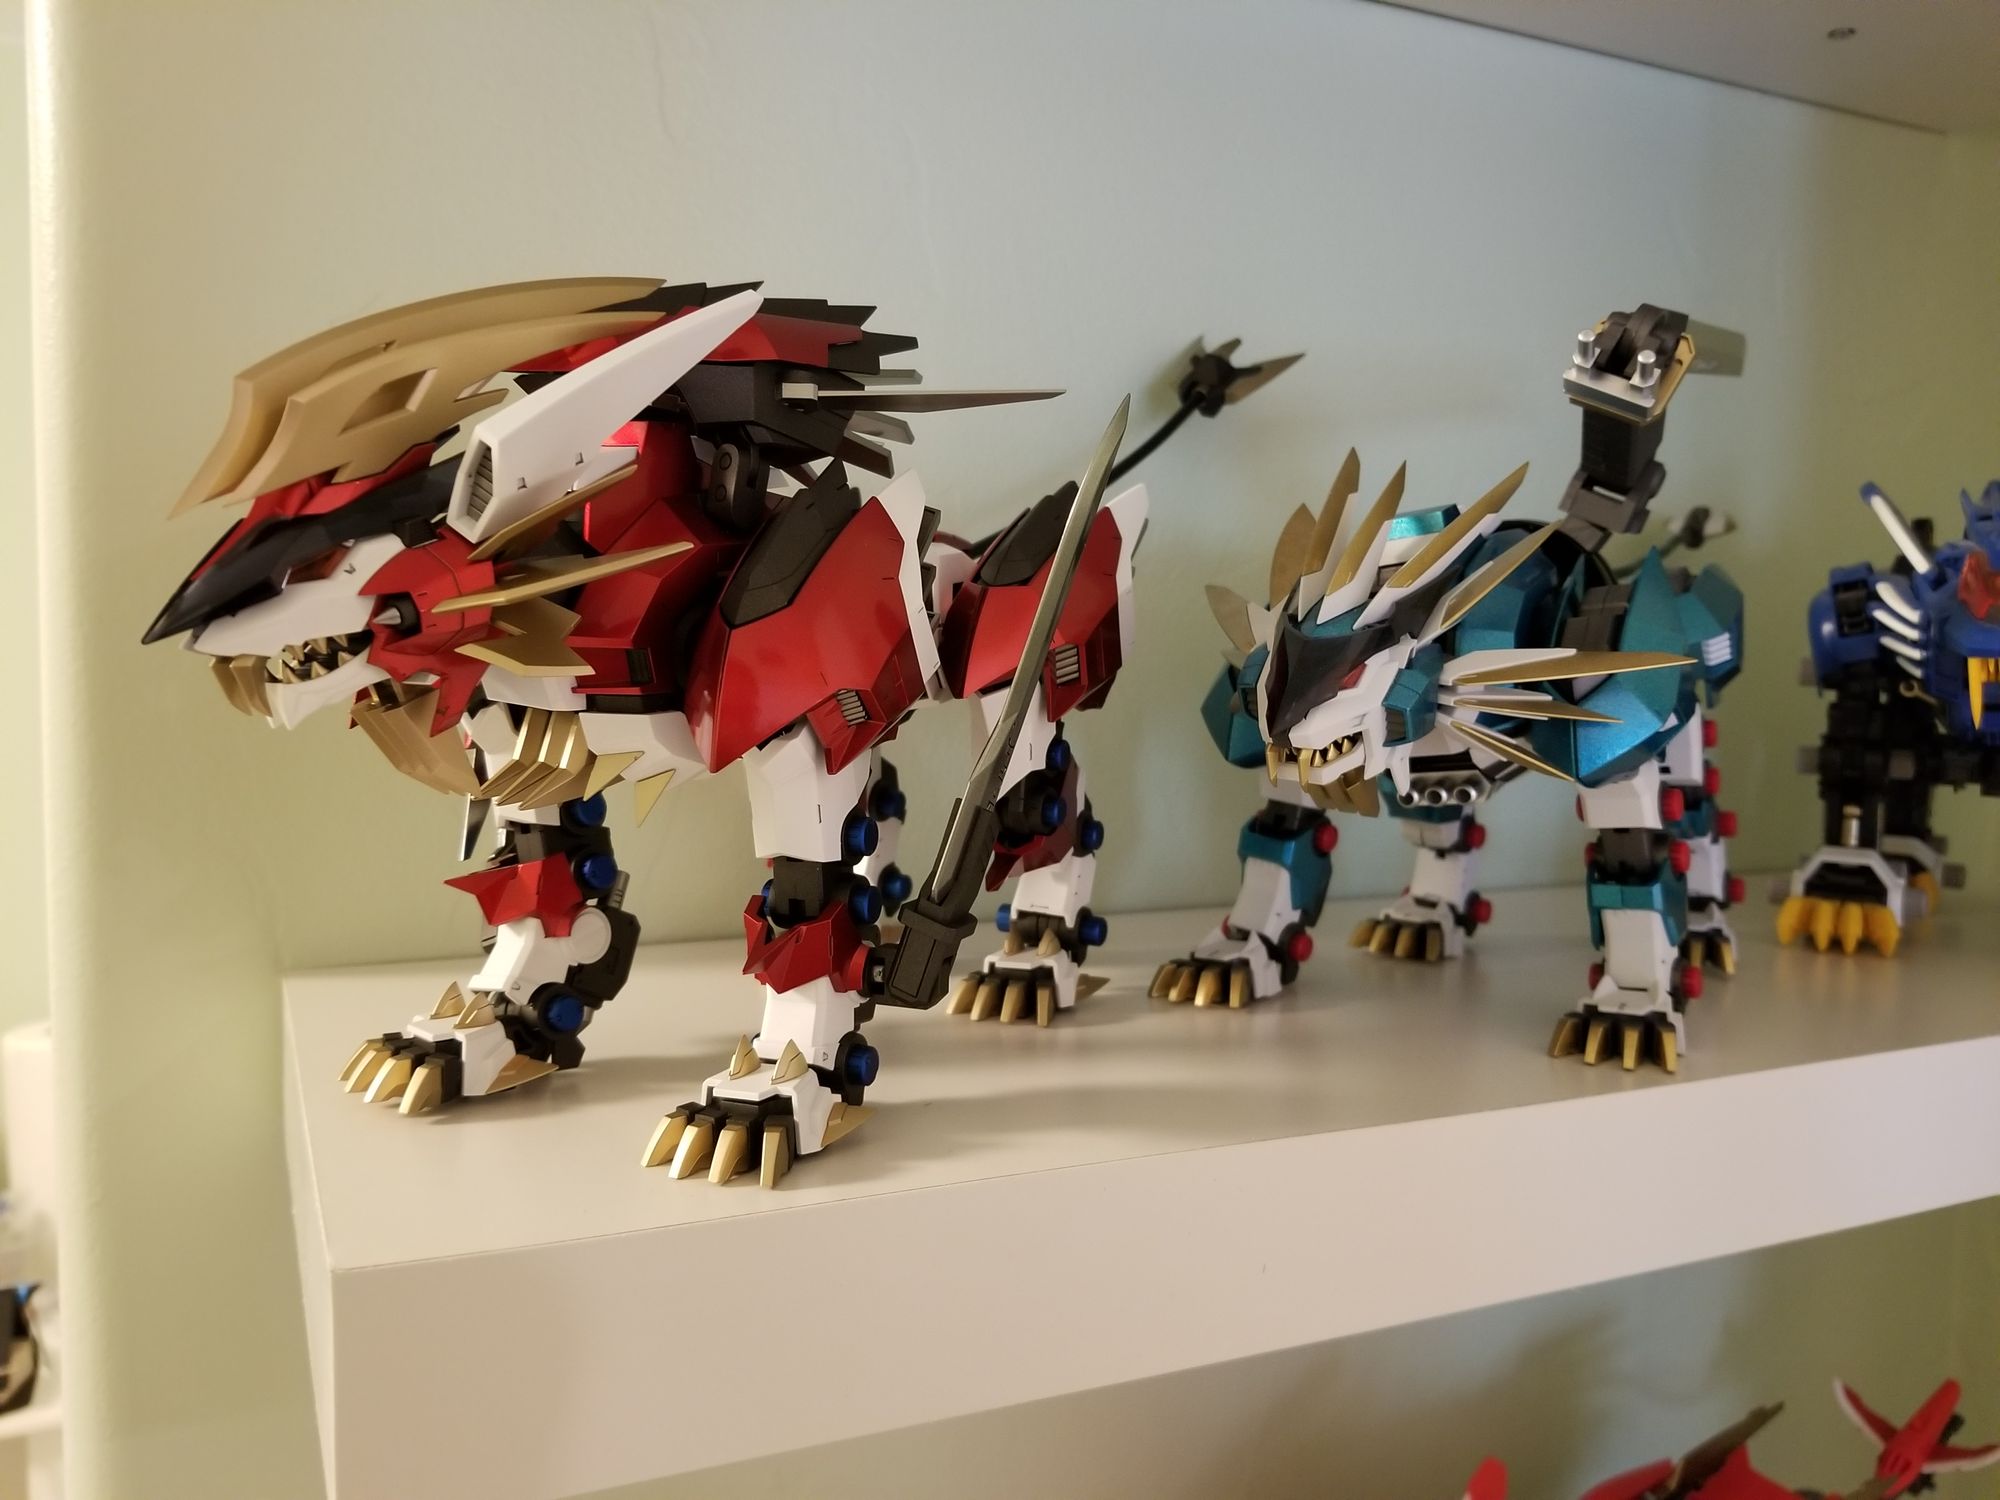
For what it was, it was a reasonable kit. It even came with waterslides which isn't common at this price. If you're a big fan of the Genesis Ligers and are itching to add a roughly 1/72 scale kit to your collection, then this trio is pretty much your only option.
If Super Nova left it at that, I wouldn't have a problem. These kits filled a gap in the Zoids lineup that wasn't being filled by Kotobukiya or Tomy. Do these make HMM Genesis Ligers from Kotobukiya less likely? Probably. But they're not in direct competition with the officially licensed Zoids. Unfortunately, Super Nova did not stop here.
After the huge success of these Ligers, they made more Zoids. Rather than cloning old action figures or making Zoids that weren't otherwise available, they cloned existing Kotobukiya Zoids, tweaked them some, then sold them at lower prices.
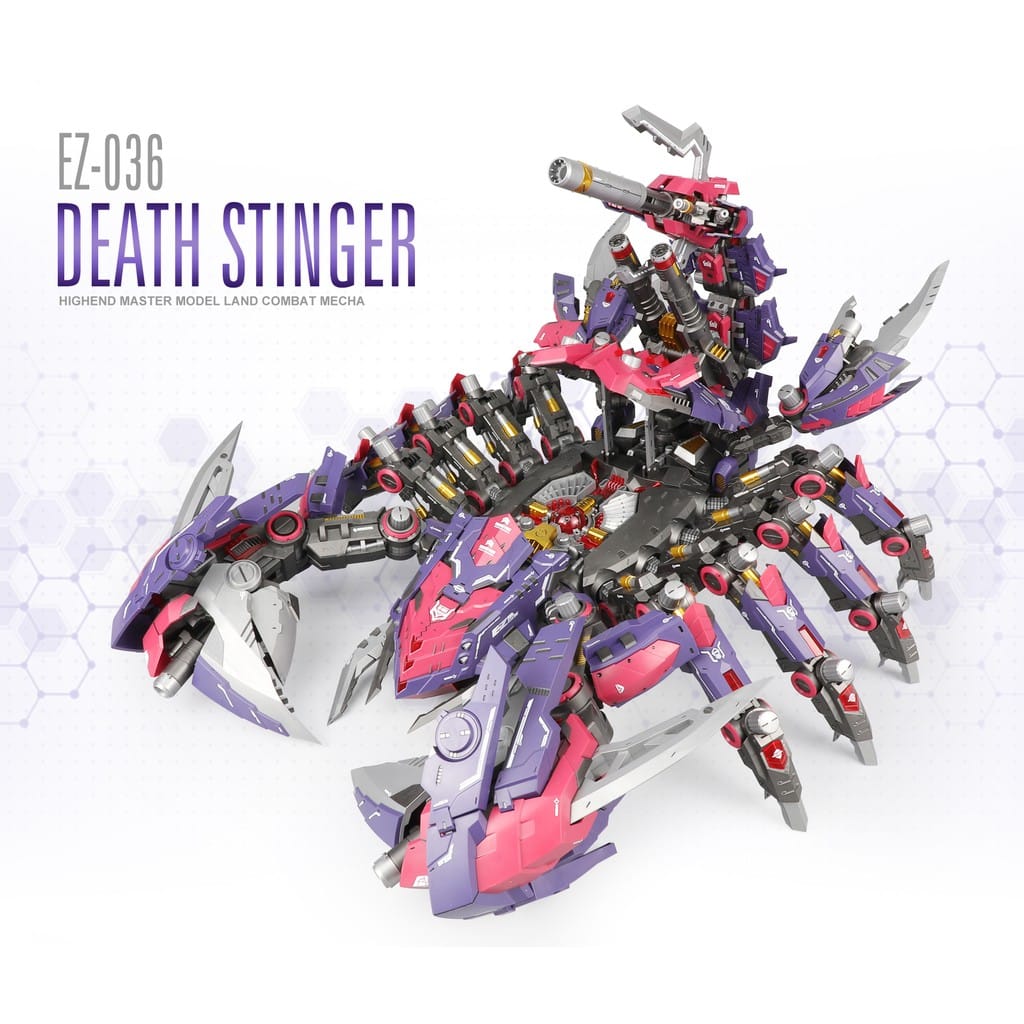
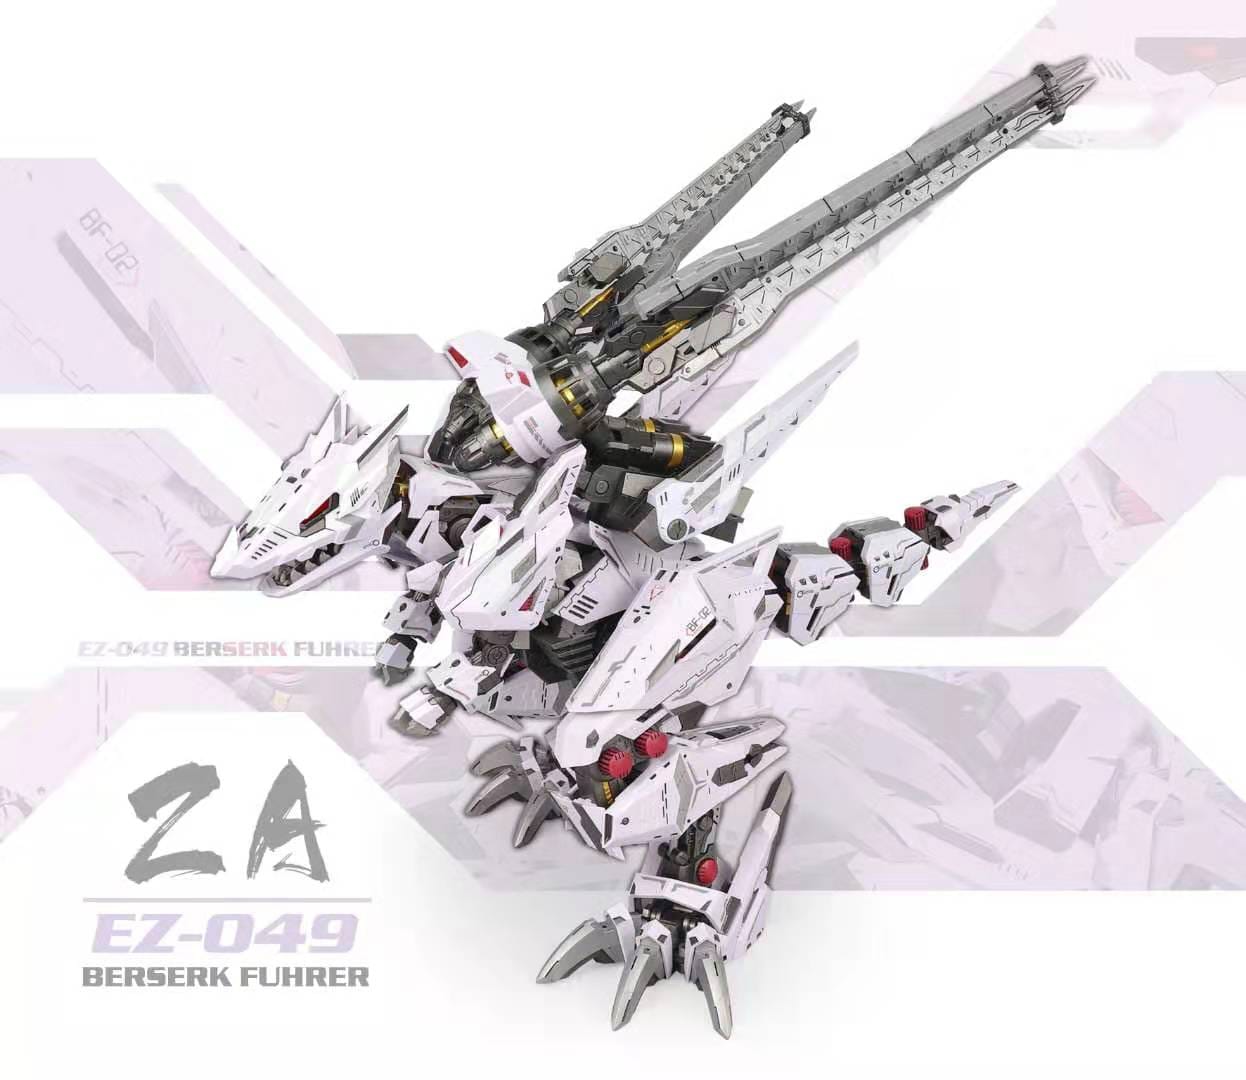
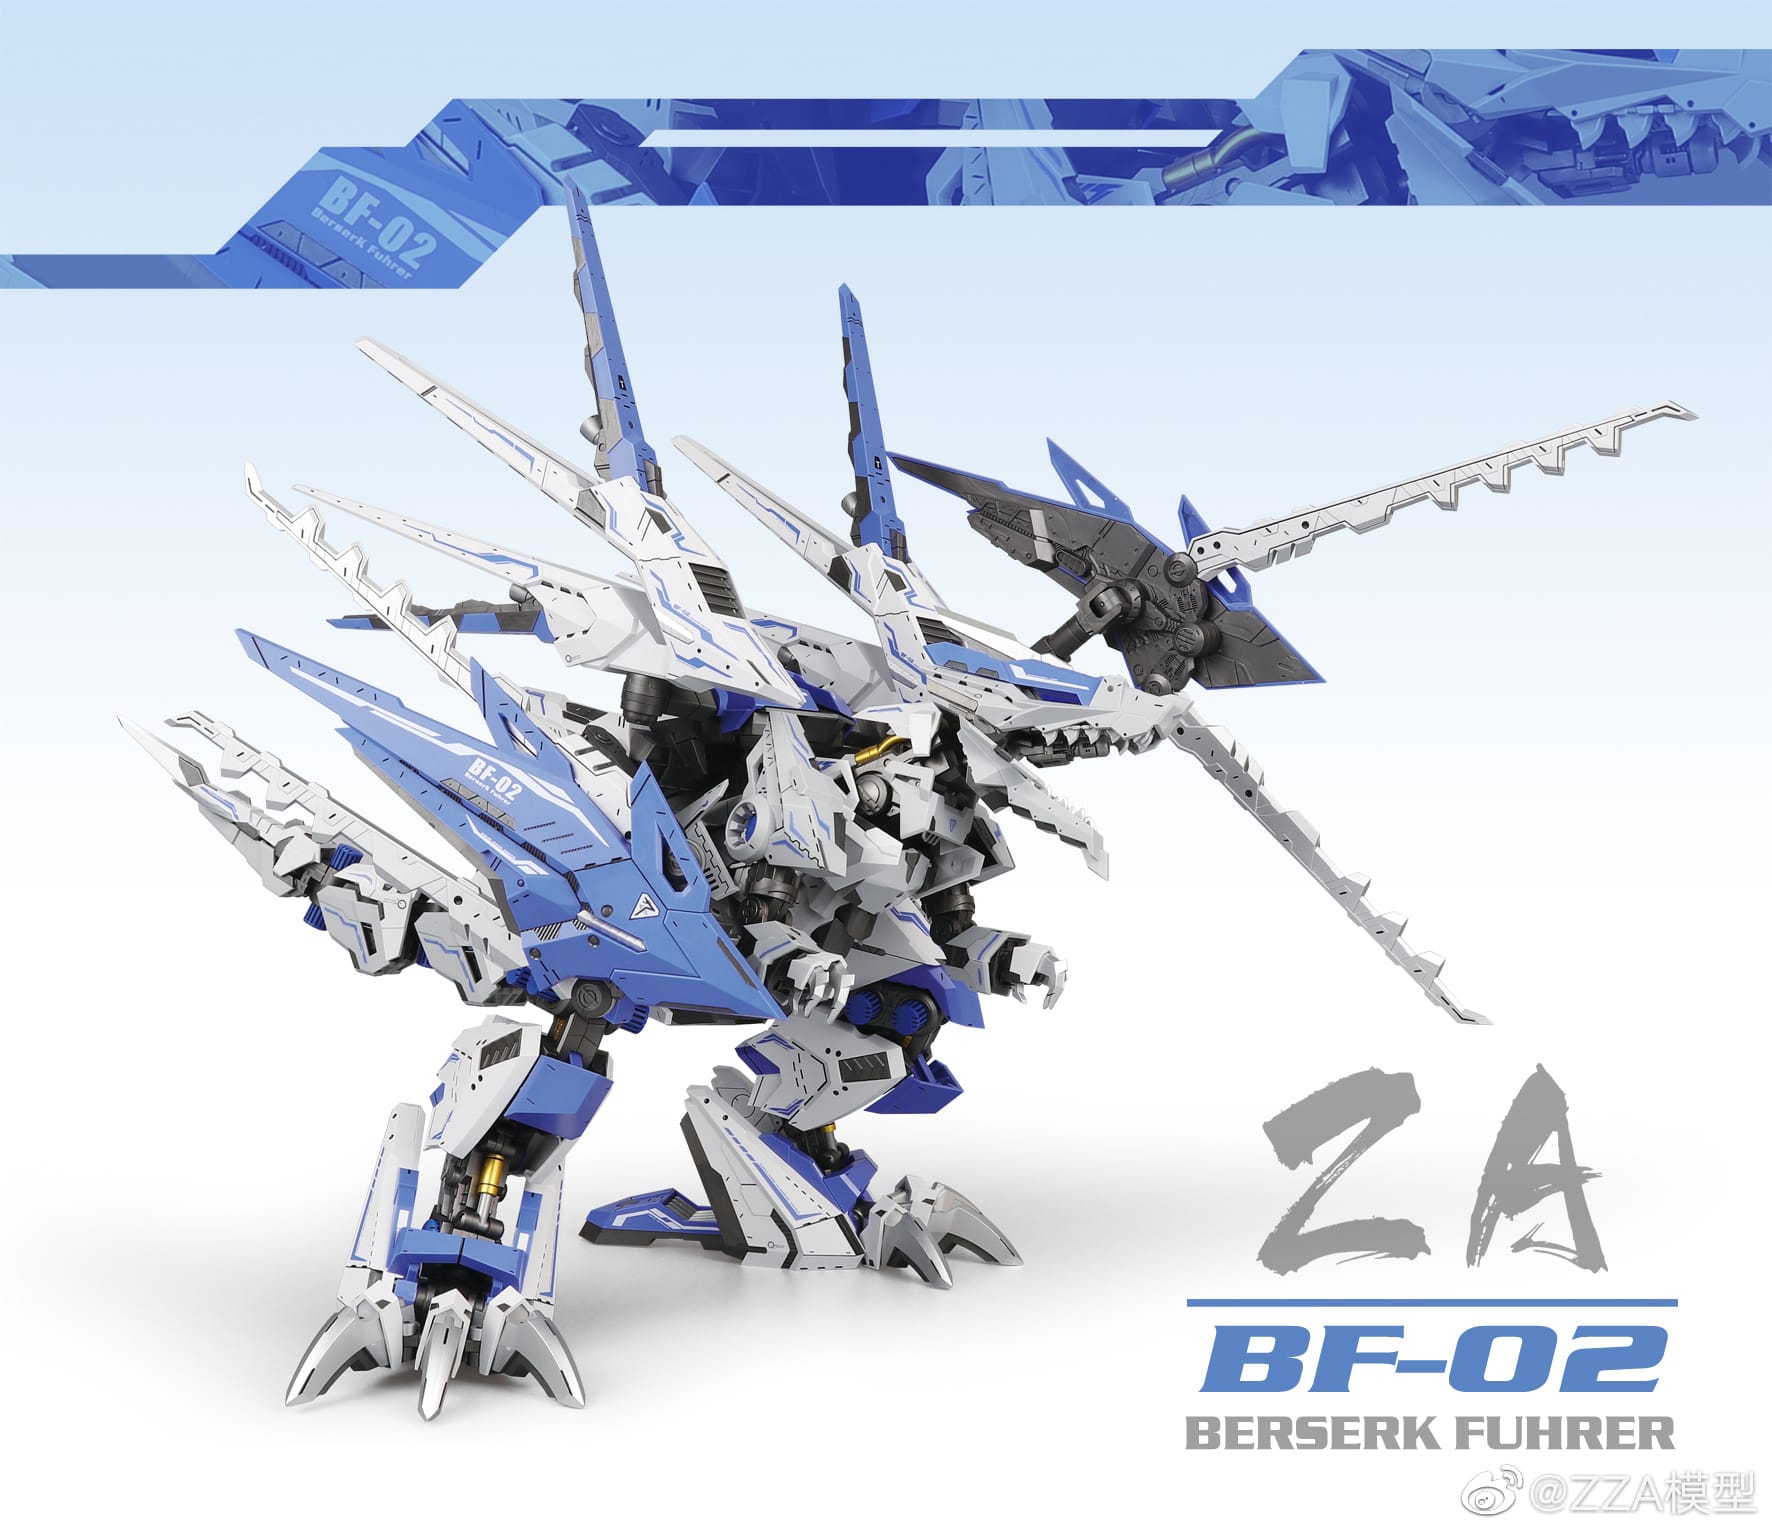
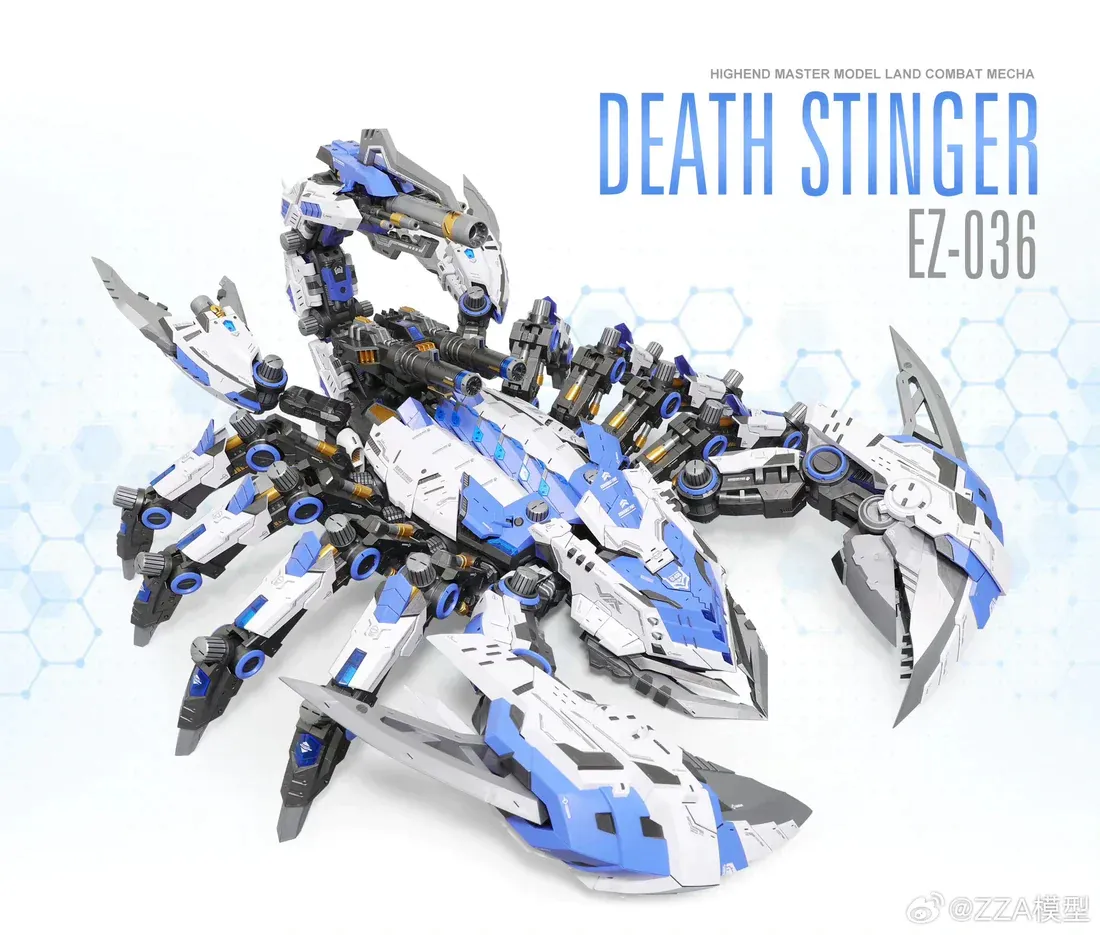
Can I copy your homework?
Hopefully I don't have to tell you why this crosses a major line. While the Genesis Ligers lived in a gray area, these newer Super Nova Zoids directly compete with the real thing. Kotobukiya is not Bandai and Zoids are not Gundams. They're still pretty niche by comparison and there's a real risk that the HMM line gets discontinued if sales drop enough. I don't want to see that happen, so the backlog will continue to grow. But it won't grow with these new knock-off Super Nova kits. My closets will overflow with the real thing, wallet be damned.
These Ligers were a fun distraction. Overall, I had a good time and am glad I built them. The Hayate Liger is by far the worst one. The boosters and head fins are way too obstructive. After Hayate, I built the Mugen and had a better time. I learned from my mistakes here and was much more careful with the painted joints. The design is also much improved. The side head spikes are a bit close to the front leg armor, but otherwise there's far less overlap than Hayate.
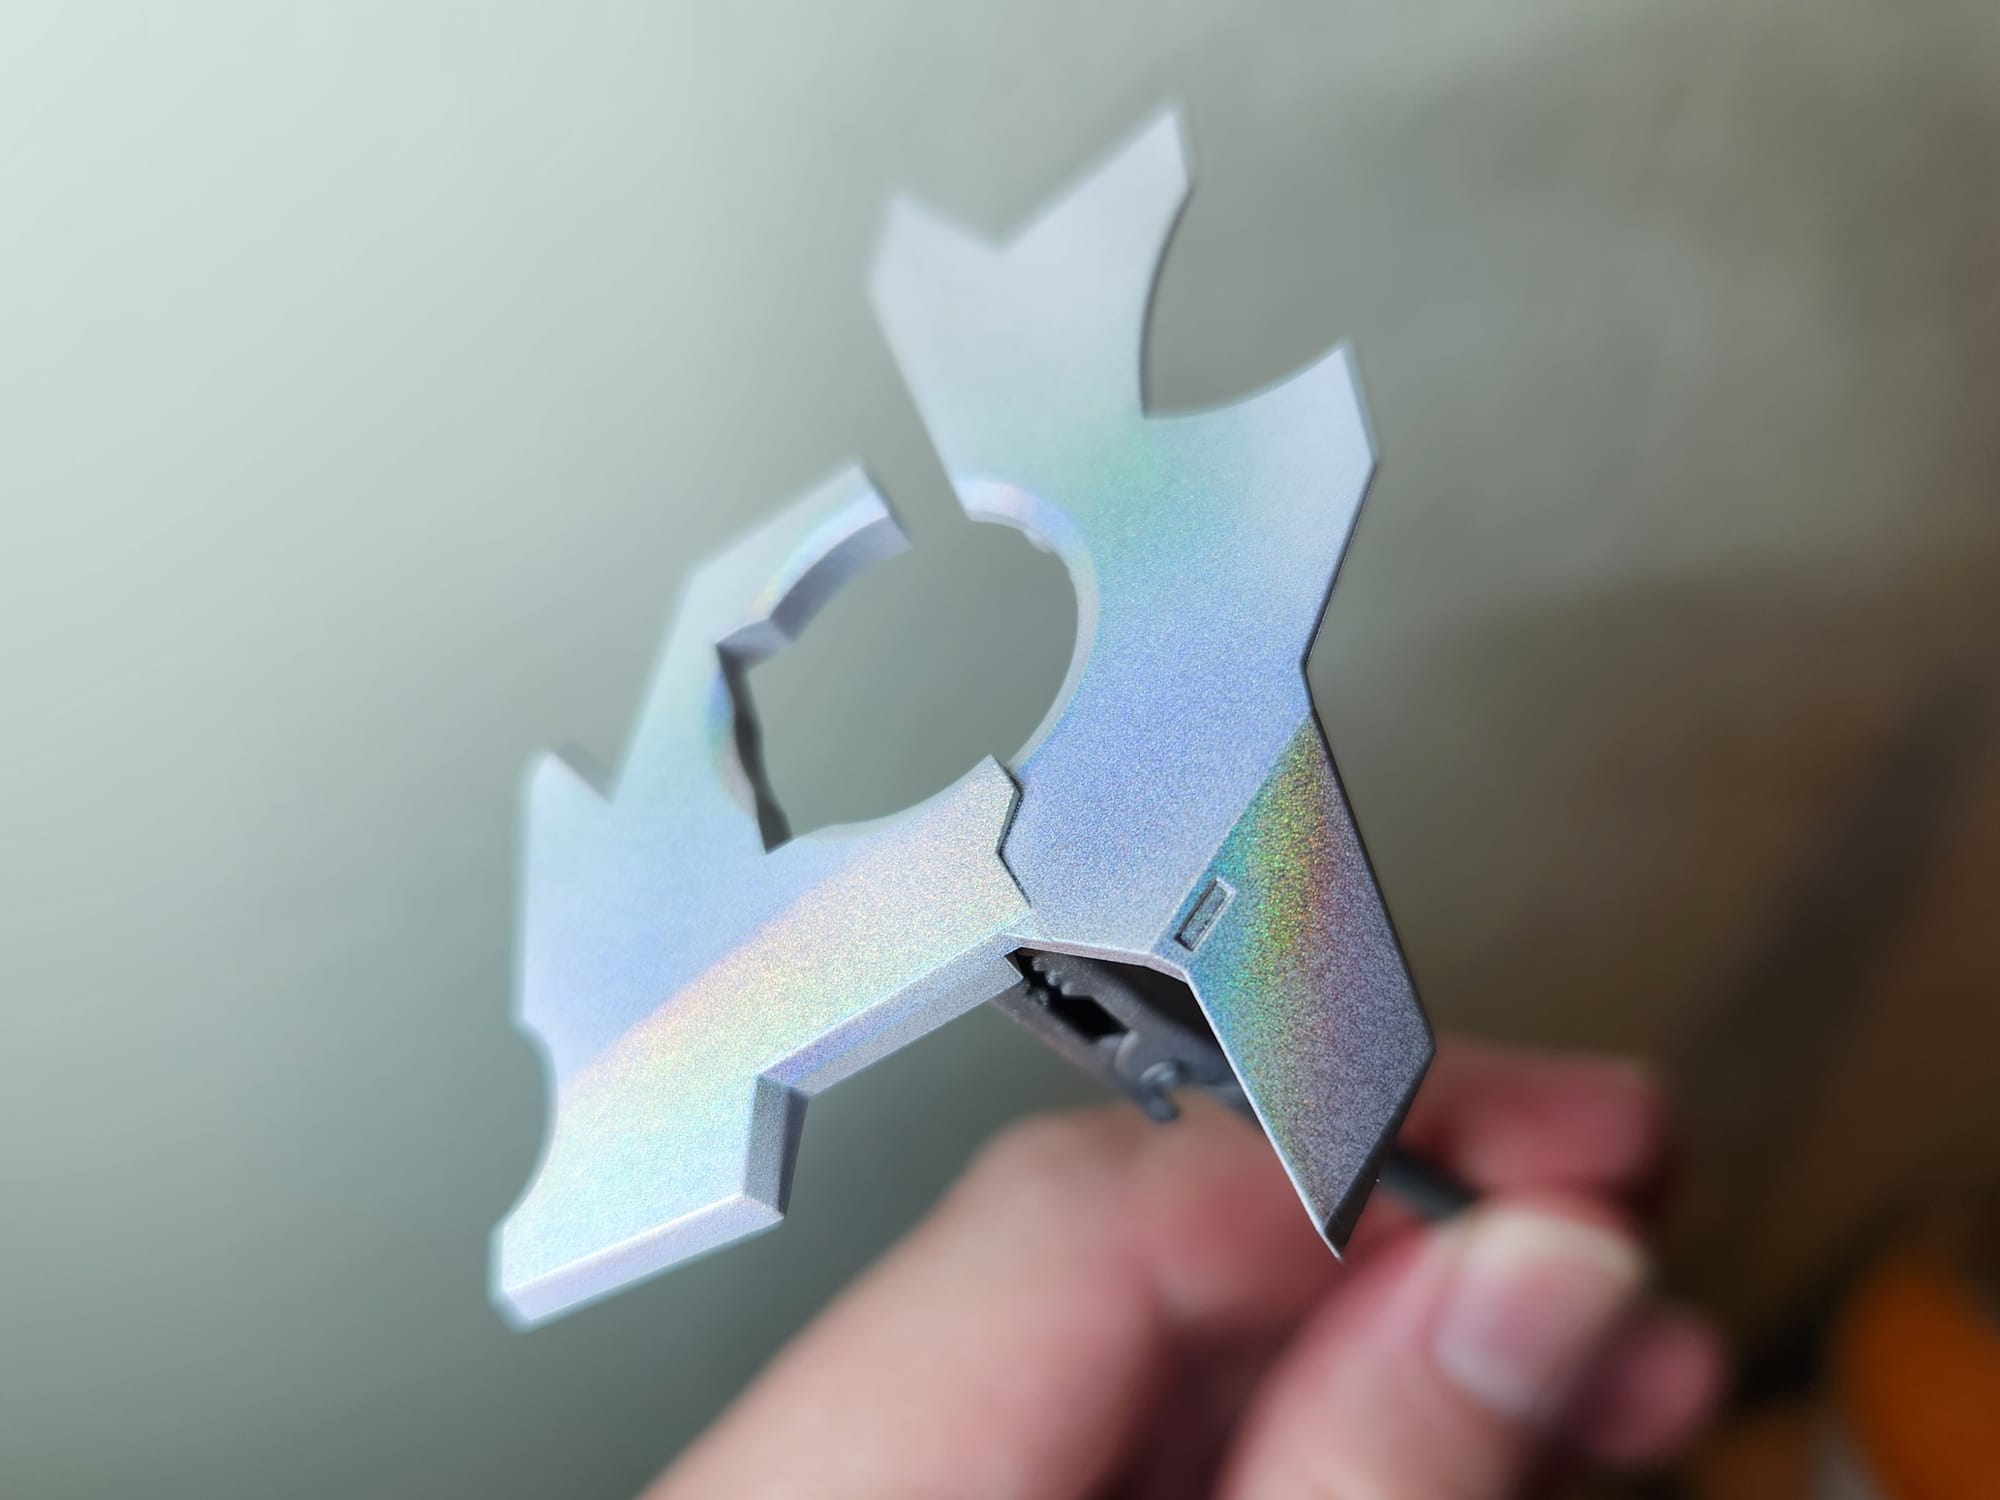
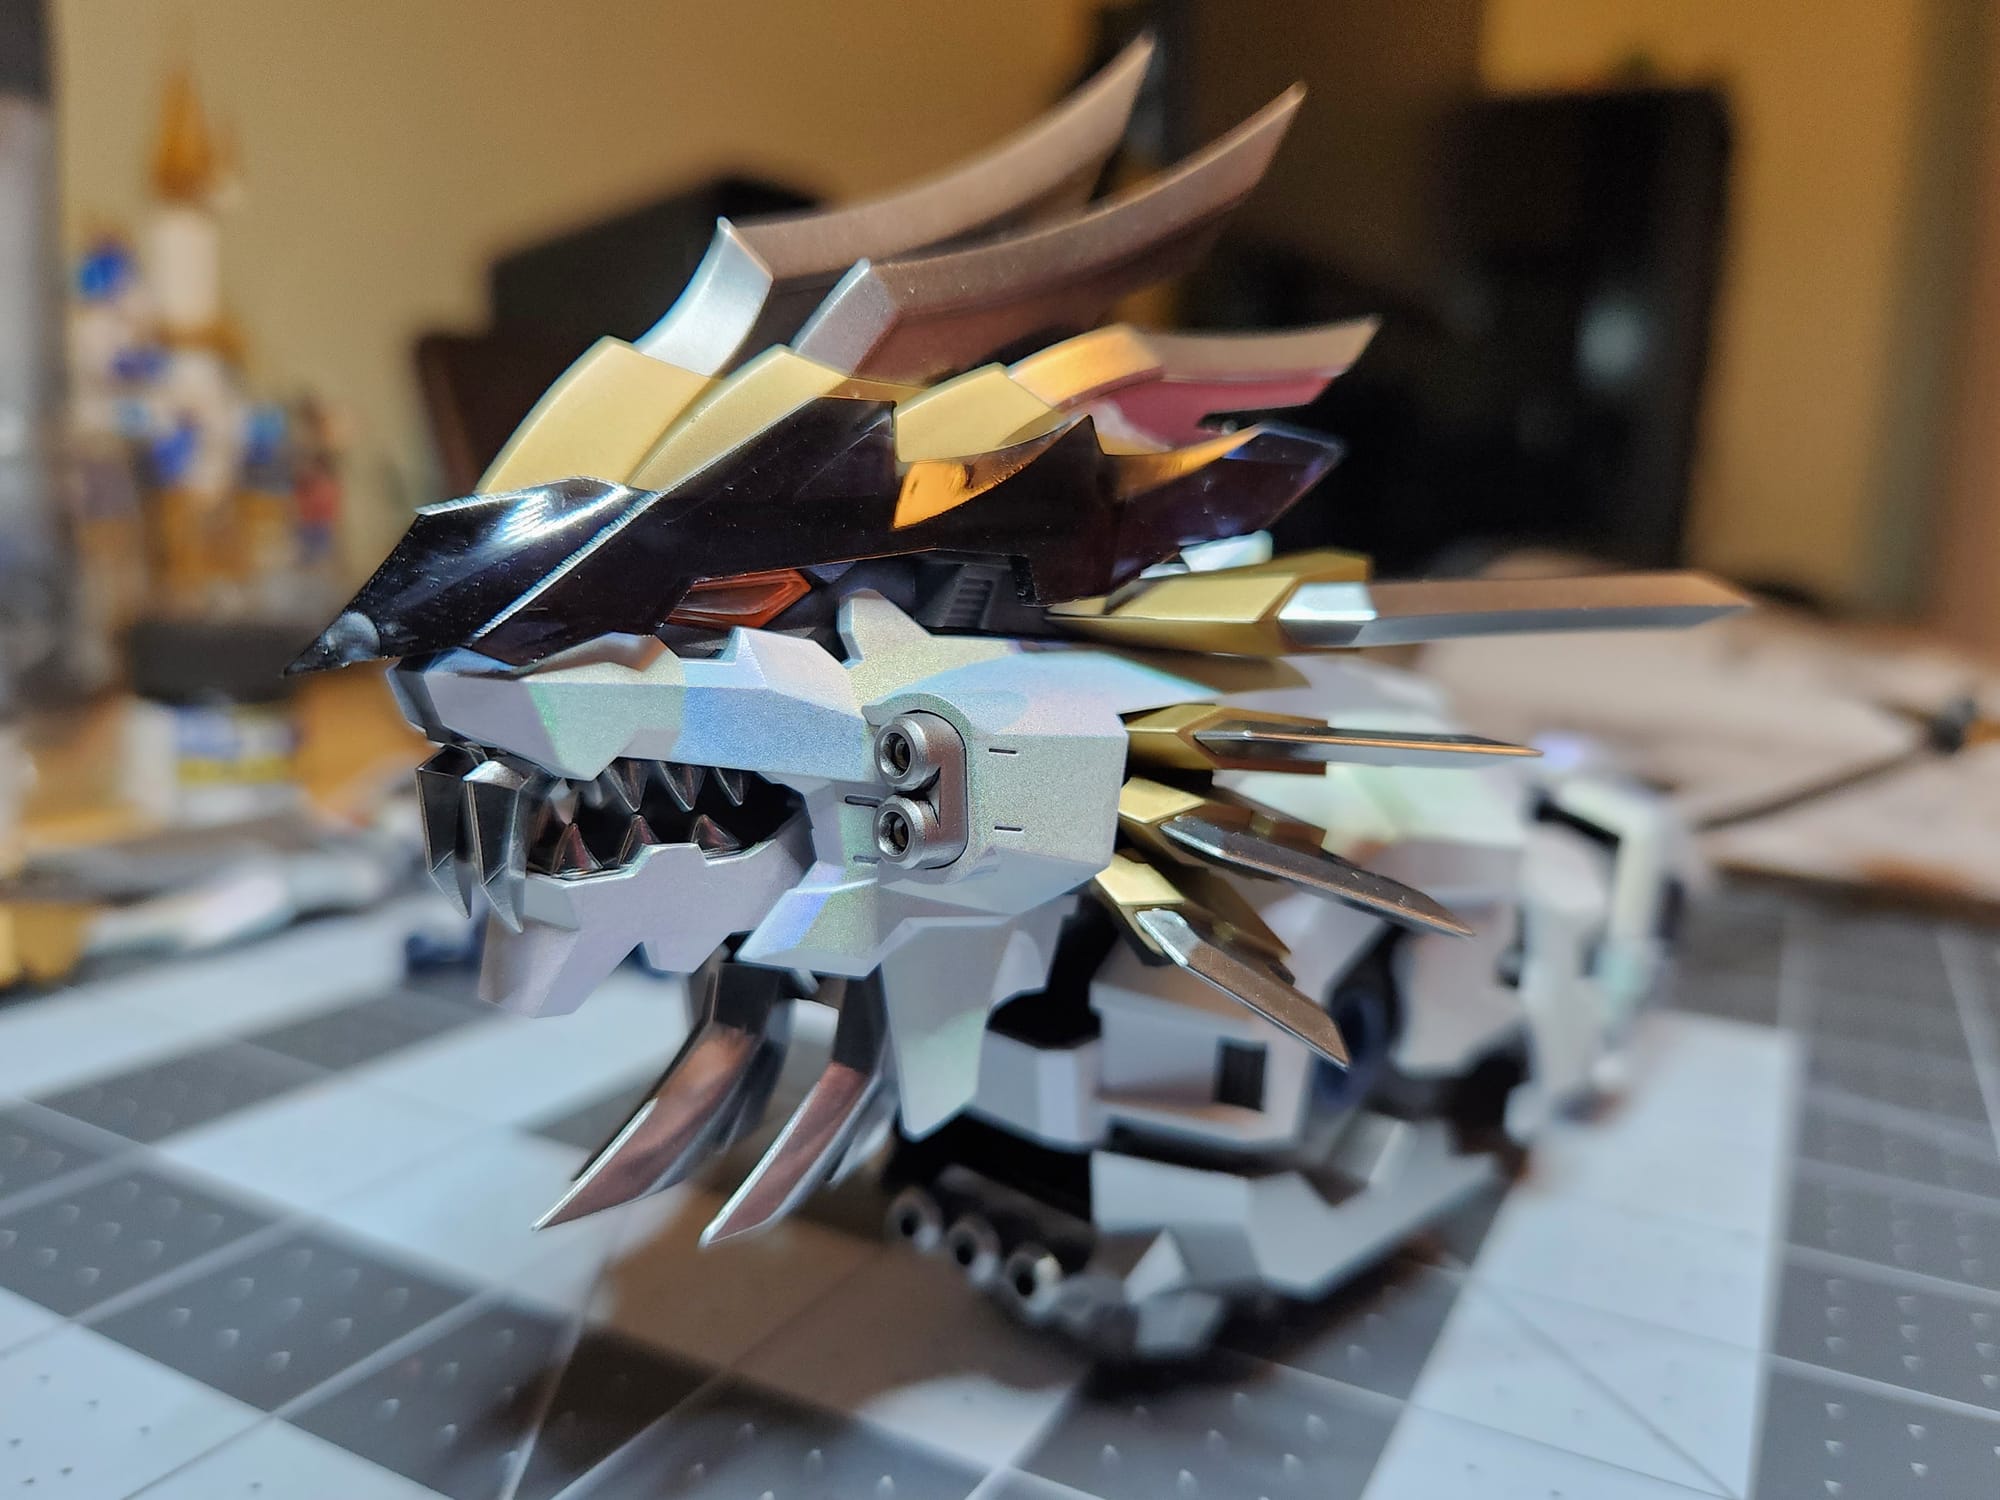
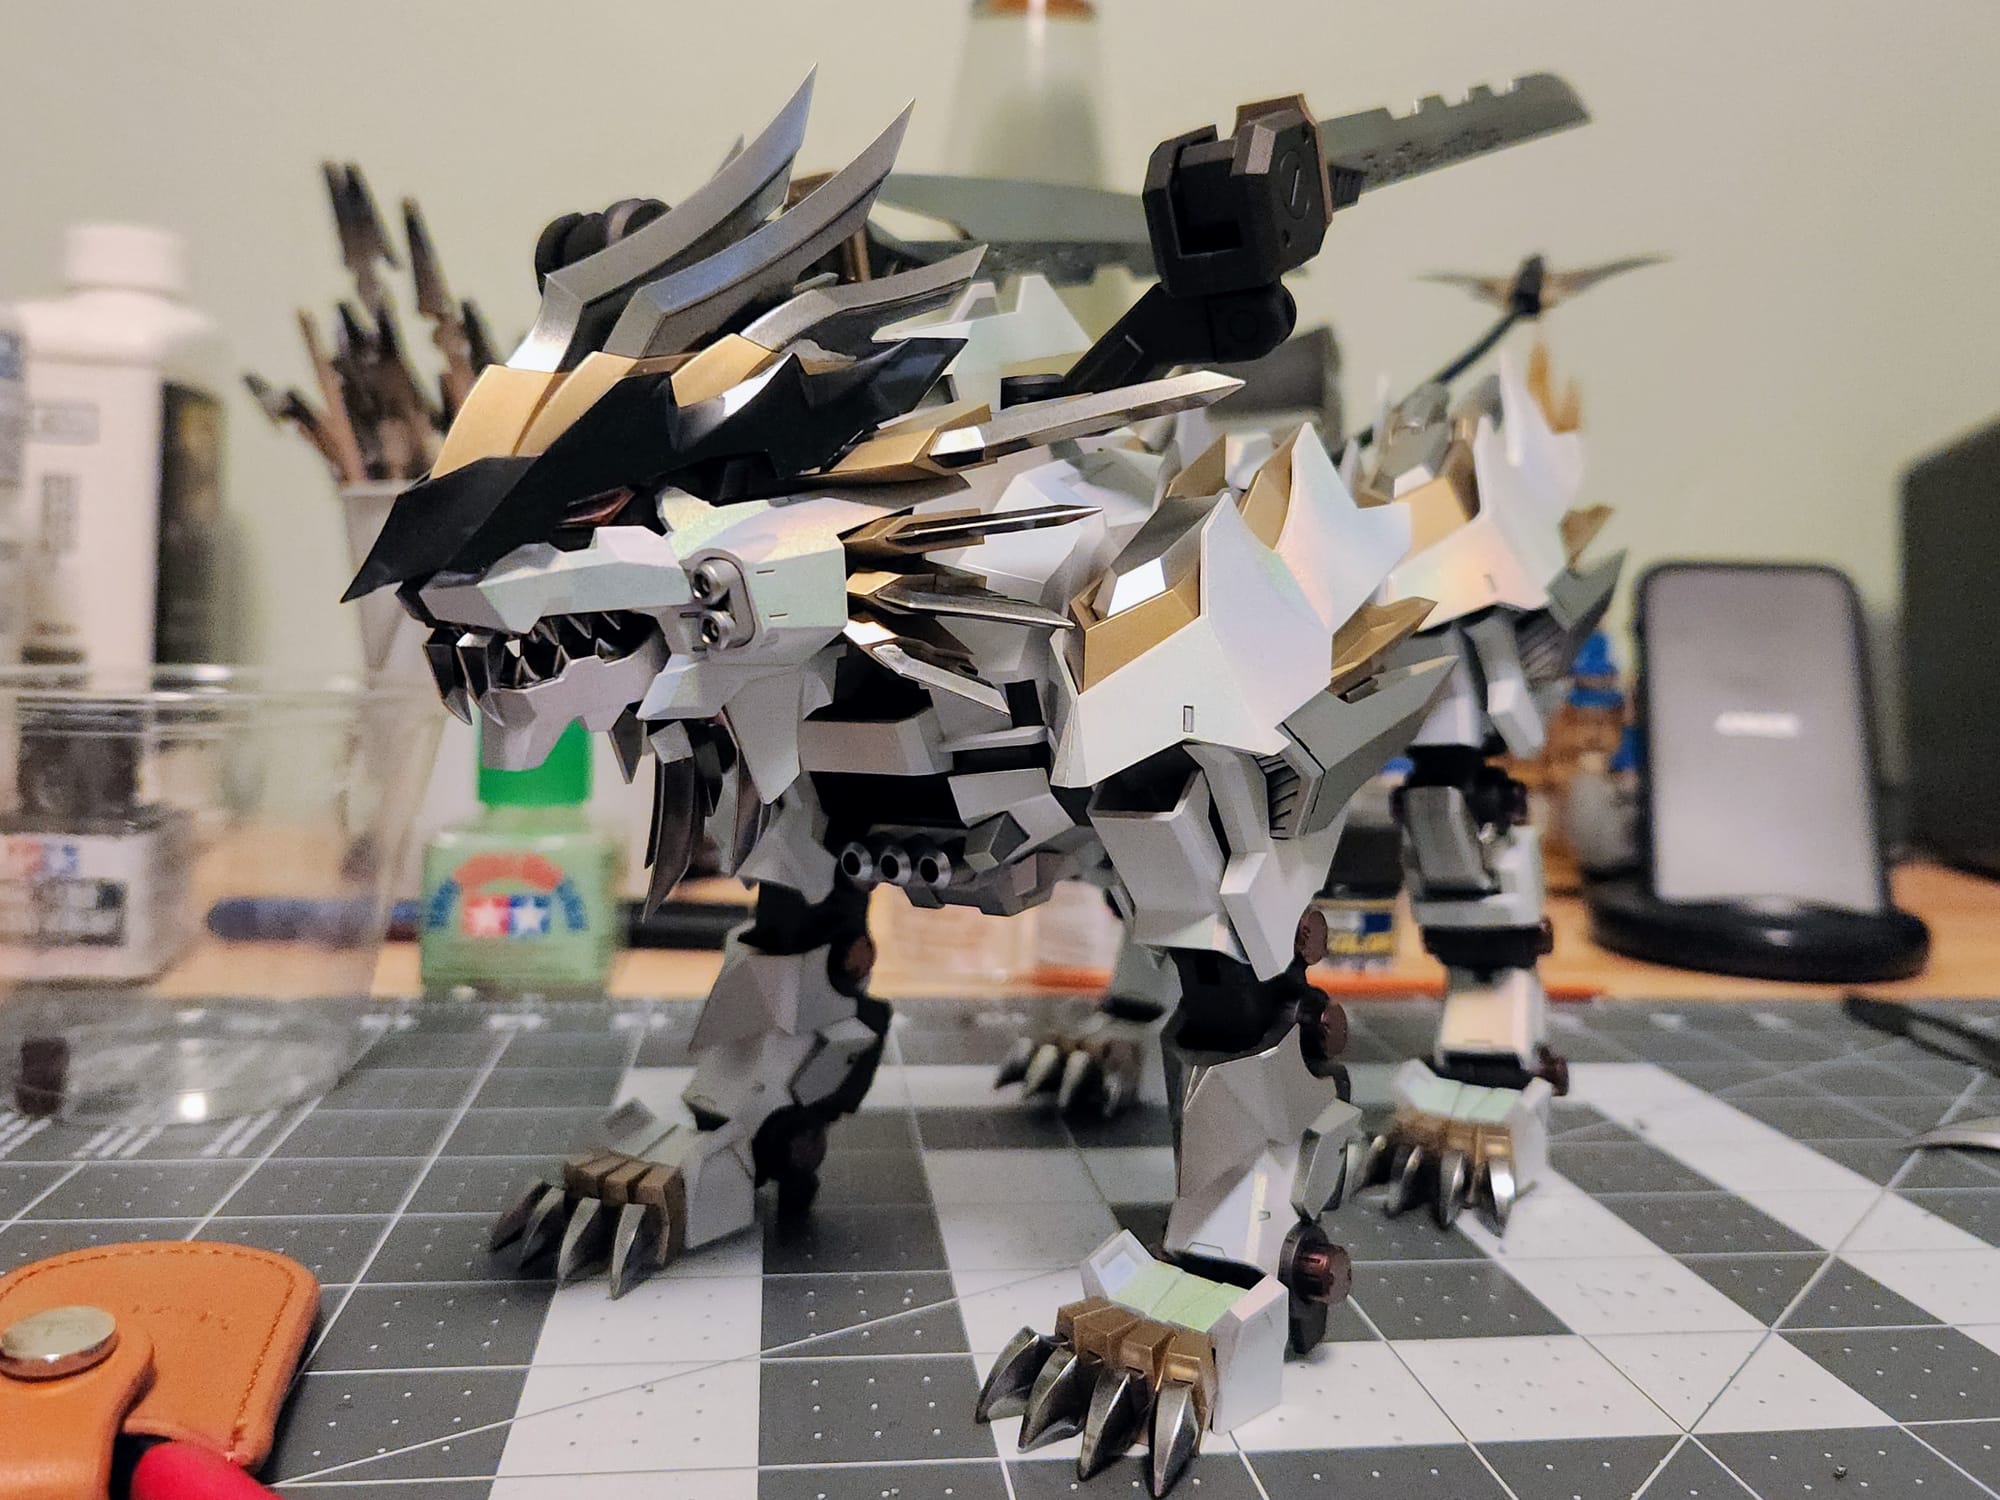
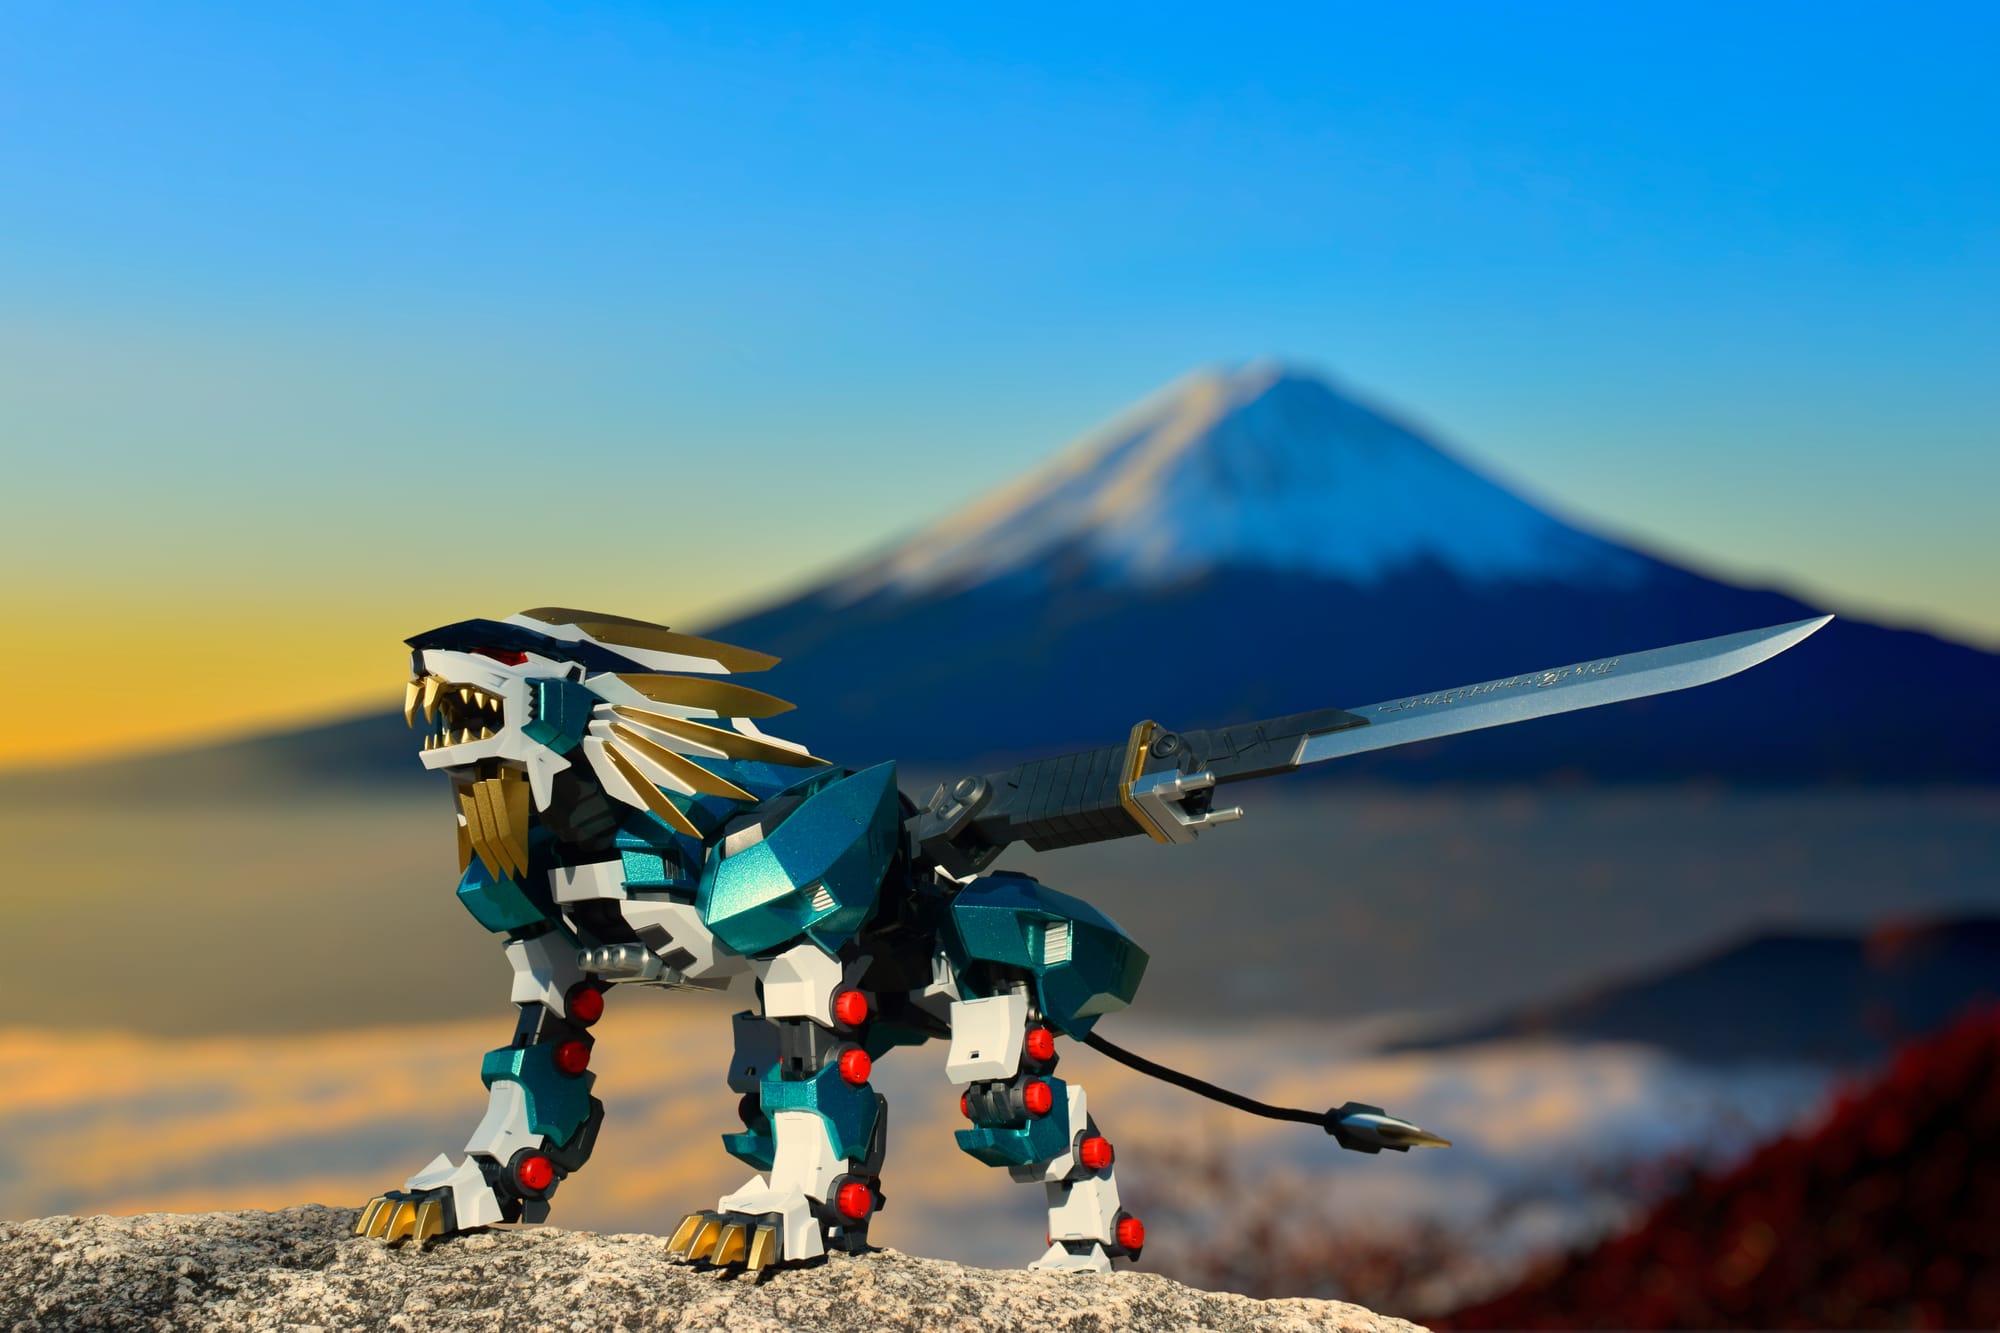
Maybe in like 2 years I'll finally take good pictures of this one and write up a post. I went wild with the metallics and tried a cool effect on the white. It looks rad and I love it. The Mugen Liger has always been a favorite of mine. It looks so mean. Kotobukiya, please make an HMM version. I'd buy it in a heartbeat.
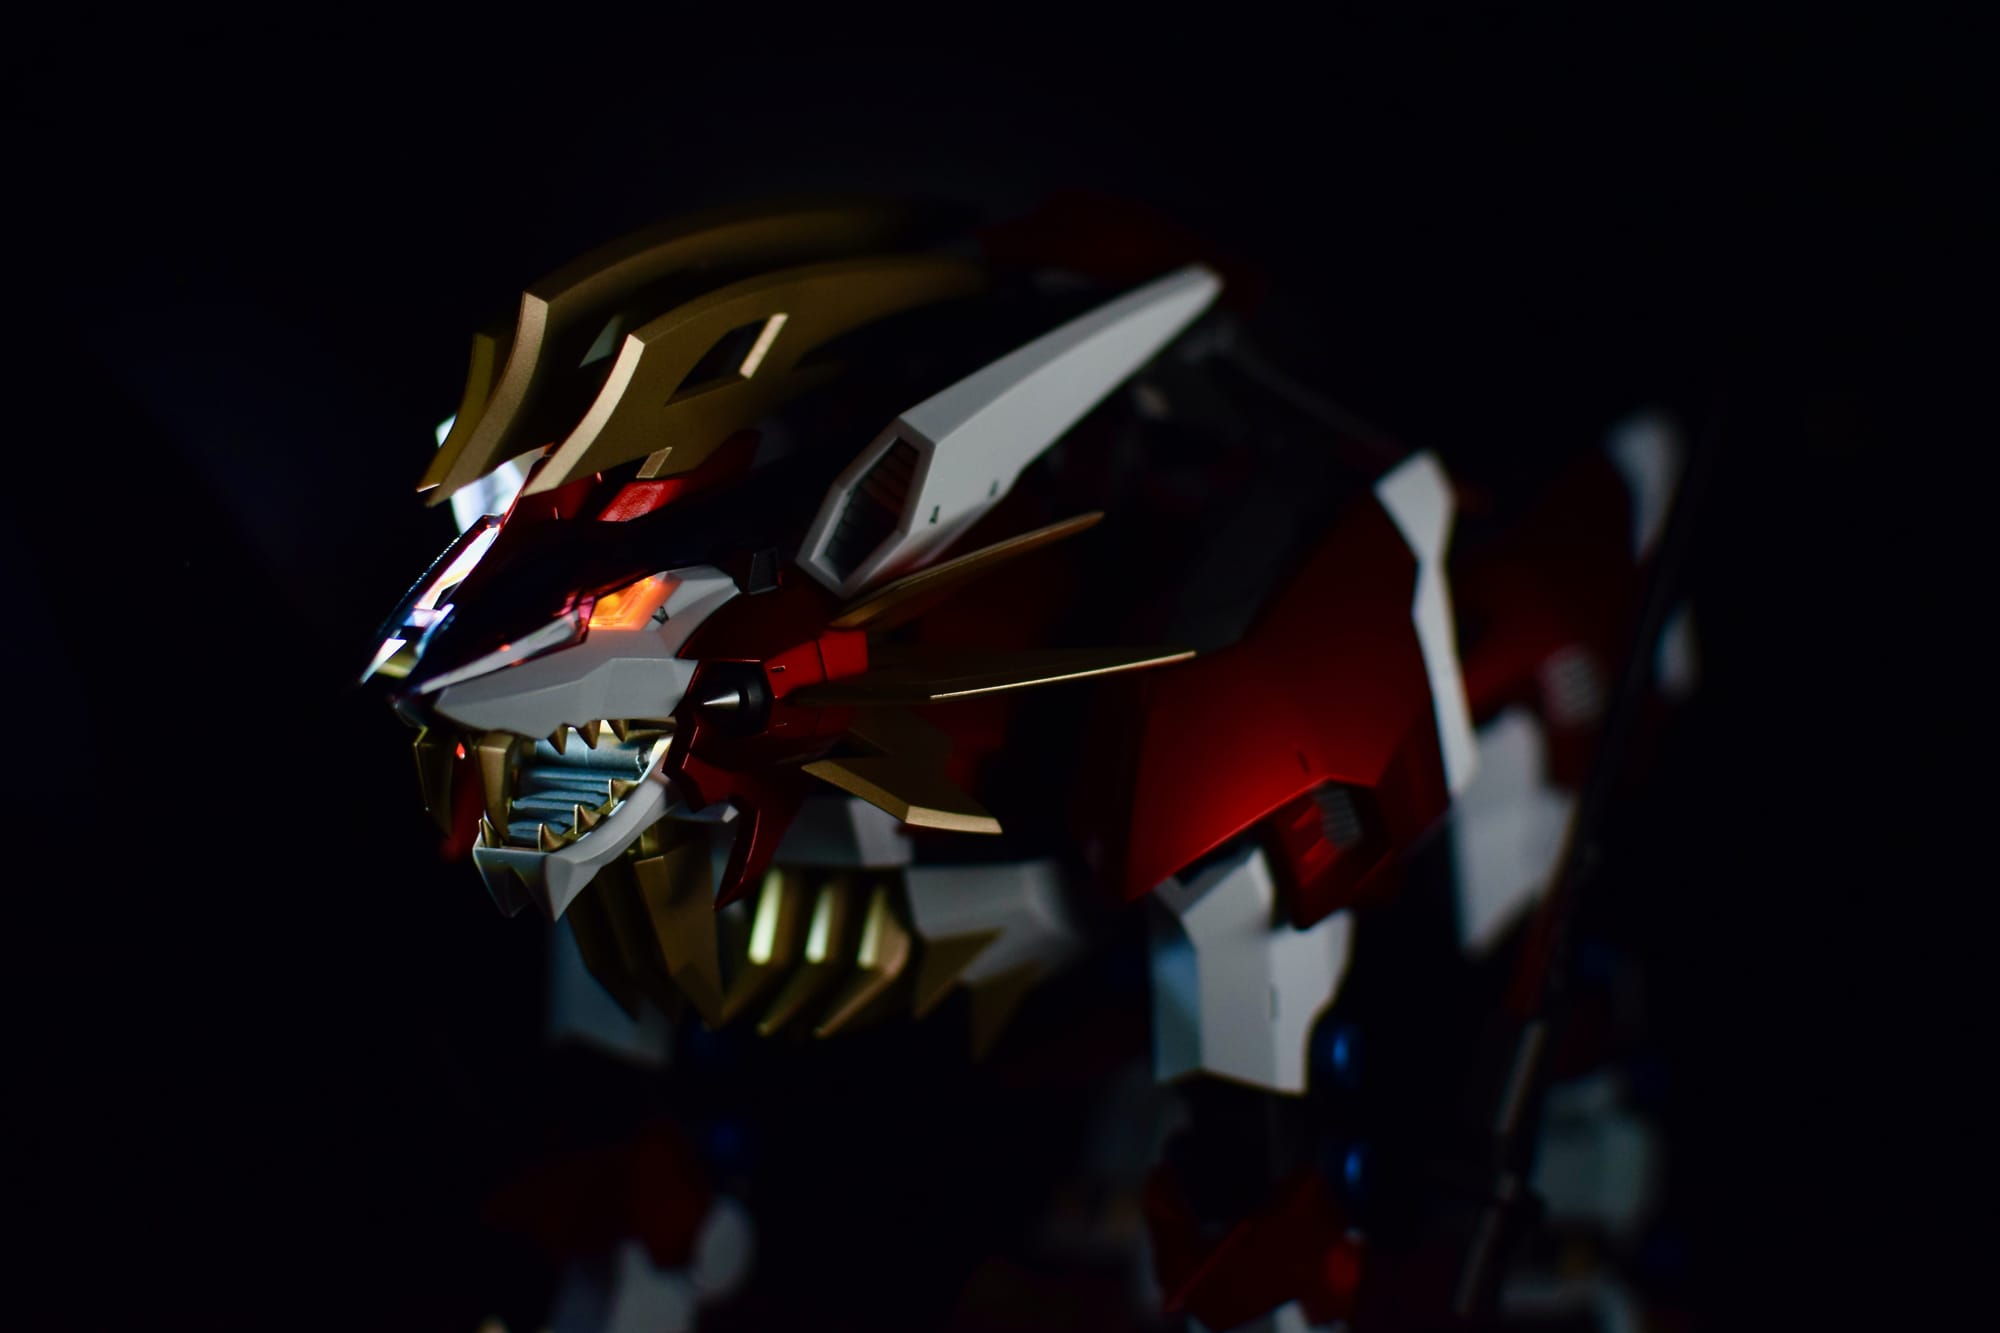
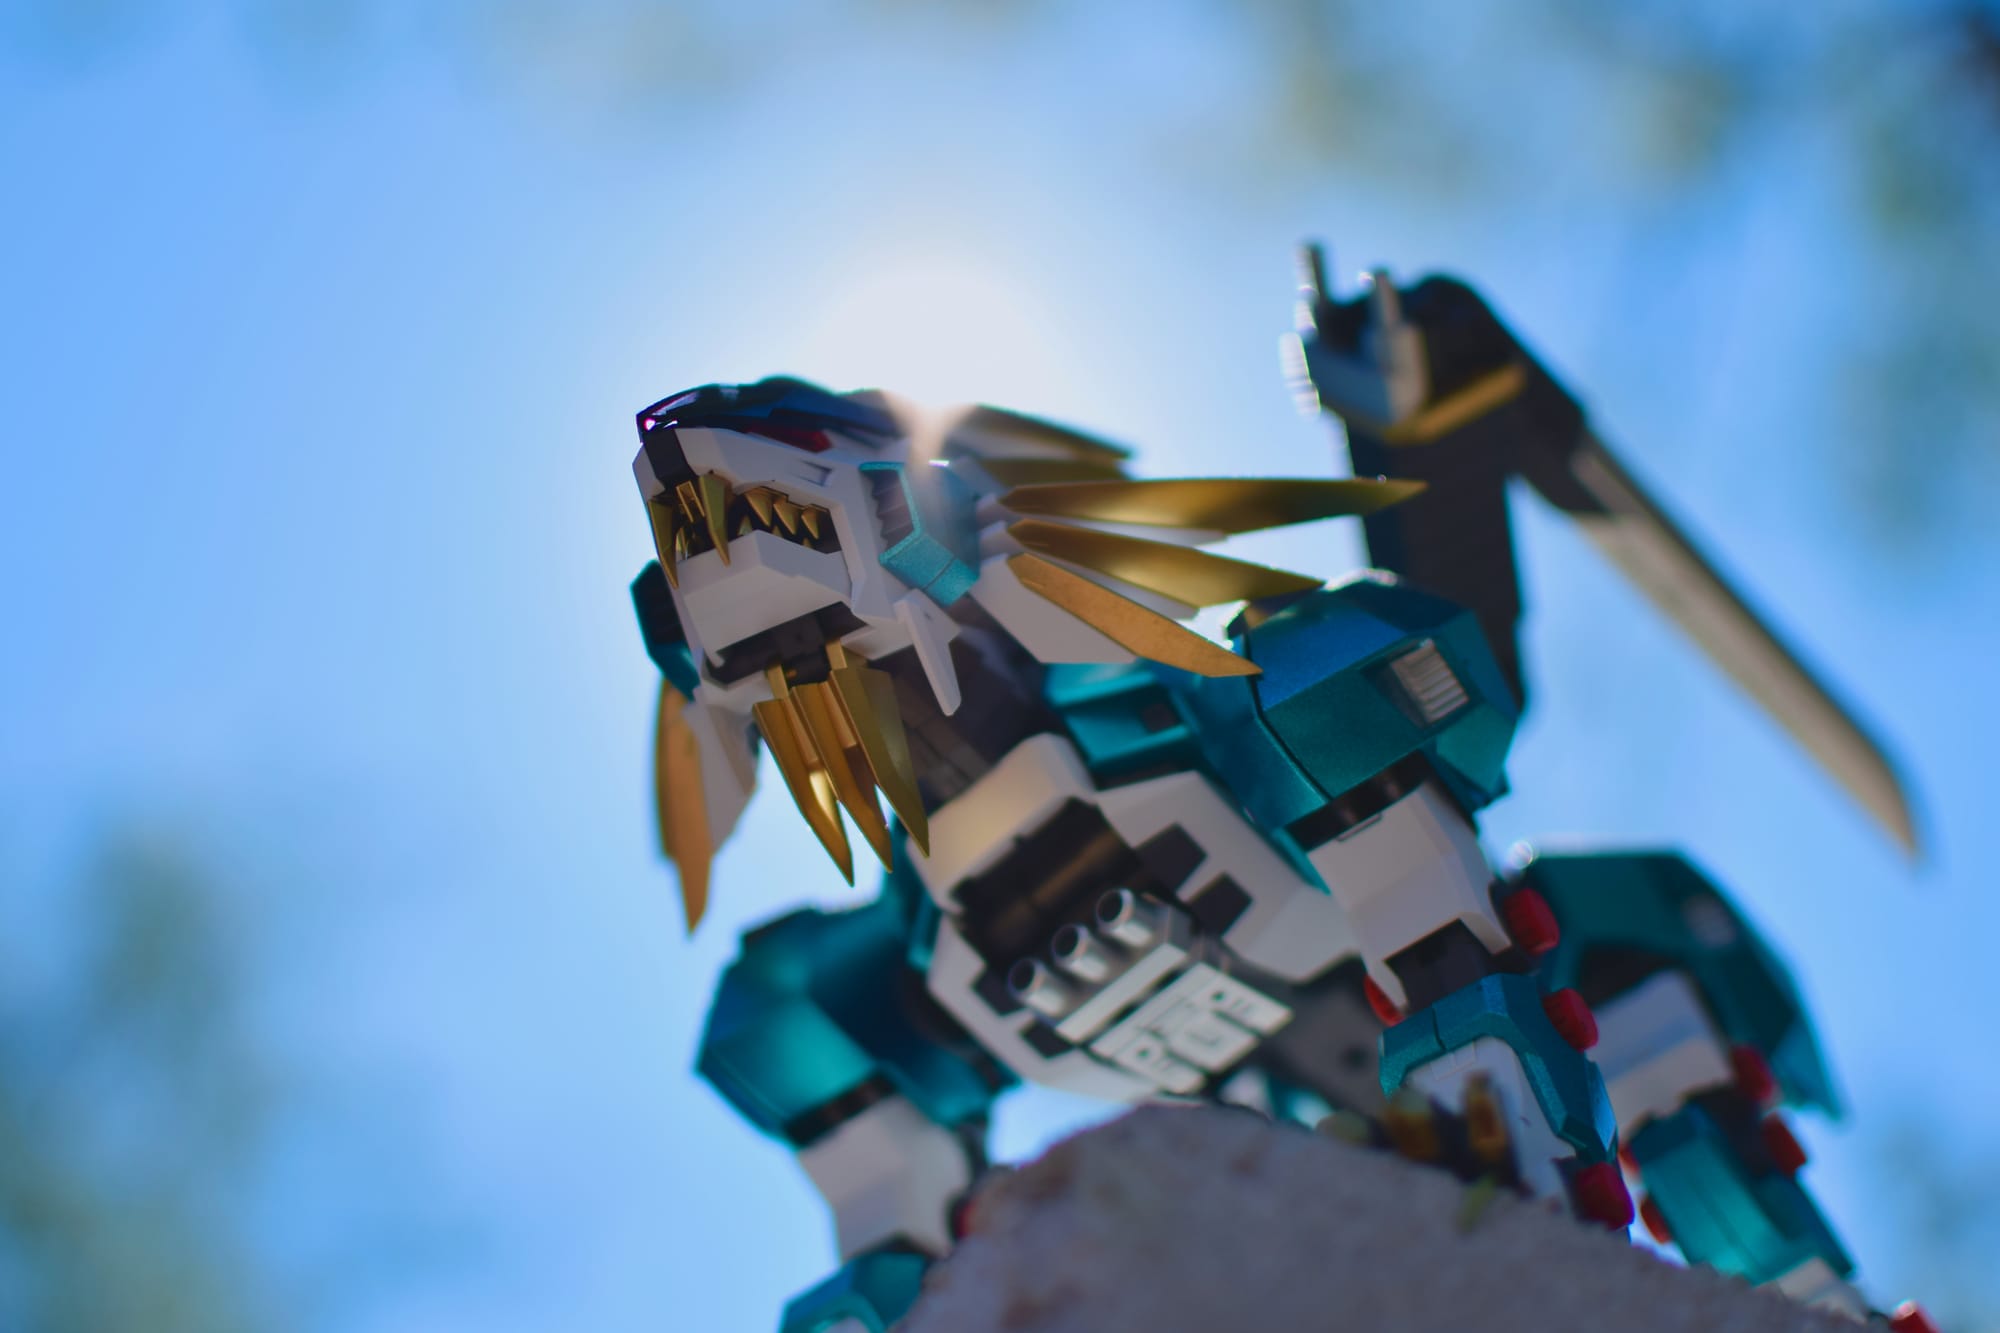
We're living in a new golden age of Zoids so maybe the fact that these robot animals from the 80s are popular enough to warrant knock-offs in the 2020s should be viewed as an encouraging sign. As great as the HMM line has been, there's still so much more Kotobukiya could do. I just hope Super Nova doesn't try to beat them to the punch.
Until the next one,
Tyler
